
There’s something magical about homemade cereal bars that makes them a must-have in any snack arsenal. Picture this: a chewy, satisfying treat packed with the goodness of oats, nuts, and a hint of sweetness that dances on your taste buds. refreshing fruity dessert You can practically hear the crunch as you take a bite, and the aroma wafting through your kitchen is enough to make you feel like a gourmet chef with an apron and a flair for culinary creativity.
I remember the first time I whipped up these delightful cereal bars; it was a chaotic afternoon filled with my kids bouncing off the walls. We needed a quick pick-me-up before heading to soccer practice, so we decided to transform our pantry staples into something extraordinary. nutritious black bean salad The excitement in their eyes as they watched me mix the ingredients was priceless. These bars are perfect for busy mornings or as an after-school snack, promising to keep everyone fueled and happy.
Why You'll Love This Recipe
- These homemade cereal bars are easy to prepare and require minimal effort
- You can customize them with your favorite nuts or dried fruits for endless flavor combinations
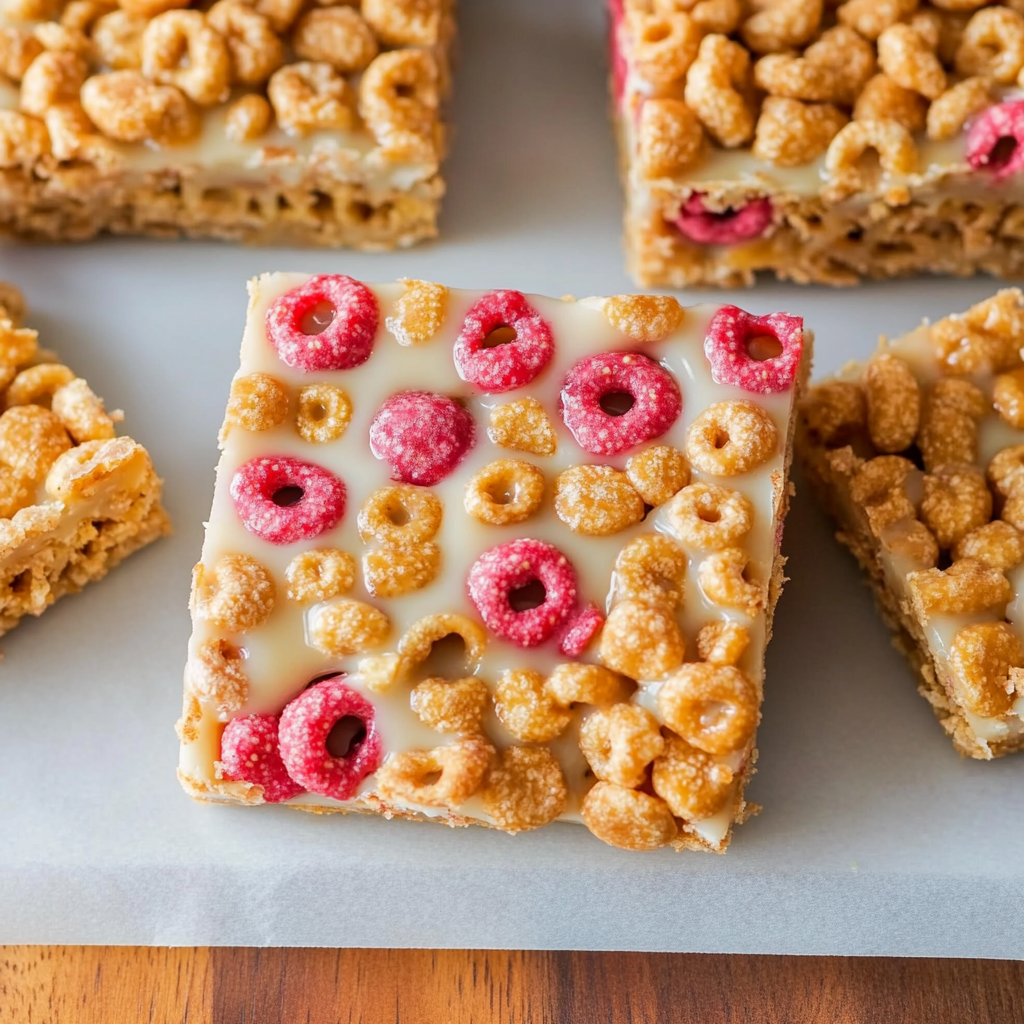
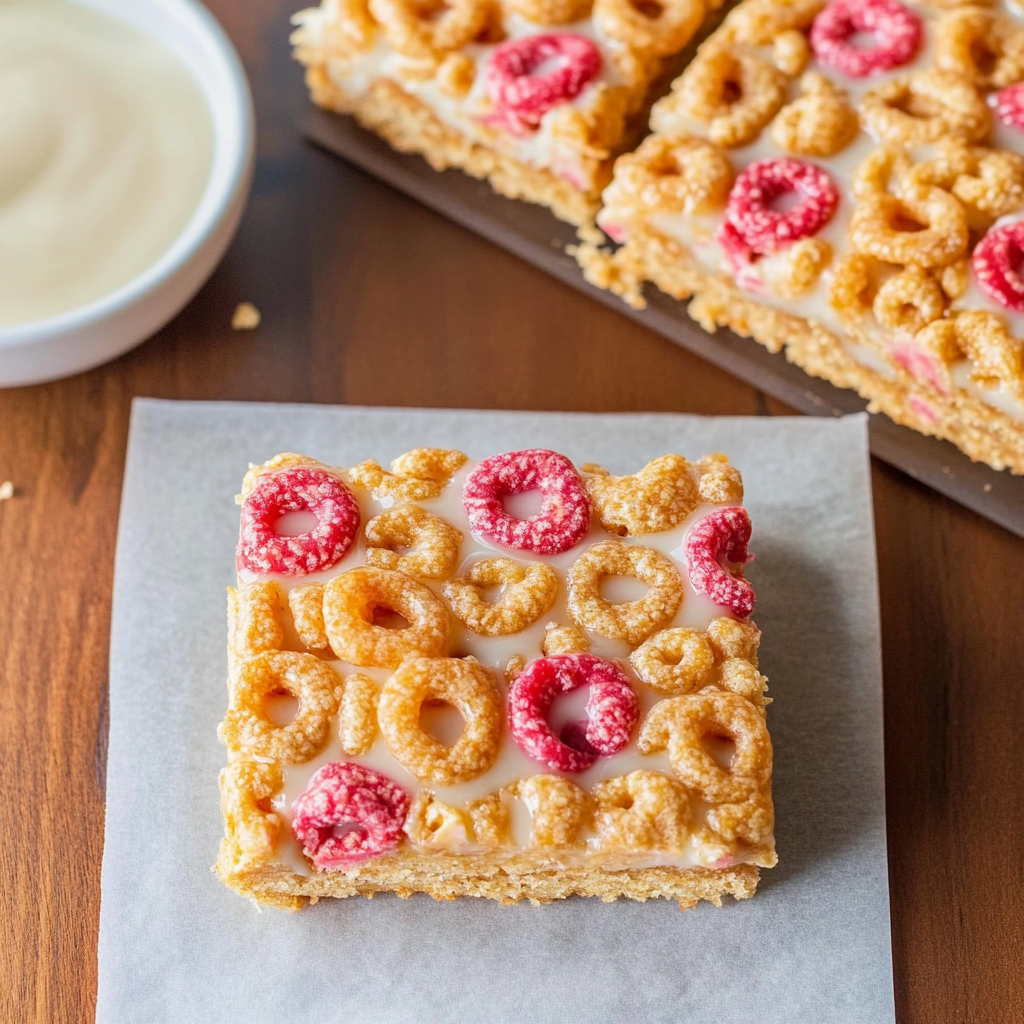
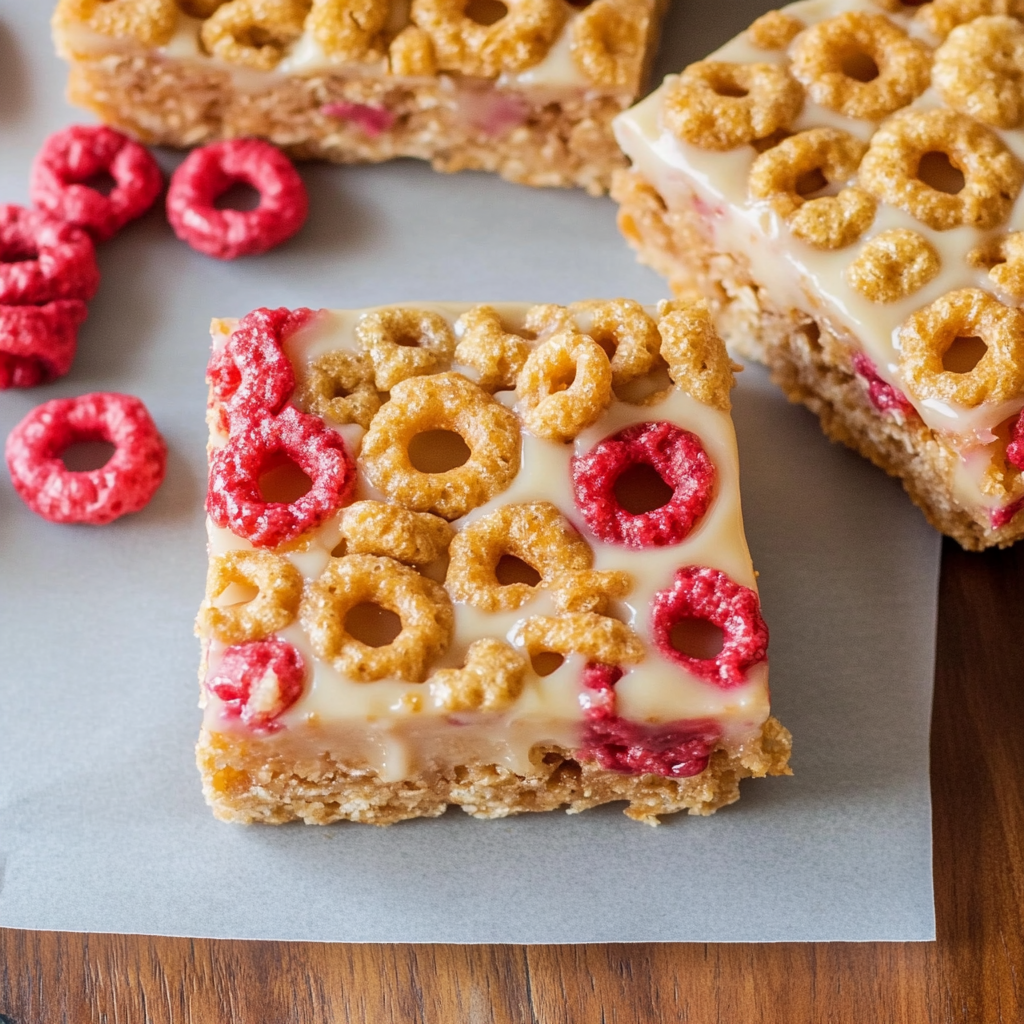
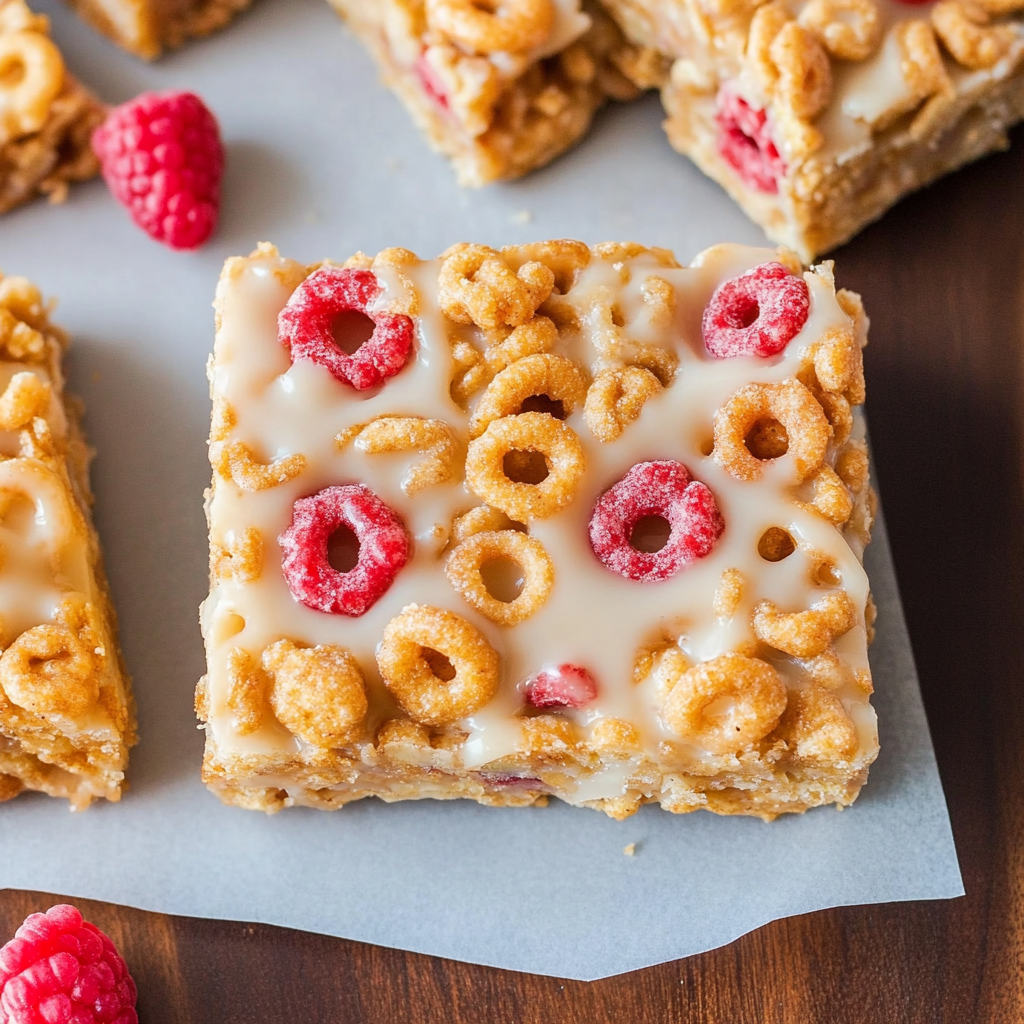
- Their vibrant colors make them visually appealing, enticing kids and adults alike!
- Perfect for breakfast on-the-go or as an afternoon energy boost
They were an instant hit! My kids begged me to make them again, and they even tried to convince me that they could be breakfast. delicious breakfast biscuits
Essential Ingredients
Here’s what you’ll need to make this delicious dish:
- Rolled Oats: Use old-fashioned rolled oats for the best texture; they provide chewiness while holding everything together.
- Nut Butter: I love almond butter for its rich flavor, but peanut butter works great too—choose your favorite!
- Honey or Maple Syrup: Sweeten your bars naturally; honey adds a lovely floral note while maple syrup offers a unique richness.
- Dried Fruits: Think raisins, cranberries, or apricots; they add sweetness and chewiness—go wild with your favorites!
- Nuts or Seeds: Almonds, walnuts, or pumpkin seeds add crunch and healthy fats; chop them roughly for better distribution.
The full ingredients list, including measurements, is provided in the recipe card directly below.
Let’s Make it Together
Strongly consider setting aside some time for this fun process—it’s super rewarding!
Prepare Your Baking Dish: Start by preheating your oven to 350°F (175°C). Line an 8×8-inch baking dish with parchment paper for easy removal later.
Mix Dry Ingredients: In a large mixing bowl, combine rolled oats, chopped nuts, and dried fruits. Stir them together until evenly mixed—this is where you can get creative!
Add Wet Ingredients: In another bowl, mix nut butter and honey until smooth. Pour this mixture over the dry ingredients and stir until everything is coated well; it should be sticky!
Press into the Dish: Transfer the mixture into your prepared baking dish. Use a spatula or your hands (lightly greased) to press it down firmly—this step is crucial for keeping your bars intact.
Bake to Perfection: Bake in the oven for about 20-25 minutes until lightly golden on top. The aroma will fill your kitchen—I promise it’ll be hard not to sneak a taste!
Cool & Slice: Let it cool completely in the pan before lifting out using the parchment paper. creamy avocado dip Slice into squares or rectangles; enjoy these delicious cereal bars at home or on-the-go!
These cereal bars are not just tasty but also incredibly versatile—experiment with flavors! Add chocolate chips for extra sweetness or swap in different nut butters based on what you have handy. For more inspiration, check out this Chocolate Peanut Butter Rice Krispie Cups recipe.
Your homemade cereal bars will surely become a staple in your home just like mine did! They’re perfect for snacking throughout busy days or simply indulging during movie nights—a guilt-free treat that everyone loves!
You Must Know
- Cereal bars are a delightful blend of crunch and chewiness, making them perfect for breakfast or snacks
- They can be customized to suit any taste, and their convenient nature means they’re easy to pack for on-the-go munching
Perfecting the Cooking Process
Start by mixing dry ingredients first, then add wet ingredients until well combined. Bake at 350°F for about 20 minutes, ensuring they set but remain chewy.
Add Your Touch
Feel free to swap out nuts or dried fruits based on your preference. Adding a sprinkle of cinnamon or a drizzle of chocolate can elevate the flavor immensely.
Storing & Reheating
Store cereal bars in an airtight container at room temperature for up to a week. If you want them warm, pop them in the microwave for 10 seconds.
Chef's Helpful Tips
- Make sure to let your cereal bars cool completely before cutting; this helps them hold their shape
- Using parchment paper in the baking pan makes cleanup a breeze
- Experiment with nut butter varieties for added flavor and nutrition
Creating these cereal bars reminds me of a family gathering where everyone enjoyed munching on them while sharing stories. The laughter echoed as we compared our favorite flavors and toppings.
FAQ
How long do homemade cereal bars last?
Homemade cereal bars typically last about one week when stored properly.
Can I freeze cereal bars?
Yes, you can freeze cereal bars for up to three months for longer storage.
What is the best way to cut cereal bars?
Use a sharp knife after cooling completely for clean cuts without crumbling.

Homemade Cereal Bars
- Total Time: 35 minutes
- Yield: Approximately 12 servings 1x
Description
Homemade cereal bars are a delightful and nutritious snack that combines the wholesome goodness of oats, nuts, and dried fruits. Perfect for busy mornings or as an after-school treat, these bars are easy to make and customizable to fit your taste preferences. Enjoy a chewy, satisfying bite filled with flavor and energy that will keep you fueled throughout the day.
Ingredients
- 2 cups rolled oats
- 1 cup nut butter (almond or peanut)
- 1/2 cup honey or maple syrup
- 1 cup dried fruits (raisins, cranberries, or apricots)
- 1/2 cup chopped nuts (almonds, walnuts, or pumpkin seeds)
Instructions
- Preheat oven to 350°F (175°C) and line an 8×8-inch baking dish with parchment paper.
- In a large bowl, mix rolled oats, chopped nuts, and dried fruits until well combined.
- In another bowl, combine nut butter and honey until smooth. Pour over the dry ingredients and stir until everything is coated.
- Press the mixture firmly into the prepared baking dish using a spatula or greased hands.
- Bake for 20-25 minutes until lightly golden. Allow to cool completely before slicing into squares.
- Prep Time: 10 minutes
- Cook Time: 25 minutes
- Category: Snack
- Method: Baking
- Cuisine: American
Nutrition
- Serving Size: 1 bar (40g)
- Calories: 160
- Sugar: 10g
- Sodium: 20mg
- Fat: 7g
- Saturated Fat: 1g
- Unsaturated Fat: 6g
- Trans Fat: 0g
- Carbohydrates: 21g
- Fiber: 3g
- Protein: 4g
- Cholesterol: 0mg


Pingback: Sprouted Moong Salad