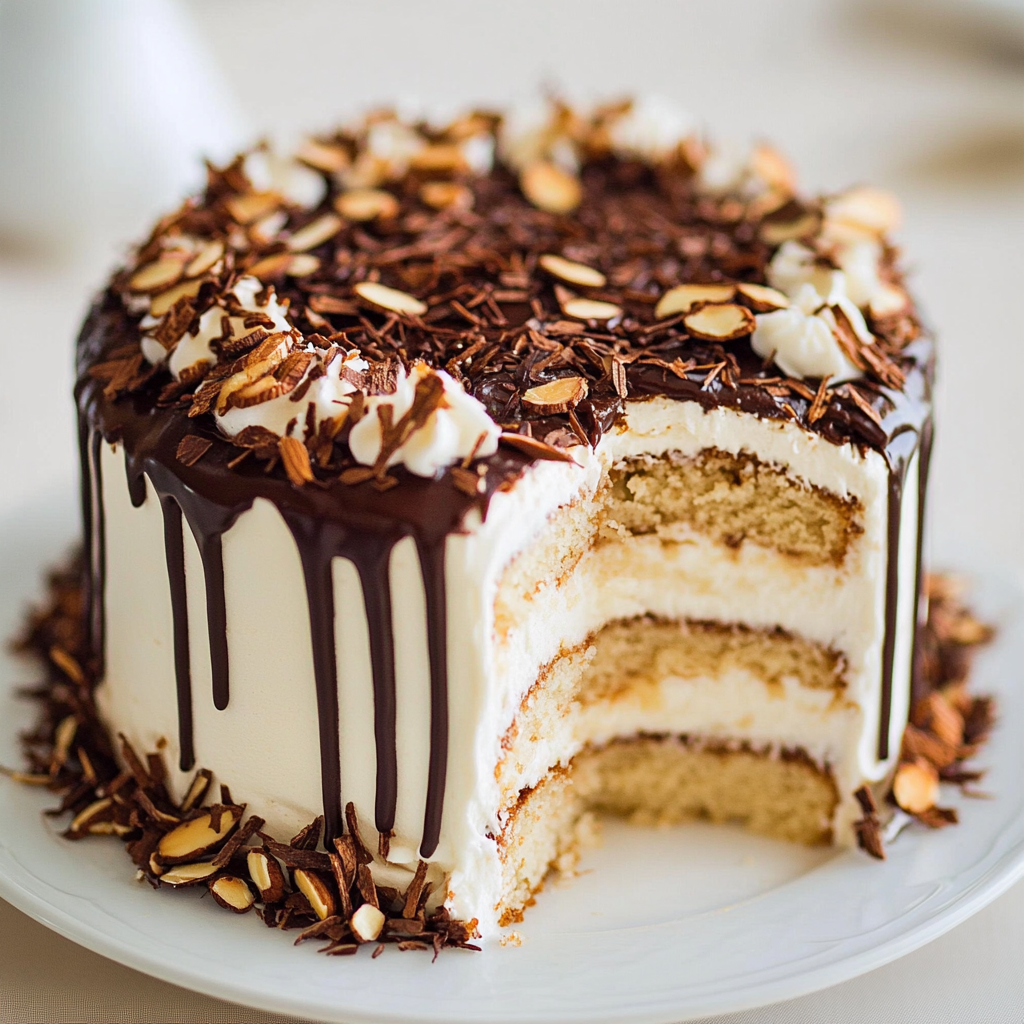
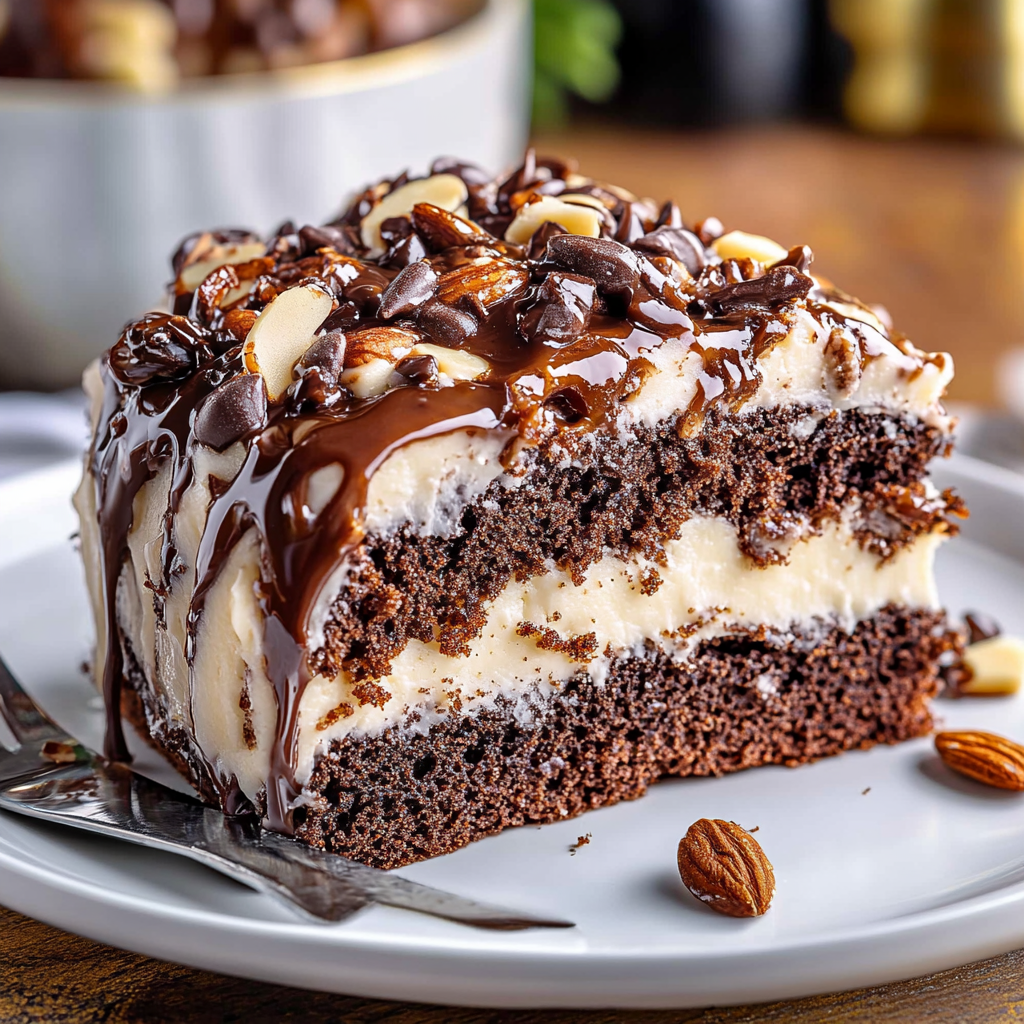
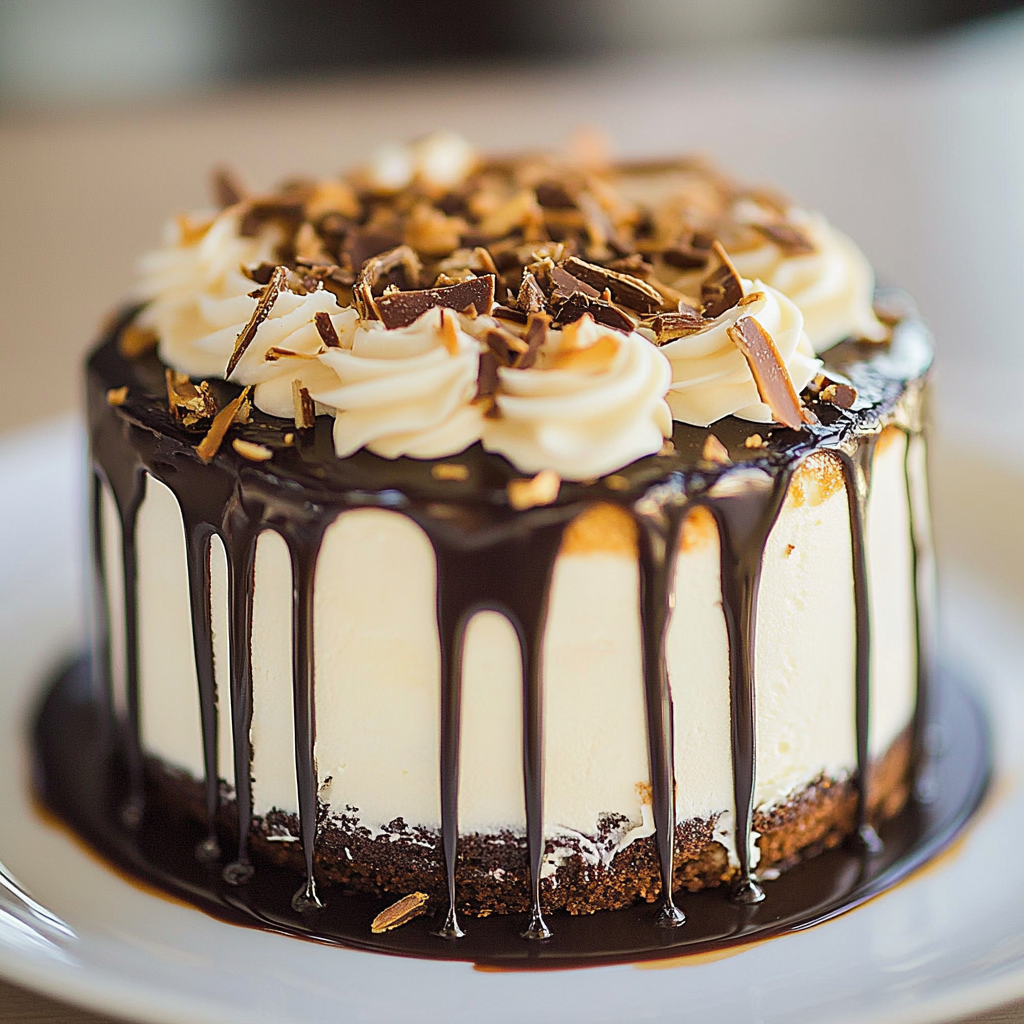
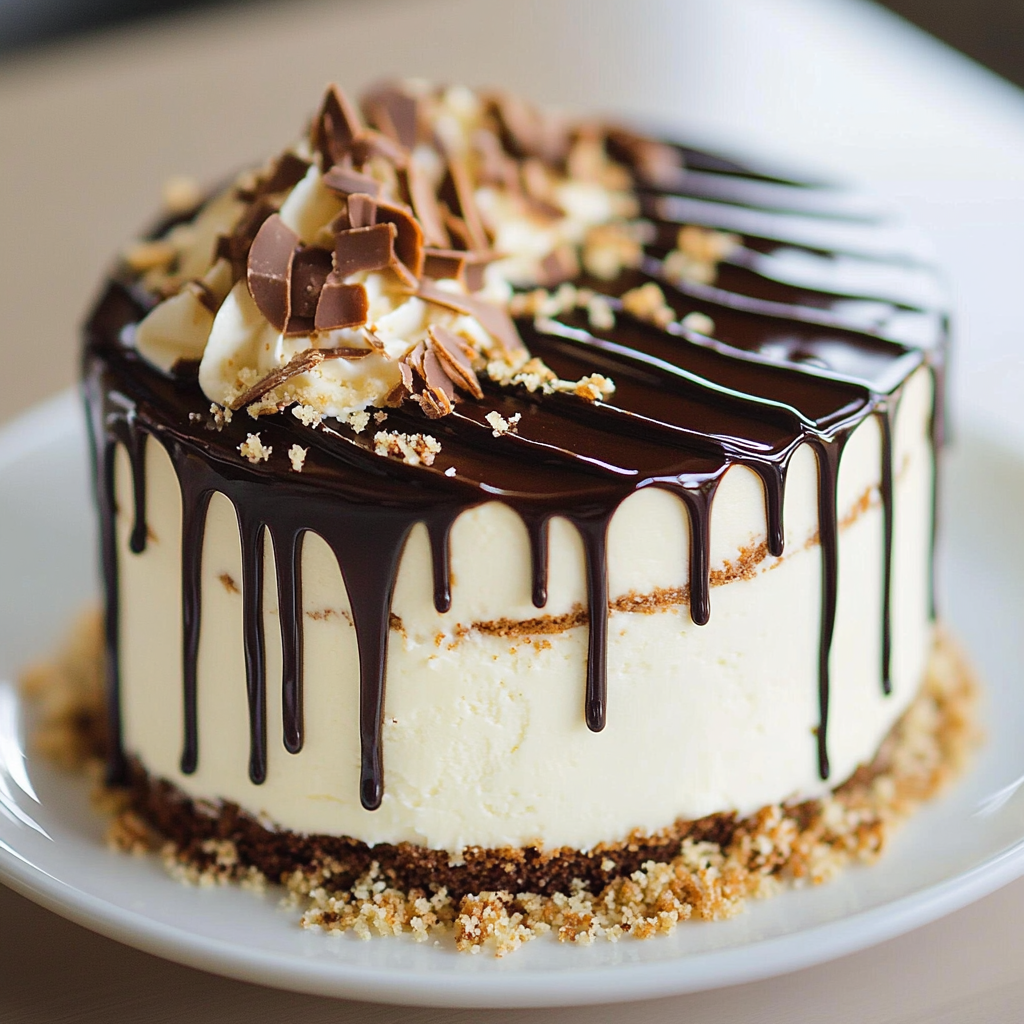
If you love the classic combination of chocolate, coconut, and almonds found in Almond Joy candy bars, then you will absolutely adore this almond joy cake. This delightful dessert brings together the rich flavors of chocolate and coconut while incorporating crunchy almonds to create a moist and decadent cake that is perfect for any occasion. Whether you’re celebrating a birthday or simply want to satisfy your sweet tooth, this cake is sure to impress your family and friends.
In this article, we will take you through the process of making an irresistible almond joy cake from scratch. You’ll discover how simple it is to create a beautifully layered chocolate cake filled with creamy coconut frosting and topped with luscious chocolate ganache. Not only will we provide detailed instructions for each step of the process, but we’ll also share tips on how to serve and store your masterpiece.
Get ready to dive into the world of baking as we guide you through the essential ingredients needed for this delightful treat and the step-by-step preparation method that makes it easy for bakers of all skill levels. By the end of this article, you’ll have all the knowledge required to whip up a stunning almond joy cake that will leave everyone asking for seconds.
Main Ingredients
All-Purpose Flour
For the base of our almond joy cake, you’ll need 2 cups of all-purpose flour. This versatile ingredient provides structure to the cake while keeping it light and fluffy. The flour helps create a perfect crumb texture that pairs wonderfully with the rich flavors of chocolate and coconut.
Granulated Sugar
Next on our list is 1 ½ cups of granulated sugar. Sugar not only adds sweetness but also helps retain moisture within the cake, ensuring it stays fresh longer after baking. This ingredient contributes to achieving that irresistible balance between sweetness and richness that defines a truly great dessert.
Unsweetened Cocoa Powder
To give our almond joy cake its deep chocolate flavor, we’ll use ¾ cup of unsweetened cocoa powder. This ingredient imparts a rich taste without adding extra sugar. It’s essential for delivering that luxurious dark color that makes every slice enticingly appealing.
Baking Powder
Don’t forget about 1 ½ teaspoons of baking powder! This leavening agent is crucial for helping your cake rise during baking. It creates air pockets within the batter that lead to a light texture while preventing it from becoming dense or heavy.
Salt
A pinch of salt (around ½ teaspoon) may seem small but plays an essential role in enhancing all flavors in your almond joy cake. Salt balances sweetness while bringing out the richness of cocoa and other ingredients.
Eggs
To bind everything together, you’ll need 3 large eggs at room temperature. Eggs provide moisture as well as stability in baked goods; they contribute to creating a tender crumb texture that melts in your mouth.
Whole Milk
For added moisture and richness, include 1 cup of whole milk in your batter. Milk helps achieve a smooth consistency while keeping your finished product moist—perfect for indulging on special occasions!
Vanilla Extract
To elevate flavors even further, add 2 teaspoons of pure vanilla extract! This ingredient enhances the overall taste profile by providing warmth without overpowering other ingredients—it’s what makes every bite irresistible.
Sweetened Shredded Coconut
As we move toward our filling layer, don’t miss out on 2 cups of sweetened shredded coconut! This adds both texture and flavor reminiscent of tropical delights—bringing that signature Almond Joy essence right into your kitchen!
Sliced Almonds
Finally, include about 1 cup of sliced almonds for crunch! These nuts bring not only flavor but also visual appeal when sprinkled atop each layer; they contrast beautifully against smooth frosting.

How to Prepare Almond Joy Cake
Step One: Preparing Your Batter
Start by preheating your oven to 350°F (175°C). Grease two round 9-inch baking pans with butter or non-stick spray; line them with parchment paper for easy release after baking. In a mixing bowl, whisk together all-purpose flour, cocoa powder, baking powder, and salt until combined—this ensures even distribution throughout your batter.
In another bowl or stand mixer fitted with paddle attachment cream together granulated sugar and softened butter until light and fluffy—about 3-5 minutes should suffice here! Next add eggs one at a time followed by whole milk—mixing until fully incorporated before moving on—don’t forget vanilla extract!
Slowly incorporate dry ingredients into wet mixture until just combined; be careful not to over-mix as it can lead to tough cakes! Divide batter evenly among prepared pans before gently smoothing tops with spatula—bake these beauties for approximately 25-30 minutes or until toothpick inserted comes out clean.
Allow cakes cool completely in pans before transferring onto wire racks; patience pays off since warm cakes could break apart during removal!
Step Two: Making Coconut Frosting
While cakes cool down let’s whip up our luscious coconut frosting! In a mixing bowl beat softened cream cheese along with unsalted butter until creamy—this takes about two minutes. Gradually add powdered sugar along with sweetened shredded coconut; mix until smooth consistency forms—you’re aiming for something spreadable!
Once cakes are completely cooled place one layer on serving platter; generously spread half prepared frosting across top using offset spatula before carefully placing second layer atop first—don’t worry if some frosting spills over sides—it’s part of charm!
Spread remaining frosting around edges ensuring each bite includes plenty deliciousness—it should resemble something like heavenly cloud covering all sides; then set aside while we prepare ganache topping next!
Step Three: Creating Chocolate Ganache
Now let’s finish off this masterpiece by making rich chocolate ganache! Start by chopping up good quality semi-sweet chocolate into small pieces (about eight ounces should do). In saucepan heat heavy cream until simmering—not boiling—and pour over chopped chocolate pieces inside heat-proof bowl; let sit undisturbed for three minutes before stirring until silky smooth emerges!
Allow ganache cool slightly before pouring over frosted layers allowing it drip down sides naturally if desired—it adds lovely touch plus visually stunning effect too! Top off final presentation by sprinkling sliced almonds atop ganache—presenting something truly divine awaits everyone who takes slice homeward!

Serving and Storing Tips
Serving Suggestions
When it comes time to serve your beautifully crafted almond joy cake there are numerous delightful options available! For best results consider slicing chilled portions using serrated knife—not only does this prevent crumbling but also gives those clean edges everyone loves seeing on dessert tables!
Pair each slice alongside scoop vanilla ice cream drizzle additional melted chocolate sauce if desired—they complement flavors perfectly creating indulgent experience worth savoring every moment spent enjoying company gathered around table together sharing laughter stories while relishing dessert magic unfolding right before eyes!
Consider garnishing plates lightly dusted with cocoa powder fresh berries too—they add vibrant color visual appeal elevating overall presentation making guests feel extra special treated during gatherings celebrations alike!
Storing Tips
If you find yourself with leftover slices don’t fret—they store remarkably well when handled properly! Place any remaining portions inside airtight container refrigerate up-to five days maximum freshness still remains intact thanks sealed environment keeps moisture locked within preventing drying out texture losing quality altogether!
For longer-term preservation consider freezing individual servings wrap tightly plastic wrap aluminum foil prior placing inside freezer-safe containers—they can last several months frozen without losing taste integrity upon thawing later down road whenever cravings arise once again bringing joy back life through deliciousness enjoyed previously shared amongst loved ones time after time again without fail—truly remarkable testament power baked goods bringing happiness lives everywhere around world today!
Mistakes to avoid
Using Unsweetened Cocoa Powder
One common mistake when making an almond joy cake is using unsweetened cocoa powder instead of sweetened cocoa. The cake’s flavor profile relies heavily on the balance between sweetness and richness. Unsweetened cocoa powder can make your cake taste dull and overly bitter, which detracts from the overall enjoyment of this dessert. Aim for a high-quality sweetened cocoa powder to enhance the chocolate flavor while complementing the sweetness of the other ingredients. If you only have unsweetened cocoa on hand, consider adjusting the sugar in your recipe to compensate for the bitterness.
Skipping the Toasting Step
Another frequent error is skipping the toasting step for coconut and almonds. Toasting these ingredients before adding them to your almond joy cake enhances their flavors and adds a delightful crunch. Raw coconut and almonds can taste bland and lack depth, which can affect your cake’s overall texture and flavor. To toast your ingredients, simply spread them out on a baking sheet and place them in an oven preheated to 350°F (175°C) for about 5-10 minutes, stirring occasionally until golden brown. This small step makes a significant difference in flavor.
Over-mixing the Batter
Over-mixing the batter is a mistake that many novice bakers make. When you over-mix, you develop gluten in the flour, resulting in a dense and tough cake instead of a light and fluffy one. To avoid this, mix until just combined; it’s okay if there are some small lumps in the batter. Gently folding in dry ingredients with wet ones ensures that you maintain a tender crumb in your almond joy cake. Remember that achieving the right texture is crucial for this dessert’s success.

Tips and tricks
Use Room Temperature Ingredients
Using room temperature ingredients is essential for creating a well-blended batter. Cold butter or eggs can lead to uneven mixing, causing parts of your batter to be dry while others remain too moist. To achieve consistent results, take your eggs and butter out of the fridge at least an hour before you begin baking. This practice allows them to blend more easily into your almond joy cake batter, creating a smoother texture that bakes evenly.
Measure Ingredients Accurately
Accurate measurements are vital when baking an almond joy cake. Unlike cooking, where there’s more room for improvisation, baking requires precision for successful outcomes. Use a kitchen scale for dry ingredients like flour and sugar; measuring cups can often lead to inaccuracies due to packing or settling. For liquids, use clear measuring cups with graduated markings to ensure you’re adding just the right amount.
Allow Cake to Cool Completely
After baking your almond joy cake, it’s tempting to dig in right away; however, allowing it to cool completely is important for achieving optimal texture and flavor integration. A warm cake may crumble or break apart when cutting, leading to an unsightly presentation. Let the cake cool in its pan for about 10-15 minutes before transferring it onto wire racks for further cooling. A completely cooled cake not only slices better but also allows flavors to meld beautifully.
Suggestions for almond joy cake
Experiment with Frosting Variations
While traditional frosting pairs well with an almond joy cake, consider experimenting with different frosting variations to elevate this dessert further. For instance, using a coconut cream cheese frosting adds tanginess that complements the sweetness of chocolate and coconut flavors beautifully. Alternatively, try a whipped chocolate ganache frosting if you prefer something richer; this adds luxurious chocolatey goodness that pairs perfectly with almond accents.
Incorporate Almond Extract
Adding almond extract can significantly enhance the flavor profile of your almond joy cake without overpowering it. Almond extract offers a concentrated dose of nutty flavor that enhances both the almonds within the cake and its overall taste experience. Start by adding just half a teaspoon; you can always adjust based on personal preference but be careful not to add too much as it can become overwhelming.
Serve with Fresh Fruit
For an added touch of freshness alongside your almond joy cake, consider serving it with fresh fruit such as strawberries or raspberries. These fruits provide natural acidity that contrasts beautifully against the rich flavors of chocolate and coconut while also adding vibrant color to your presentation plate. The combination creates an appealing visual impact while enhancing each bite’s taste experience through balanced flavors.
FAQs for almond joy cake :
What is an almond joy cake?
An almond joy cake is a delightful dessert inspired by the classic candy bar. It features layers of chocolate cake, creamy coconut frosting, and crunchy almonds. This indulgent treat combines the rich flavors of chocolate and coconut, making it a perfect choice for chocolate lovers. The cake can be served at various occasions, from birthdays to festive gatherings. To create an authentic almond joy experience, many recipes include a ganache topping or drizzle that enhances the chocolate flavor and adds richness. Whether you are baking for yourself or entertaining guests, this cake is sure to impress and satisfy sweet cravings.
How do I make almond joy cake from scratch?
To make an almond joy cake from scratch, start with a simple chocolate cake recipe using flour, cocoa powder, sugar, eggs, butter, and baking powder. Mix these ingredients until smooth and bake in preheated pans. For the frosting, blend unsweetened shredded coconut with butter and powdered sugar until fluffy. Once your cakes cool completely, layer them with the coconut frosting in between. You can also sprinkle chopped almonds on top for added texture and flavor. For a finishing touch, drizzle melted chocolate ganache over the entire cake before serving. This delicious homemade version will surely beat any store-bought alternatives.
Can I substitute ingredients in almond joy cake?
Yes, you can substitute some ingredients in almond joy cake to cater to dietary preferences or restrictions. If you need a gluten-free version, use a gluten-free flour blend instead of all-purpose flour. For those who are dairy-free, consider using plant-based milk and dairy-free butter alternatives. You can also replace refined sugar with natural sweeteners like maple syrup or coconut sugar if desired. When substituting ingredients, ensure that the texture and flavor remain balanced so that the final product still embodies the essence of an almond joy cake.
How long does almond joy cake last?
An almond joy cake typically lasts for about 3 to 5 days when stored properly in an airtight container at room temperature. If you live in a humid climate or if your kitchen tends to be warm, refrigerating the cake may extend its freshness to about a week. However, keep in mind that refrigeration can alter the texture slightly; it may become denser over time. If you want to enjoy it beyond this timeframe, consider freezing individual slices wrapped tightly in plastic wrap followed by aluminum foil for up to three months.
Can I decorate my almond joy cake differently?
Absolutely! While traditional decorations often include chocolate ganache and shredded coconut topped with whole almonds, you can get creative with your almond joy cake decorations. For example, try adding colorful sprinkles for a festive look or using fresh fruit like raspberries or strawberries for contrast against the chocolate layers. Edible flowers can provide elegance if you’re serving the cake at special occasions. You could even create a layered effect with different icings or fillings between each layer for an eye-catching presentation.
Is there a vegan version of almond joy cake?
Yes! Making a vegan version of an almond joy cake is quite simple by substituting animal-based ingredients with plant-based alternatives. Use flaxseed meal mixed with water as an egg replacement or opt for commercial egg replacers available at most grocery stores. For milk and butter alternatives, choose unsweetened almond milk and coconut oil or vegan butter instead of dairy products. The texture may vary slightly compared to traditional recipes; however, this vegan option still delivers delicious flavors reminiscent of classic almond joys while catering to those following plant-based diets.
Print
almond joy cake
- Total Time: 1 hour
- Yield: Serves approximately 12 people
Description
Indulge your senses with this delightful Almond Joy Cake, inspired by the beloved candy bar. This moist chocolate cake is layered with creamy coconut frosting and topped with rich chocolate ganache, creating a heavenly dessert perfect for any celebration or as a sweet treat for yourself. Each slice offers a delicious combination of rich chocolate, tropical coconut, and crunchy almonds that will leave everyone asking for seconds. With simple ingredients and easy-to-follow steps, you can create this stunning cake that is sure to impress!
Ingredients
– 2 cups all-purpose flour
– 1 ½ cups granulated sugar
– ¾ cup unsweetened cocoa powder
– 1 ½ teaspoons baking powder
– ½ teaspoon salt
– 3 large eggs
– 1 cup whole milk
– 2 teaspoons vanilla extract
– 2 cups sweetened shredded coconut
– 1 cup sliced almonds
Instructions
1. Preheat oven to 350°F (175°C). Grease two round 9-inch baking pans.
2. In a bowl, whisk together flour, cocoa powder, baking powder, and salt.
3. In another bowl, cream sugar and softened butter until fluffy. Add eggs one at a time followed by milk and vanilla.
4. Gradually incorporate dry ingredients until just combined. Divide batter into prepared pans.
5. Bake for 25-30 minutes or until a toothpick comes out clean. Cool completely.
6. For frosting, beat cream cheese and butter; mix in powdered sugar and coconut.
7. Layer cakes with frosting in between, then frost the top and sides.
8. Prepare ganache by heating cream and pouring over chopped chocolate; stir until smooth and pour over frosted cake.
Notes
– For extra flavor, toast the almonds and coconut before adding them to the cake.
– Swap regular milk for almond or coconut milk for a dairy-free option.
- Prep Time: 30 minutes
- Cook Time: 30 minutes
Nutrition
- Calories: 350
- Fat: 15g
- Carbohydrates: 48g
- Protein: 5g
In summary, the almond joy cake is a decadent dessert that captures the delightful flavors of the beloved candy bar it’s inspired by—chocolate layered with creamy coconut and crunchy almonds creates a perfect combination that appeals to many palates. Preparing this dessert from scratch allows you to customize it according to personal taste preferences while ensuring freshness and quality ingredients are used throughout the process.
Substituting ingredients makes this recipe versatile enough to accommodate dietary needs without sacrificing flavor or texture—whether gluten-free or vegan options are required. When stored properly under optimal conditions, your homemade creation can last several days while retaining its delicious qualities.
Ultimately, whether you’re hosting a gathering or simply indulging yourself with something special at home, an almond joy cake promises satisfaction every time it’s served—allowing everyone to enjoy its rich yet comforting flavors together.


