Red velvet cake is a delightful treat that has captured the hearts of many dessert lovers. This classic Southern dessert boasts a rich flavor profile and a striking appearance that makes it perfect for any occasion. Whether it’s a birthday celebration, wedding, or simply an indulgent weekend treat, this luscious red velvet cake will impress your guests and satisfy your sweet tooth. With its unique combination of cocoa powder, buttermilk, and a hint of vanilla, this cake offers a velvety texture that melts in your mouth.
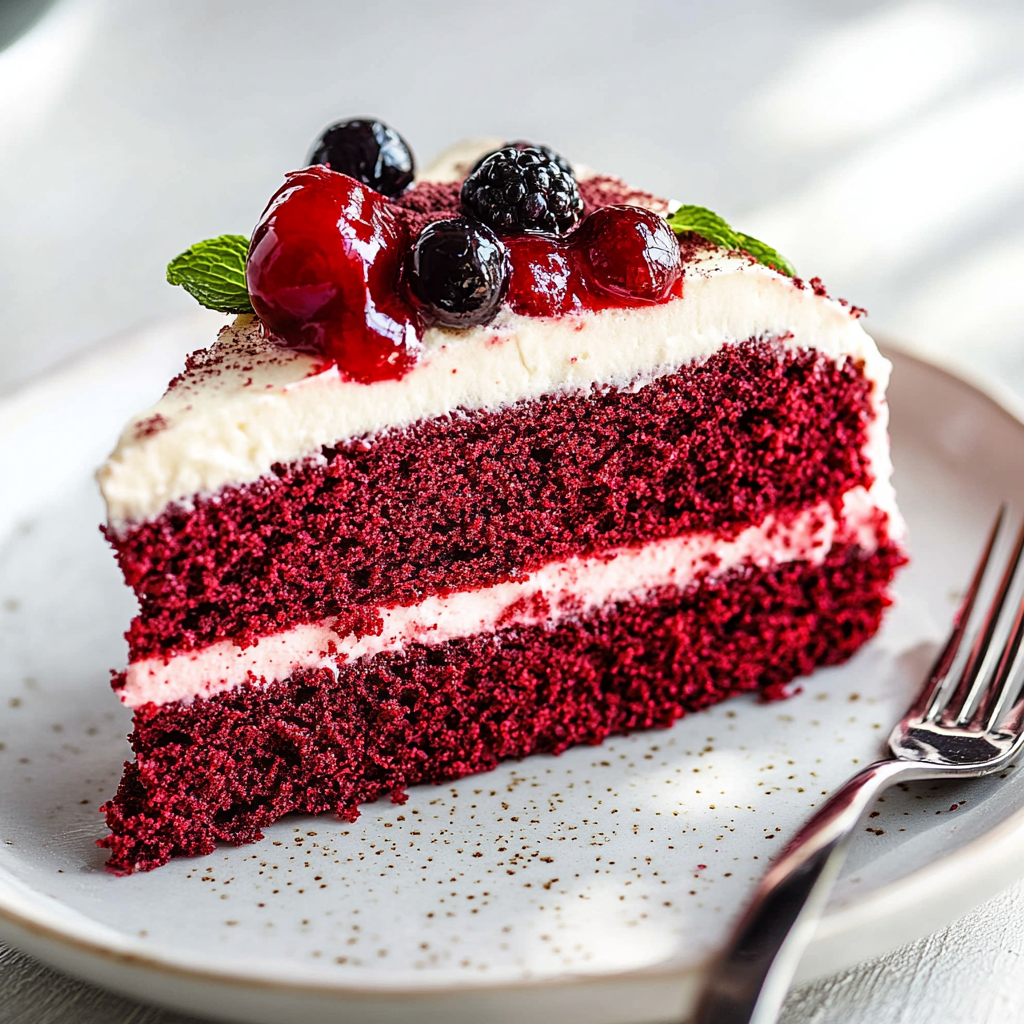
The striking red color comes from the addition of food coloring; however, you can achieve softer hues using natural alternatives like beet juice if you prefer. Topped with smooth cream cheese frosting, every slice of this decadent dessert is both visually appealing and utterly delicious. In this article, we will guide you through the process of making the perfect red velvet cake at home. We will cover all the essential ingredients you’ll need and provide detailed step-by-step instructions to ensure success in your baking endeavors. Get ready to impress your family and friends with this stunning and scrumptious dessert that they won’t soon forget!
Main Ingredients
All-Purpose Flour
All-purpose flour serves as the foundation for our red velvet cake. You will need about 2 ½ cups for this recipe. It provides structure and stability while allowing the cake to rise beautifully during baking. The gluten content in all-purpose flour helps create a tender crumb that pairs perfectly with the other ingredients. Be sure to sift the flour before measuring it to avoid lumps and ensure accurate measurements.
Granulated Sugar
Granulated sugar is crucial for achieving the sweetness necessary in our decadent red velvet cake. You will require 1 ½ cups of sugar for this recipe. Sugar not only sweetens but also adds moisture to the cake, contributing to its soft texture. When creamed with butter or oil, sugar helps incorporate air into the batter, leading to a light and fluffy final product.
Unsweetened Cocoa Powder
Cocoa powder adds depth to the flavor profile of our red velvet cake without overpowering its sweetness. Use about ¼ cup of unsweetened cocoa powder for this recipe. Choosing high-quality cocoa powder will enhance the chocolatey undertones while giving that signature reddish hue when combined with buttermilk and food coloring.
Vegetable Oil
For moistness and richness in your red velvet cake, you’ll need about 1 cup of vegetable oil or melted butter if preferred. Using oil instead of butter allows for better moisture retention during baking while ensuring a tender crumb. Additionally, oil does not solidify as butter does when cooled; it maintains a delicate texture throughout.
Buttermilk
Buttermilk is essential for achieving the tangy flavor characteristic of traditional red velvet cakes. You will need approximately 1 cup of buttermilk in this recipe. The acidity in buttermilk reacts with baking soda to create lift while also adding moisture to the batter. If you don’t have buttermilk on hand, you can easily substitute it by mixing regular milk with vinegar or lemon juice.
Eggs
Eggs provide structure and stability in our red velvet cake as well as richness from their fat content. For this recipe, use two large eggs at room temperature. They help bind the ingredients together while contributing to the overall texture of the finished product—making it soft yet sturdy enough for layering.
Red Food Coloring
The vibrant color of our red velvet cake comes from approximately 2 tablespoons of liquid or gel food coloring specifically designed for baking purposes. This key ingredient gives the cake its signature look without altering its flavor significantly. Feel free to adjust the amount based on how bold you want your color to appear!
Vanilla Extract
Vanilla extract enhances all flavors present within our dish while providing an aromatic quality that elevates each bite! You will need about 2 teaspoons of pure vanilla extract for this recipe—never underestimate how much difference quality extracts can make when baking!
Baking Soda & Baking Powder
A combination of baking soda (1 teaspoon) and baking powder (1 teaspoon) acts as leavening agents in our recipe—a must-have for producing proper rise! Together they create air pockets within which expand when exposed to heat upon cooking!
How to Prepare Red Velvet Cake
Step 1: Preheat Your Oven
Begin by preheating your oven to 350°F (175°C). This step ensures that your cakes bake evenly from start until finish! While waiting for it reach temperature—prepare your pans! Grease two 9-inch round pans with cooking spray or butter then lightly dust them with flour—this prevents sticking while allowing easy removal later on!
Step 2: Mix Dry Ingredients
In a medium-sized bowl combine all-purpose flour (2 ½ cups), unsweetened cocoa powder (¼ cup), baking soda (1 teaspoon), and baking powder (1 teaspoon). Make sure everything is thoroughly mixed together using either whisking motions or sifting methods—it’s important because these dry elements play integral roles during baking processes!
Step 3: Cream Sugar And Oil
In another large mixing bowl add granulated sugar (1 ½ cups) alongside vegetable oil (1 cup). Using an electric mixer beat those ingredients until they form creamy mixtures resembling pale yellow fluffiness—around three minutes should suffice here! Next introduce eggs one at time followed by pure vanilla extract (2 teaspoons)—continue beating until fully incorporated before moving forward!
Step 4: Combine Wet Ingredients
Take out another bowl where you’ll pour together buttermilk (1 cup) plus food coloring (2 tablespoons)—stir gently until everything blends nicely! This colorful mixture serves two purposes; it adds moisture plus gives body/characteristic hue expected from traditional recipes!
Step 5: Alternate Mixing Dry And Wet Ingredients
Gradually fold half dry mix into wet blend while alternating it with half previously prepared colored liquid mixture—do not overmix though; aim just blend enough so no visible streaks remain visible after combining! Repeat same process until all elements are included—at this point batter should appear luscious & velvety indeed!
Step 6: Pour Into Prepared Pans
Evenly distribute finished batter among greased pans—use spatula if needed help smooth surface before placing inside preheated oven! Bake approximately thirty-five minutes checking frequently towards end using toothpick inserted into center coming out clean indicates readiness; avoid opening door prematurely since may affect rising times negatively!
Step 7: Cool Completely Before Frosting
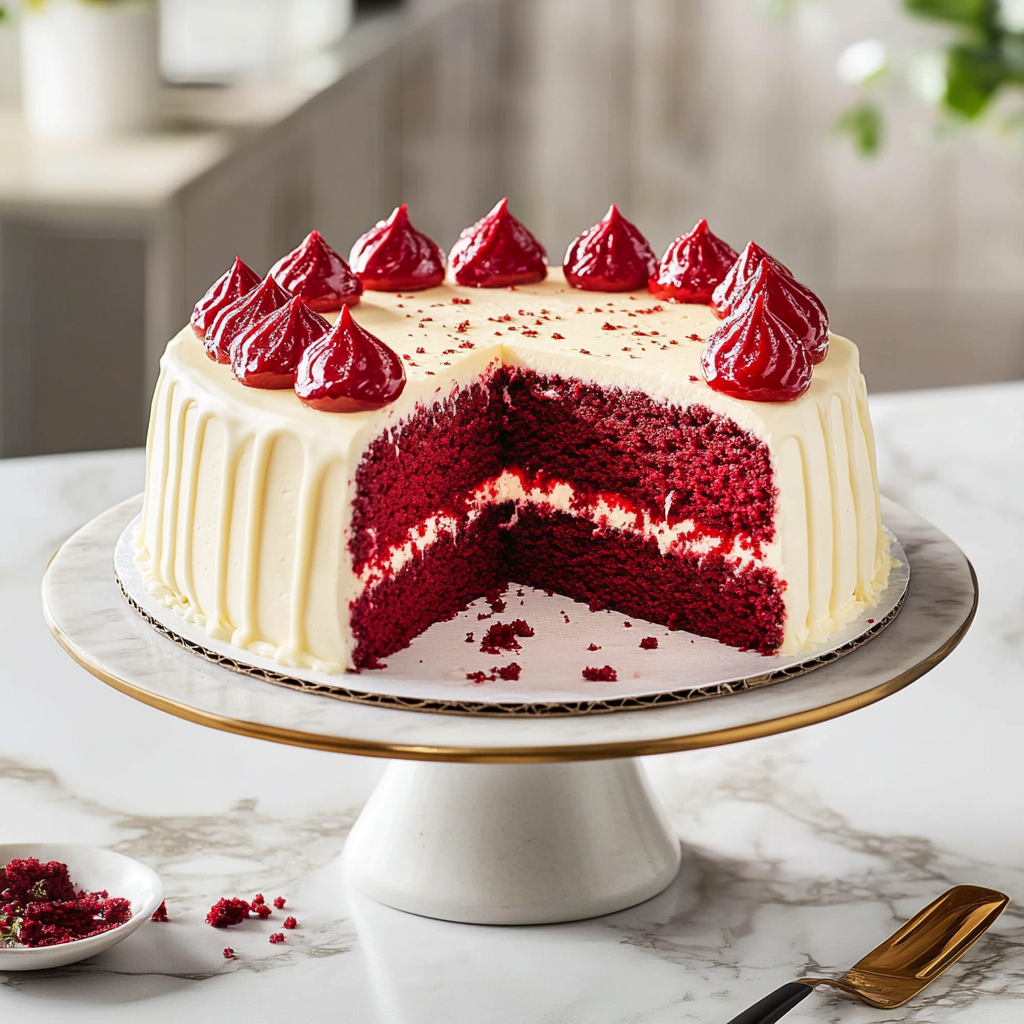
After removing cakes from oven allow them cool down completely on wire racks before attempting remove them from pans—this prevents potential breakage occurring due improper handling too soon after heating process concludes; once cooled frost generously using cream cheese frosting suited optimal balance between sweetness tanginess complimenting overall flavors perfectly!
Serving and Storing Tips
Serving Suggestions
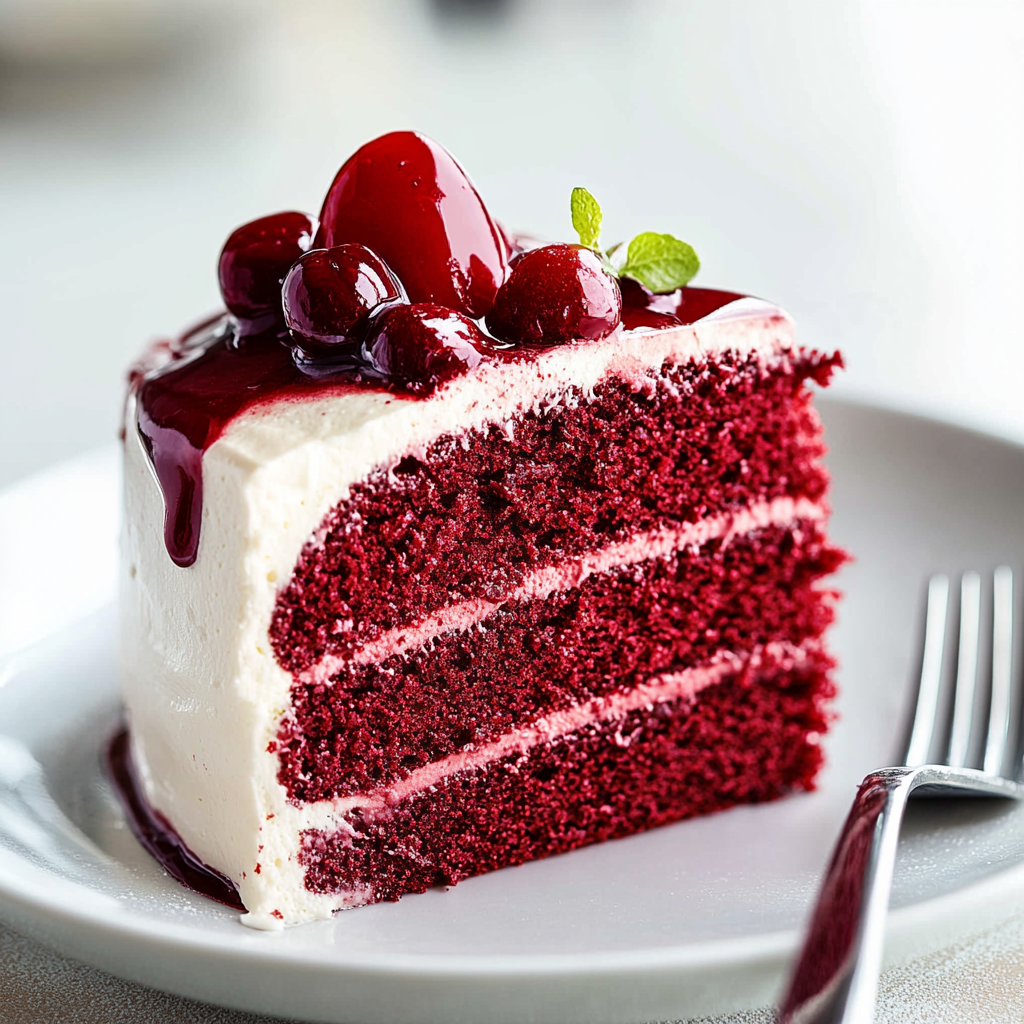
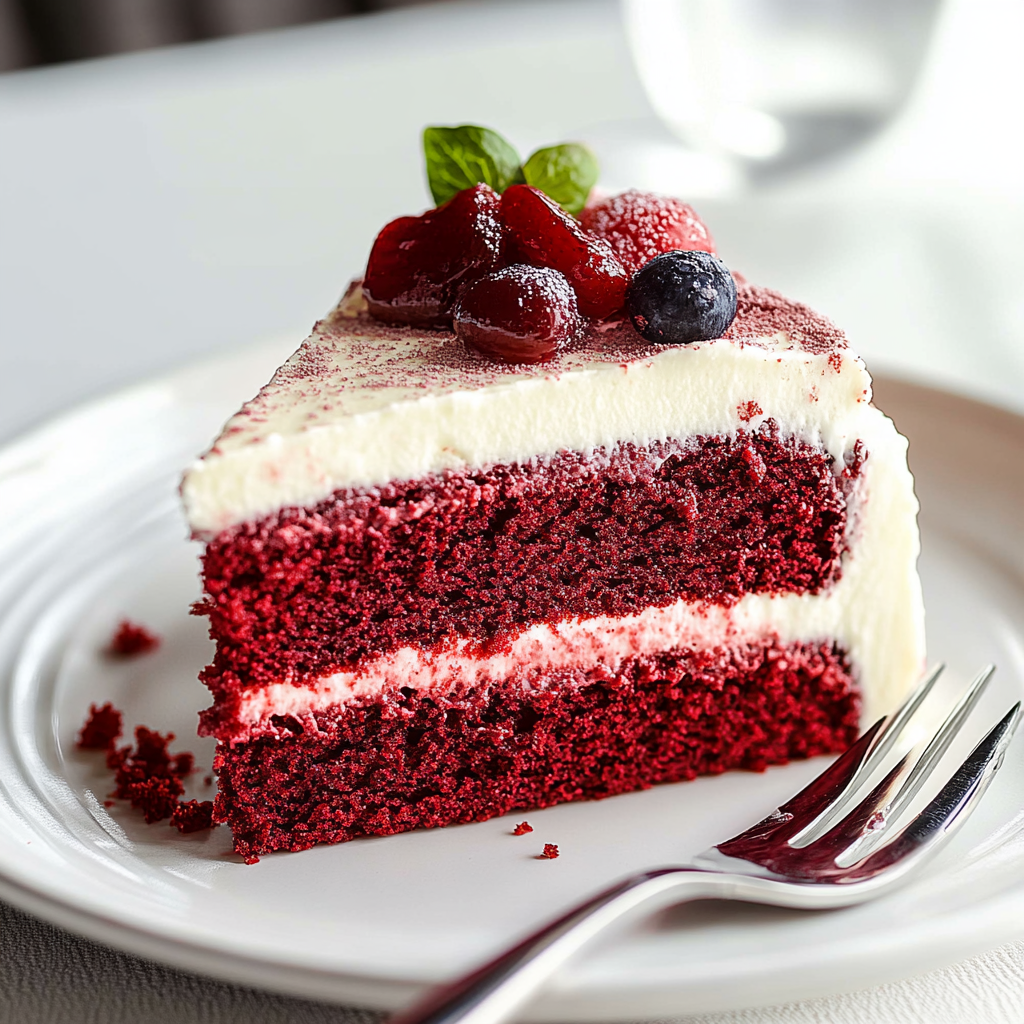
When serving your stunning red velvet cake at gatherings consider pairing slices alongside fresh berries or whipped cream; these additions elevate visual appeal alongside enhancing flavor profiles further! Additionally garnishing plates using mint leaves adds pop color contrast creating inviting presentation each guest will enjoy indulging upon their portions too! Don’t forget serve chilled beverages such iced tea lemonade complementing rich flavors contained within every mouthwatering bite indulgent creation brings forth joyfully onto palettes eagerly awaiting taste sensations amidst celebrations shared amongst loved ones gathered together around tables filled laughter cheerfulness warmth shared connections built through delicious treats everyone enjoys wholeheartedly!
Mistakes to avoid:
Using the wrong type of cocoa powder
One common mistake when making red velvet cake is using the incorrect type of cocoa powder. Many home bakers assume that all cocoa powders are the same, but they are not. For a traditional red velvet cake, it’s best to use unsweetened cocoa powder that has been processed with alkali, also known as Dutch-process cocoa. This type of cocoa provides a smoother flavor and darker color, which enhances the cake’s rich taste. If you use natural cocoa powder instead, it can lead to an unbalanced acidity in the batter and affect the overall texture and flavor of your cake. Always check the packaging to ensure you’re selecting the right kind.
Overmixing the batter
Another frequent error is overmixing the batter after adding dry ingredients. While it’s important to combine your ingredients thoroughly, overmixing can develop gluten, resulting in a tough and dense cake instead of the light and fluffy texture you desire. When you add flour to your wet ingredients, mix just until combined. A few lumps are okay! Allowing your batter to remain somewhat lumpy will ensure that your red velvet cake stays tender and moist once baked.
Skipping room temperature ingredients
A critical step often overlooked is using room temperature ingredients. Eggs, buttermilk, and butter should all be allowed to come to room temperature before mixing them into the batter. Cold ingredients can cause the butter to harden and result in uneven mixing, leading to a dense cake that lacks the desired airy texture. To speed up the process for eggs, simply place them in warm water for about 10 minutes before using them. For buttermilk and butter, cut them into smaller pieces to help them warm up quickly.
Tips and tricks:
Use high-quality food coloring
When making red velvet cake, it’s essential to choose high-quality food coloring for vibrant results. Many recipes call for red food dye, which can vary widely in quality. Opt for gel food coloring rather than liquid dye; gel colors provide a more concentrated hue without adding excess liquid to your batter. If possible, look for brands specifically designed for baking—these will offer richer colors that hold up better during baking. A well-colored red velvet cake not only looks appealing but also enhances its classic presentation.
Incorporate vinegar into your recipe
Adding vinegar is a crucial tip for achieving the right balance in red velvet cake recipes. The combination of vinegar and baking soda creates a reaction that helps leaven your cake while also enhancing its tenderness. This acid-base reaction produces carbon dioxide bubbles that lighten the batter as it bakes. Use white vinegar or apple cider vinegar as they blend seamlessly with other flavors without impacting taste significantly. Just remember not to add too much; one tablespoon per cup of flour is usually sufficient.
Don’t forget about frosting layers
The frosting is just as important as the cake itself in creating an impressive red velvet dessert! Cream cheese frosting is traditional but can be heavy if piled on too thickly between layers or on top of the cake. Ensure that you spread an even layer between each layer of cake while keeping some frosting aside for decorating purposes later on. A well-frosted cake looks polished and inviting—consider using a spatula or offset knife for smooth edges and swirls.
Suggestions for red velvet cake:
Experiment with different fillings
While cream cheese frosting is a classic choice for red velvet cakes, don’t hesitate to explore unique filling options! Consider layering your cake with raspberry or strawberry preserves alongside cream cheese frosting for added tartness and flavor complexity. You could also incorporate chocolate ganache or even whipped cream as fillings—these combinations can elevate your dessert from standard to extraordinary! Just ensure any filling pairs well with both the flavor profile of red velvet and its beloved cream cheese topping.
Pair with complementary beverages
To enhance your enjoyment of red velvet cake, consider pairing it with beverages that complement its rich flavors beautifully! A glass of cold milk or sweet tea works wonderfully with this dessert’s sweetness while balancing out its richness nicely. If you’re feeling adventurous, try serving it alongside coffee drinks like lattes or cappuccinos—these caffeinated choices create an interesting contrast against buttery cakes! For those who prefer something stronger, opt for a fruity dessert wine or champagne; these sparkling options will elevate any celebration involving red velvet treats!
Explore decorative techniques
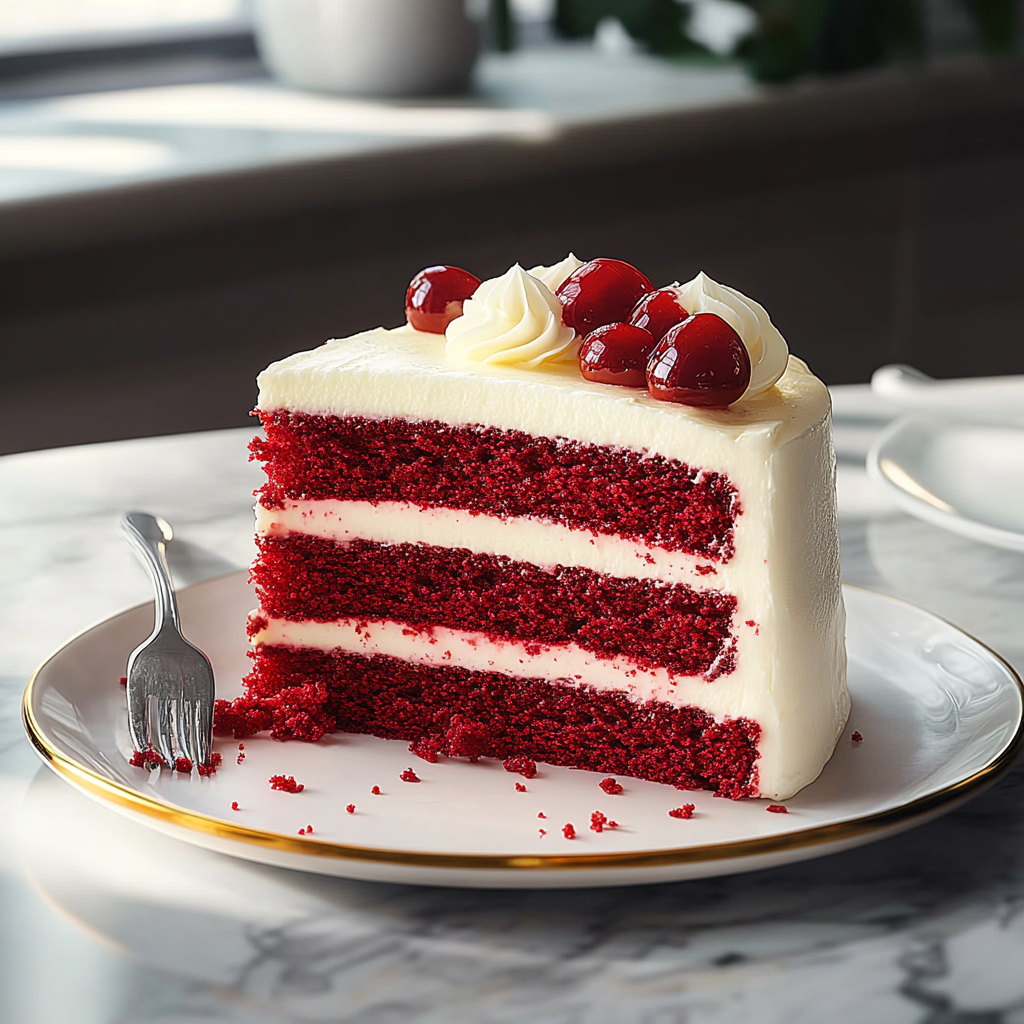
Presentation matters when serving a stunning dessert like red velvet cake! Explore various decorative techniques such as piping borders around each layer using cream cheese frosting or adding edible flowers on top for an elegant touch. You may even want to sprinkle crushed nuts or chocolate shavings around edges—these elements add visual interest while enhancing flavors harmoniously! Experimenting with different designs allows you to tailor each creation uniquely according to special occasions or personal preferences!
FAQs for red velvet cake:
What ingredients are needed to make red velvet cake?
To create a delicious red velvet cake, you will need several key ingredients. Start with all-purpose flour, cocoa powder, sugar, baking soda, and salt to form the base. For the vibrant red color, you will use red food coloring. Buttermilk is essential for moisture and tenderness, while eggs help bind the ingredients together. You can also include vegetable oil for richness and vanilla extract for flavor. The cream cheese frosting requires cream cheese, butter, powdered sugar, and a splash of vanilla. This combination of ingredients gives the cake its unique taste and texture.
How can I achieve the perfect texture in my red velvet cake?
Achieving the perfect texture in your red velvet cake involves careful measurement and mixing techniques. Start by sifting your dry ingredients to eliminate lumps and ensure even distribution. When mixing wet and dry ingredients, be gentle to avoid overmixing, which can lead to a dense cake. Baking at the correct temperature is crucial; an oven thermometer can help ensure accuracy. Additionally, allow your cakes to cool completely before frosting them; this prevents the frosting from melting or sliding off. Following these tips will yield a light, fluffy texture that makes red velvet cakes irresistible.
Can I make a gluten-free version of red velvet cake?
Yes, you can make a gluten-free version of red velvet cake! Substitute all-purpose flour with a gluten-free blend designed for baking. Make sure it contains xanthan gum or add it separately for proper structure. Other ingredients like cocoa powder and baking soda are typically gluten-free as well. Always check labels to confirm that all components are safe for gluten intolerance or celiac disease. With these adjustments, you can enjoy the same rich flavor and moist texture without compromising on taste.
What is the best way to store leftover red velvet cake?
Storing leftover red velvet cake properly will help maintain its freshness. If you have frosted your cake, place it in an airtight container in the refrigerator; this keeps the cream cheese frosting from spoiling while preserving moisture in the cake itself. If you have unfrosted slices or whole layers, wrap them tightly in plastic wrap before placing them in an airtight container or freezer bag. For long-term storage, consider freezing individual slices or layers, allowing them to thaw slowly in the refrigerator when you’re ready to enjoy them again.
How do I decorate my red velvet cake?
Decorating your red velvet cake can be as simple or elaborate as you like! A classic approach is using cream cheese frosting to generously cover the top and sides of the cake. You can then sprinkle some grated chocolate or add decorative sprinkles for color contrast. For a more sophisticated look, consider piping rosettes around the edges or using fresh berries on top for added flavor and visual appeal. Remember that the decoration should complement your flavor profile while highlighting your baking skills!
Why is cream cheese frosting popular with red velvet cake?
Cream cheese frosting pairs perfectly with red velvet cake due to its creamy texture and tangy flavor profile that balances out the sweetness of the dessert. The slight acidity of cream cheese enhances the overall taste experience without overwhelming it. Moreover, this frosting complements the rich cocoa undertones found in red velvet cakes wonderfully. Many bakers prefer cream cheese over traditional buttercream because it adds depth while keeping things light—making each bite enjoyable.
PrintRed Velvet Cake
- Total Time: 55 minutes
- Yield: 12 slices 1x
Description
Red velvet cake is an irresistible dessert that combines a rich cocoa flavor with a stunning crimson hue, making it a showstopper for any celebration. This classic Southern treat is renowned for its moist, velvety texture and is perfectly complemented by creamy cream cheese frosting. Whether for birthdays, weddings, or just a delightful indulgence, this cake will leave your guests asking for more. With easy-to-follow instructions and essential tips, you’ll become a red velvet cake master in no time!
Ingredients
- 2 ½ cups all-purpose flour
- 1 ½ cups granulated sugar
- ¼ cup unsweetened cocoa powder
- 1 cup vegetable oil
- – 1 cup buttermilk
- 2 large eggs
- 2 tablespoons red food coloring
- 2 teaspoons vanilla extract
- 1 teaspoon baking soda
- 1 teaspoon baking powder
Instructions
1. Preheat your oven to 350°F (175°C) and grease two 9-inch round pans.
2. In a bowl, whisk together flour, cocoa powder, baking soda, and baking powder.
3. In another bowl, mix sugar and oil until creamy; add eggs and vanilla.
4. Combine buttermilk and food coloring; then alternately add dry ingredients and the buttermilk mixture to the sugar mixture until just combined.
5. Divide batter between prepared pans and bake for about 30-35 minutes or until a toothpick comes out clean.
6. Cool completely on wire racks before frosting with cream cheese frosting.
Notes
For extra flavor, consider adding a tablespoon of vinegar to the wet ingredients for enhanced tenderness. You can also experiment with fillings like raspberry preserves or chocolate ganache.
- Prep Time: 20 minutes
- Cook Time: 35 minutes
Nutrition
- Calories: 350
- Fat: 15g
- Carbohydrates: 50g
- Protein: 4g
In conclusion, making a perfect red velvet cake involves understanding key elements such as ingredient selection and proper techniques that contribute to its signature flavor and texture. From choosing quality ingredients like buttermilk and cocoa powder to mastering storage methods that keep leftovers fresh, every step plays an important role in achieving that coveted deliciousness everyone loves.
Whether you opt for traditional cream cheese frosting or explore creative decorating ideas, there’s no shortage of ways to personalize your creation further! Remember to experiment with gluten-free options if necessary—everyone deserves a slice of this delightful dessert! Enjoying this classic treat not only brings joy but also creates lasting memories among family and friends during gatherings or celebrations alike.

