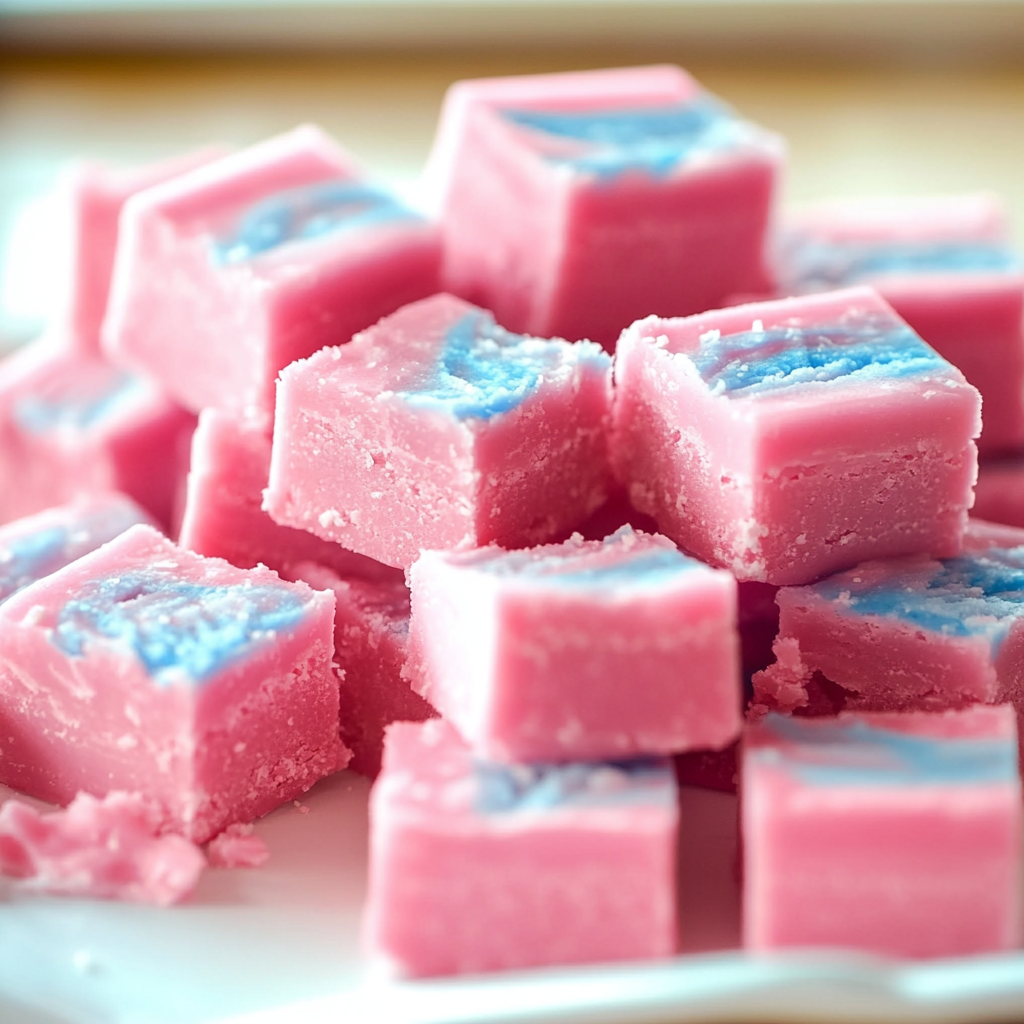
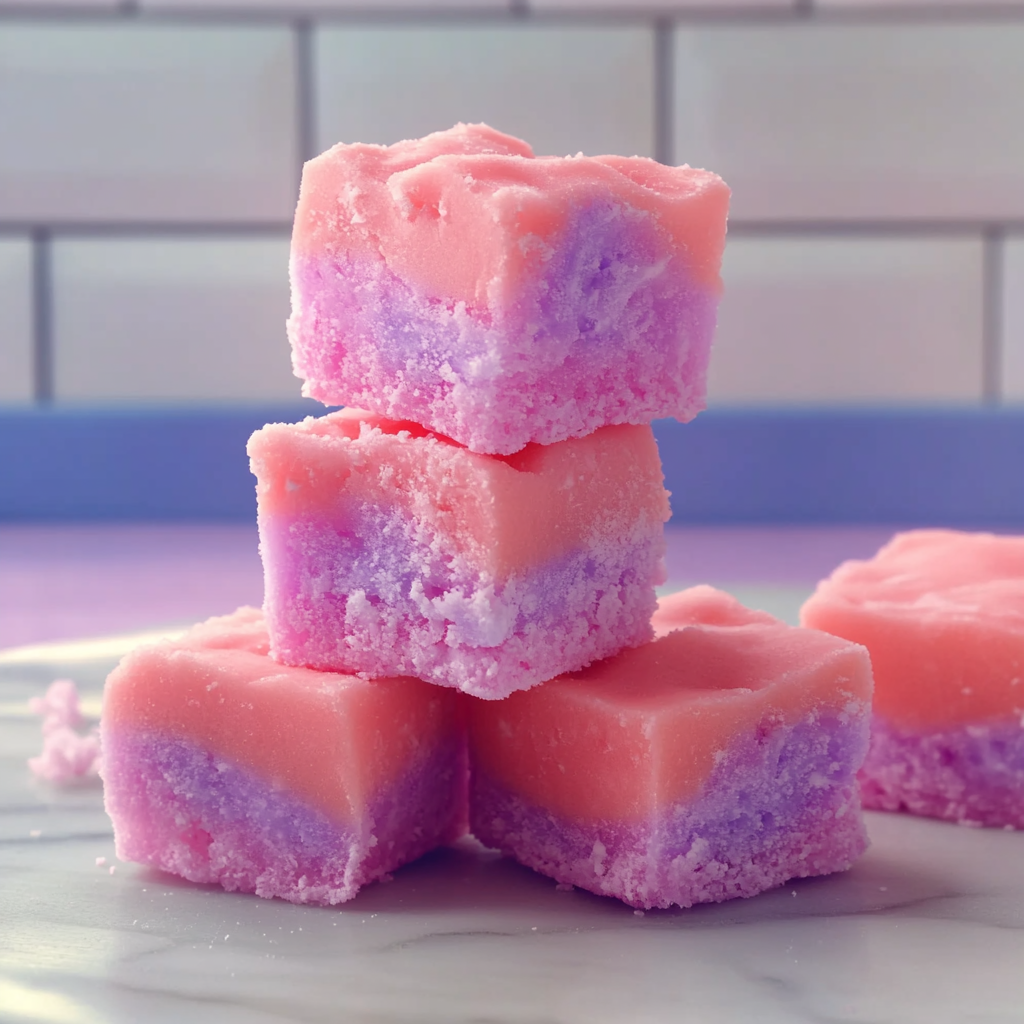
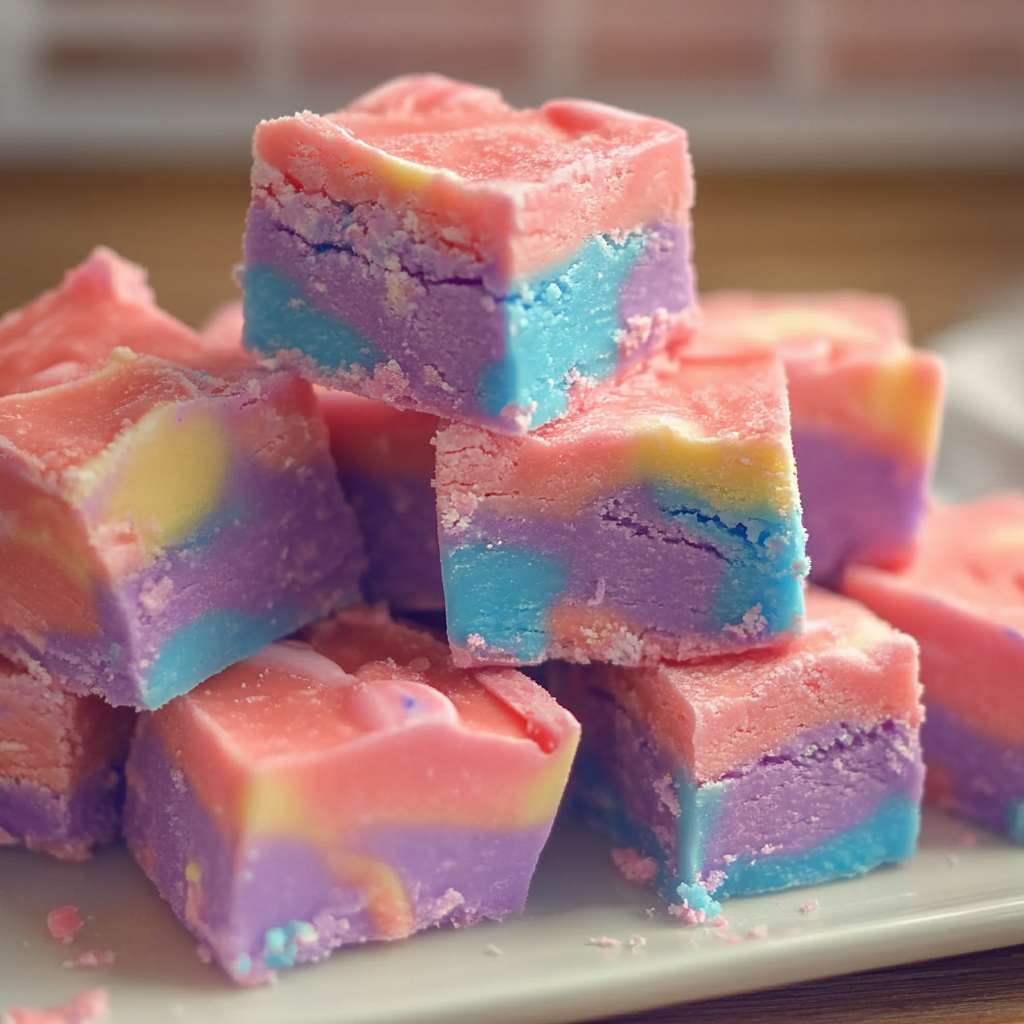
Catch summer in a bite with this vibrant Homemade Cotton Candy Fudge! Imagine a smooth, creamy confection that bursts with the sweet nostalgia of your favorite carnival treat. This recipe not only looks like a fairy tale but tastes like one too!

Do you remember those carefree days at the fair? The air filled with laughter and the irresistible aroma of sugary delights? Well, this Homemade Cotton Candy Fudge captures that magic perfectly, making it an ideal treat for birthday parties or cozy family gatherings. Get ready to indulge in a confection that will have everyone asking for seconds!
Why You'll Love This Recipe
- This Homemade Cotton Candy Fudge is easy to whip up in just a few steps
- Its unique flavor profile will transport you straight back to your childhood
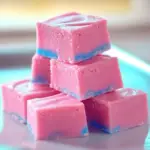
- Visually stunning and colorful, it adds joy to any celebration or snack time
- Versatile enough to customize with different flavors or colors based on your preferences
My friends couldn’t stop raving about this fudge at our last get-together; it was like bringing the carnival right into my kitchen!
Essential Ingredients
Here’s what you’ll need to make this delicious dish:
- Sweetened Condensed Milk: Creamy and rich, this is the base that binds all the flavors together beautifully.
- White Chocolate Chips: Choose high-quality chips for smooth melting and a rich flavor profile.
- Cotton Candy Flavoring: Look for a good quality extract that captures that nostalgic taste perfectly.
- Food Coloring: Use gel-based food coloring for vibrant hues without altering the consistency of your fudge.
- Pink Sea Salt (optional): A sprinkle can elevate the sweetness and add delightful contrast.
The full ingredients list, including measurements, is provided in the recipe card directly below.
Let’s Make it Together
Prepping this delightful treat is easier than you might think! Follow these steps to create your own dreamy Homemade Cotton Candy Fudge.
Gather Your Ingredients: Start by assembling all your ingredients on the counter. This makes reaching for each item much easier as you go along.
Melt White Chocolate Chips: In a microwave-safe bowl, melt white chocolate chips in 30-second intervals until smooth and glossy. Stir frequently to avoid burning.
Add Sweetened Condensed Milk: Once melted, mix in sweetened condensed milk thoroughly until well combined. The mixture should appear silky and inviting.
Incorporate Flavoring and Color: Pour in the cotton candy flavoring and desired food coloring. Stir until evenly distributed—watch your creation transform into a whimsical wonder!
Set in Pan: Line an 8×8-inch baking pan with parchment paper. Pour the fudge mixture into the pan evenly and smooth out with a spatula.
Chill Until Firm: Refrigerate for at least 2 hours until set completely. The anticipation will be worth it when you take those first bites!
Now savor every moment as you cut squares of this delightful Homemade Cotton Candy Fudge! Enjoy sharing or hoarding them (no judgment here) as you reminisce about those joyful carnival days.
You Must Know
- Homemade Cotton Candy Fudge is a delightful treat that captures the essence of fun fairs and childhood memories
- This recipe combines creamy sweetness with a nostalgic cotton candy flavor, making it perfect for parties or just a special afternoon snack
- The vibrant colors and fluffy texture will surely impress your friends and family
Perfecting the Cooking Process
Start by melting the fudge base while whisking in the cotton candy flavor. Once blended, pour into a prepared pan for cooling. This sequence ensures each layer is perfectly combined.
Add Your Touch
Feel free to experiment with different flavors like bubblegum or vanilla! You can even sprinkle colorful toppings on top to make your fudge pop visually and add extra fun.
Storing & Reheating
Store your Homemade Cotton Candy Fudge in an airtight container at room temperature for up to one week to maintain its texture and flavor. No reheating needed; just enjoy it straight!
Chef's Helpful Tips
- To achieve the best results with Homemade Cotton Candy Fudge, follow these insider tips
- Make sure to use high-quality white chocolate for better flavor
- Avoid overmixing once you add the cotton candy flavor to keep the texture fluffy
- Lastly, let it cool completely before cutting for clean edges!
Creating this fudge reminds me of my childhood visits to the county fair, where I could smell that sweet cotton candy before I even entered the gates.
FAQ
Can I use regular chocolate instead of white chocolate?
Using regular chocolate may alter the flavor, but it can still be delicious if you prefer it.
How do I prevent my fudge from getting too soft?
Ensure you let it cool completely before slicing; this helps firm up the fudge nicely.
Can I add nuts or sprinkles to my fudge?
Absolutely! Feel free to add nuts or sprinkles for extra crunch and color in your fudge.
Homemade Cotton Candy Fudge
- Total Time: 15 minutes
- Yield: Approximately 16 servings 1x
Description
A delightful, nostalgic treat that combines creamy white chocolate with the sweet essence of cotton candy, perfect for parties or a fun afternoon snack.
Ingredients
- 1 can sweetened condensed milk
- 2 cups white chocolate chips
- 1 tsp cotton candy flavoring
- Gel-based food coloring (pink and blue)
- pink sea salt (optional)
Instructions
- Gather all ingredients on your counter for easy access.
- Melt white chocolate chips in a microwave-safe bowl, stirring every 30 seconds until smooth.
- Mix in sweetened condensed milk until silky and well-combined.
- Add cotton candy flavoring and gel food coloring; stir until evenly distributed.
- Pour the mixture into a lined 8×8-inch baking pan and smooth the top with a spatula.
- Refrigerate for at least 2 hours until firm. Cut into squares and enjoy!
- Prep Time: 15 minutes
- Cook Time: 0 minutes
- Category: Dessert
- Method: Chilling
- Cuisine: American
Nutrition
- Serving Size: 1 square (30g)
- Calories: 150
- Sugar: 14g
- Sodium: 25mg
- Fat: 7g
- Saturated Fat: 4g
- Unsaturated Fat: 2g
- Trans Fat: 0g
- Carbohydrates: 18g
- Fiber: 0g
- Protein: 1g
- Cholesterol: 5mg