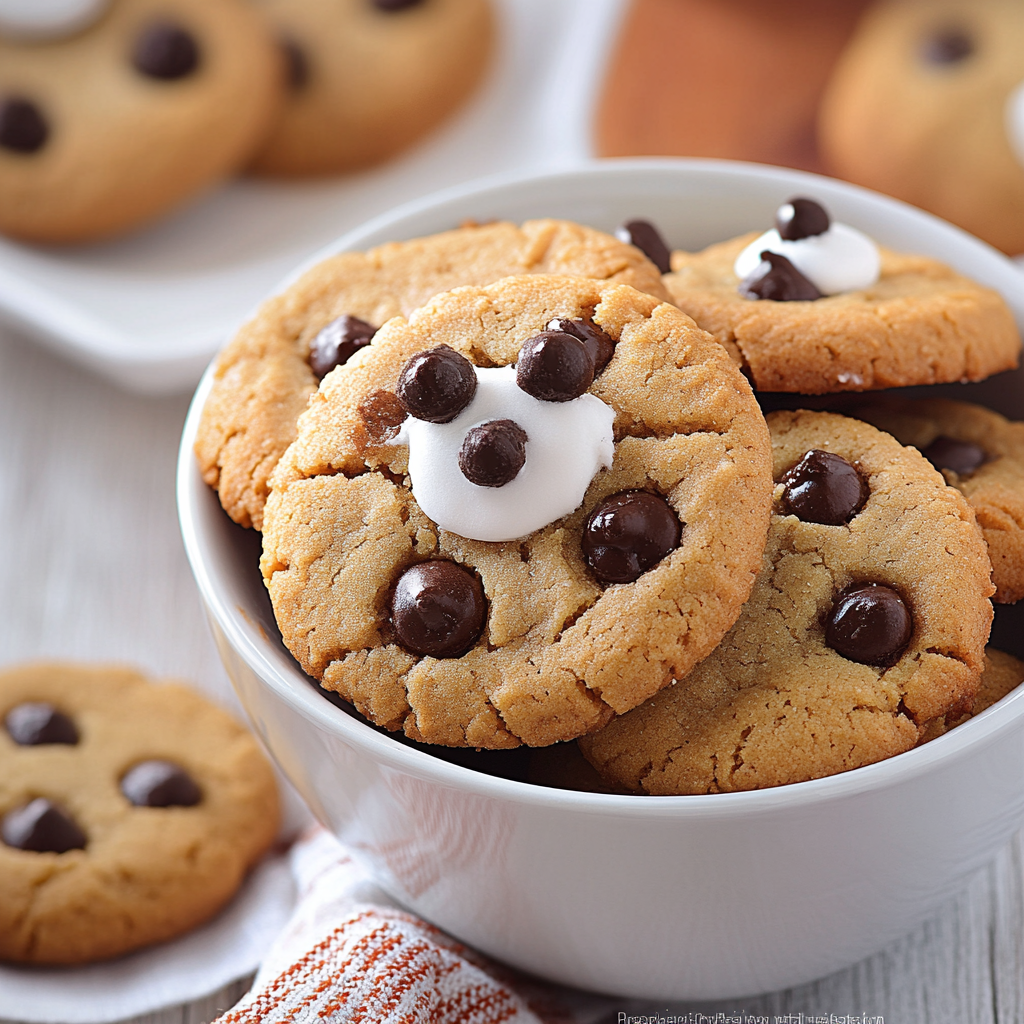
Groundhog Cookies are not just a treat; they are a celebration! Every year, as we await the arrival of spring on Groundhog Day, these delightful cookies bring joy to all who indulge. The combination of rich chocolate chips with the soft, chewy texture makes these cookies an irresistible choice for both children and adults alike. Whether you’re hosting a festive gathering or simply enjoying a cozy day at home, preparing these cookies is a fun way to mark the occasion.
The beauty of Groundhog Cookies lies in their versatility. You can customize them by adding nuts or dried fruits to suit your taste preferences. Plus, they make excellent gifts when packaged in decorative boxes. In this post, we will guide you through the ingredients needed for this scrumptious treat and provide step-by-step instructions on how to prepare them perfectly. With just a few simple steps, you’ll have a batch of warm, gooey cookies that capture the spirit of Groundhog Day!
Let’s dive into the ingredients and discover how to create these delightful cookies that will surely become a favorite in your household.
Main Ingredients
To create delicious Groundhog Cookies, you need quality ingredients that work harmoniously together. Here’s what you will need:
All-Purpose Flour
All-purpose flour serves as the foundation of your cookie dough. For this recipe, you will need 2 cups of all-purpose flour. This type of flour has the right balance of protein and starch to give your cookies structure while keeping them soft and chewy. Make sure to sift it before measuring to avoid clumps and ensure an even texture throughout your dough.
Granulated Sugar
You will need 1 cup of granulated sugar for sweetness in your Groundhog Cookies. This sugar helps create that lovely golden-brown color while contributing to the chewiness of each cookie. Feel free to experiment with brown sugar or a mix for added depth in flavor; however, granulated sugar is essential for achieving the classic cookie taste.
Brown Sugar
For an extra layer of flavor and moisture, include 1 cup of packed brown sugar in your mixture. The molasses content gives these cookies a richer taste and enhances their chewy texture. It also helps keep the cookies soft even after cooling. Using a blend of both sugars creates an ideal balance between sweetness and richness.
Unsalted Butter
You’ll require 1 cup (2 sticks) of unsalted butter at room temperature. Butter is crucial for imparting flavor and providing a tender crumb to your cookies. Make sure it’s softened but not melted; this ensures proper creaming with sugars which contributes to the overall texture.
Eggs
Two large eggs are needed for binding ingredients together while adding moisture. Eggs also help leaven the dough slightly during baking, resulting in a fluffy cookie rather than one that is too dense.
Vanilla Extract
One teaspoon of pure vanilla extract elevates the flavor profile significantly. It adds warmth and depth that complements all other ingredients beautifully. Always choose pure vanilla extract over imitation for optimal results.
Baking Soda
To help your cookies rise perfectly while keeping them light and airy, include one teaspoon of baking soda in your dry ingredients mix. This leavening agent activates with moisture from eggs and butter during baking.
Chocolate Chips
Finally, no Groundhog Cookie is complete without chocolate chips! Use 1 cup (or more if desired) semi-sweet chocolate chips for that delicious melty goodness in every bite. You can also substitute with milk chocolate or dark chocolate chips according to personal preference.
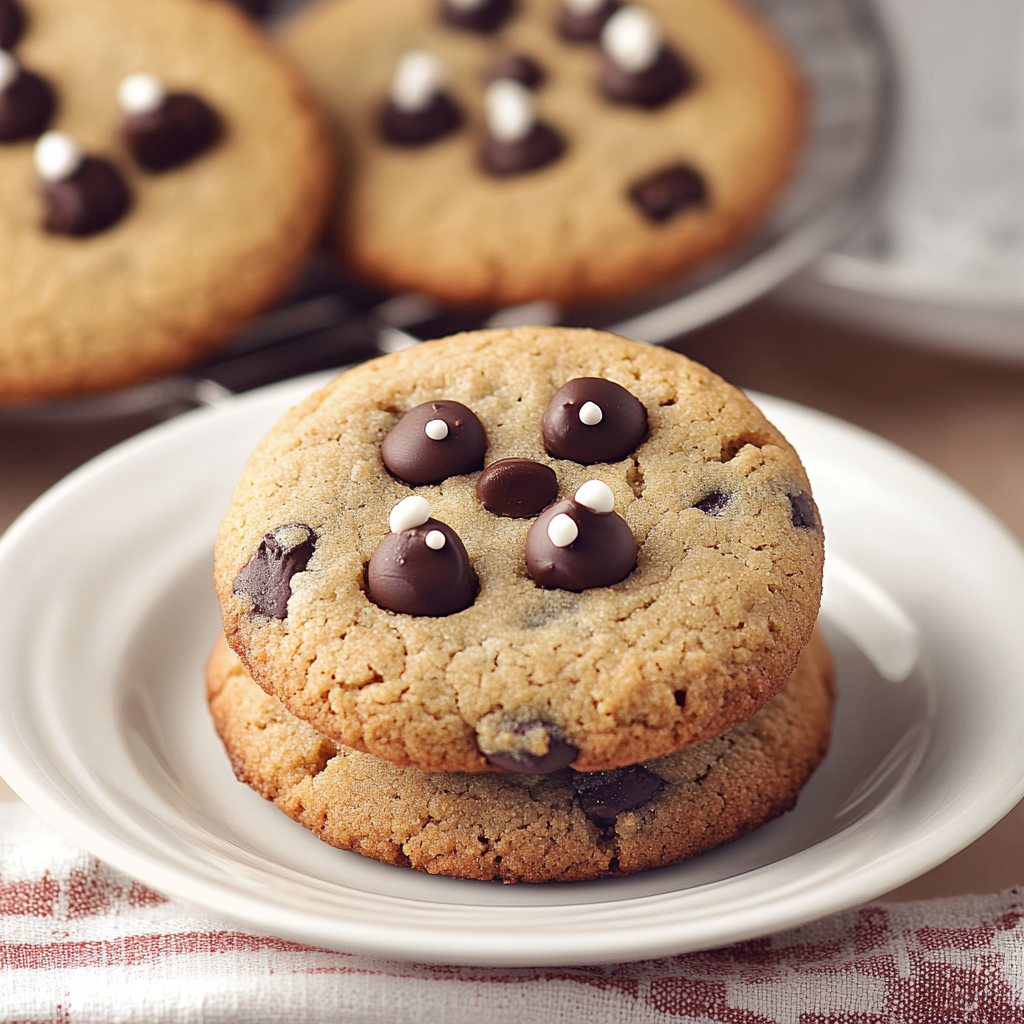
How to Prepare Groundhog Cookies
Now that we have gathered our ingredients let’s move on to the preparation process that will transform these components into delightful treats!
Step 1: Preheat Your Oven
Preheat your oven to 350°F (175°C). Proper preheating is crucial because it helps achieve those perfect golden edges while keeping the centers soft and chewy! While waiting for the oven temperature to reach its peak, line two baking sheets with parchment paper or silicone baking mats—this prevents sticking and allows even cooking.
Step 2: Cream Butter and Sugars Together
In a large mixing bowl, add the softened unsalted butter along with both granulated sugar and brown sugar (1 cup each). Using an electric mixer on medium speed or hand mixer if preferred; cream together until light and fluffy—about 2-3 minutes should suffice! This process incorporates air into your mixture which contributes significantly towards achieving that sought-after texture.
Step 3: Incorporate Eggs & Vanilla Extract
Once creamed adequately, add in two large eggs one at a time mixing well after each addition until fully incorporated into the batter followed by adding one teaspoon vanilla extract—continue mixing until combined smoothly without lumps remaining visible within dough!
Step 4: Combine Dry Ingredients Separately
In another bowl combine all-purpose flour (2 cups), baking soda (1 tsp), along with any optional salt if desired (pinch). Whisk gently until evenly distributed making sure there are no lumps present—this ensures uniformity throughout once added into wet mixture later on!
Step 5: Gradually Add Dry Mixture To Wet Ingredients
Now it’s time! Gradually add this dry mixture into creamed wet ingredients while mixing slowly at low speed until combined thoroughly without overworking dough which could result in tough cookies instead—we want them soft! Once mixed properly fold in those delicious semi-sweet chocolate chips ensuring they’re evenly dispersed throughout batter before proceeding further—your dough should look thick yet manageable!
Step 6: Scoop Dough Onto Baking Sheets
Using either tablespoon-sized scoops or cookie scoop measure out portions onto prepared sheets leaving enough space between each scoop (roughly 2 inches apart) since they’ll spread during baking process creating lovely round shapes—aiming here creates beautiful presentation once finished!
Step 7: Bake Your Cookies
Place both trays inside preheated oven allowing them roughly about 10-12 minutes per batch depending upon oven variations—you’ll know they’re done when edges turn lightly golden while centers still appear slightly underbaked but set—that’s key! Remove from oven letting cool on pans briefly before transferring onto wire racks until completely cooled down!
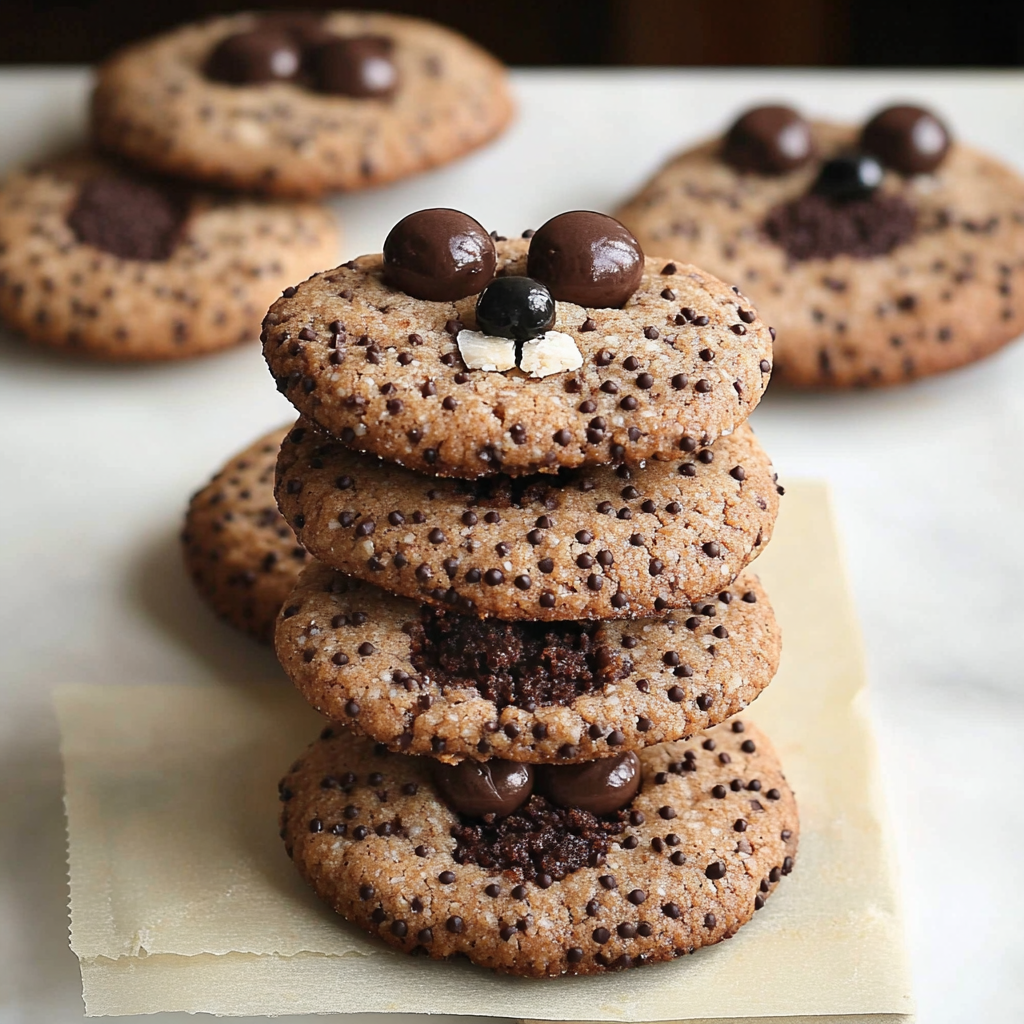
Serving and Storing Tips
Enjoying freshly baked Groundhog Cookies is always special but knowing how best store/store leftovers ensures everyone gets maximum enjoyment too!
Serving Suggestions
Serve warm straight outta oven accompanied by cold glass milk; nothing beats classic pairing here! Additionally try pairing these treats alongside hot cocoa or coffee during chilly weather—they complement beautifully enhancing flavors altogether creating cozy atmosphere ideal gatherings making memories last long after treats devoured!
For extra flair consider dusting powdered sugar atop cooled cookies or drizzling melted chocolate over tops creating decadent presentation worthy any occasion! Feel free play around various toppings like sprinkles or caramel drizzle garnishing making each batch unique every time baked—I assure guests will love surprise factor involved too!
Storing Your Cookies
To keep those delectable treats fresh longer store cooled groundhogs inside airtight container placed room temperature away direct sunlight exposure which could cause them harden quicker than intended retaining softness up five days maximum before consumption thereafter depleting quality begins occur rapidly past point due moisture loss occurring naturally over time period experienced baked goods generally speaking.
Alternatively if planning ahead freeze unused portions tightly wrapped cling film within freezer bags designed freezing purposes maintaining dignity integrity original form easily thawing later simply transfer fridge overnight prior enjoying again whenever desired—it’s perfect solution staving off temptation indulging too fast ensure savoring moments longer stretches out deliciousness enjoyed throughout week ahead!
By following these tips closely not only will you enjoy flavorful homemade groundhogs but also cherish memories created around warm aroma filling kitchen summoning smiles hearts alike every time indulged upon shared loved ones near dear friends family alike making lasting impressions beyond just food itself!
Mistakes to avoid:
Not Measuring Ingredients Accurately
When baking Groundhog Cookies, accuracy in measuring your ingredients is vital. Many beginners tend to eyeball measurements, which can lead to inconsistent results. Baking is a science, and even slight variations can affect the texture and flavor of your cookies. Always use measuring cups and spoons for dry and liquid ingredients. For dry ingredients, like flour or sugar, spoon them into the measuring cup and level off with a knife for precision. Liquid ingredients should be measured using clear cups with measurement markings to ensure you are pouring the correct amount. If you neglect this important step, you may end up with cookies that are too dry or too wet, ruining your recipe.
Overmixing the Dough
Overmixing is a common pitfall when making Groundhog Cookies. While it may seem beneficial to mix thoroughly for a uniform dough, this can actually develop gluten, leading to tough cookies instead of soft and chewy ones. After adding dry ingredients to your wet mixture, mix just until combined. A few streaks of flour are okay; they will incorporate during resting or baking. Remember that some lumps in the dough are perfectly fine! This method preserves the cookies’ tender crumb and delightful texture.
Skipping Chilling Time
One significant mistake bakers often make is skipping the chilling time for cookie dough. Chilling the dough helps solidify the fats before baking, which leads to thicker cookies that hold their shape better during baking. If you skip this crucial step, your Groundhog Cookies may spread too much in the oven, resulting in flat shapes instead of fluffy delights. Aim for at least 30 minutes in the refrigerator before scooping out your cookies onto the baking sheet. This simple step not only affects appearance but also enhances flavors as well.
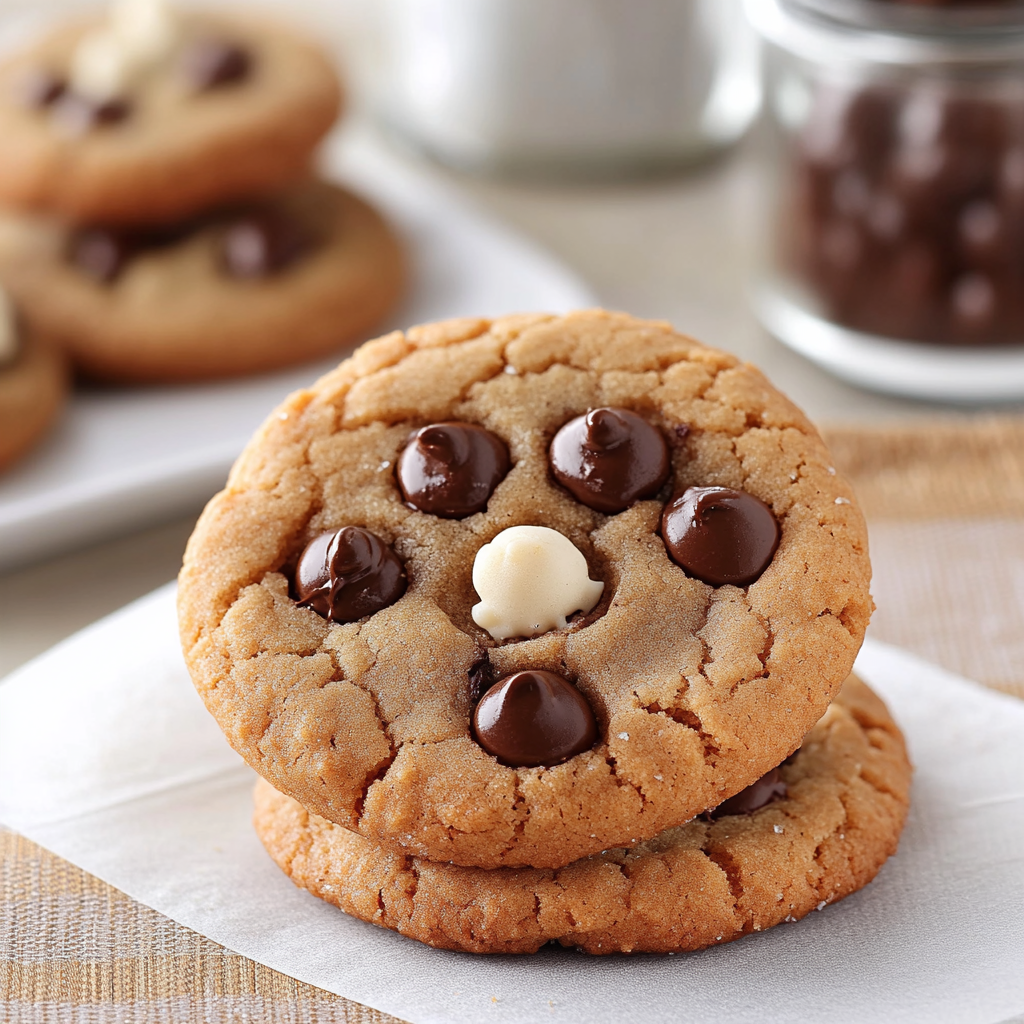
Tips and tricks:
Use High-Quality Ingredients
To achieve delicious Groundhog Cookies, it’s essential to use high-quality ingredients. Freshly sourced ingredients enhance flavor and texture significantly. For instance, using real vanilla extract instead of imitation can elevate your cookie’s taste profile immensely. Opt for premium chocolate chips or chunks rather than generic brands; they melt beautifully and provide a rich chocolate experience. Additionally, consider sourcing organic flour and sugar if possible—these options often yield superior flavors compared to conventional products.
Experiment with Add-ins
Don’t hesitate to get creative with add-ins for your Groundhog Cookies! While traditional recipes call for chocolate chips or nuts, you can personalize them by incorporating unique flavors like dried fruit or spices. Consider adding cinnamon or nutmeg for warmth or using butterscotch chips for a delightful twist on classic flavors. You might also try mixing in crushed candies or pretzels for added texture and taste contrast. Experimenting will not only make your cookies unique but also allow you to cater them to personal preferences.
Store Cookies Properly
Proper storage is key to keeping your Groundhog Cookies fresh longer. After cooling completely on a wire rack, store them in an airtight container at room temperature to maintain their softness and prevent them from drying out too quickly. If you’re making a large batch ahead of time, consider freezing some portions of dough before baking or freezing finished cookies as well. To freeze baked cookies, place them in a single layer on a baking sheet until solid; then transfer them into freezer-safe bags or containers. This way, you’ll have freshly baked cookies ready whenever cravings strike!
Suggestions for Groundhog Cookies:
Try Different Flours
An exciting suggestion when making Groundhog Cookies is experimenting with various types of flour. While all-purpose flour is standard, alternative flours like whole wheat or almond flour can impart distinct flavors and nutritional benefits to your cookies. Whole wheat flour adds nuttiness while increasing fiber content—perfect if you’re looking for slightly healthier treats! Almond flour gives a delightful richness but does require adjustments in liquid ratios since it absorbs more moisture than regular flour. Don’t hesitate to try different combinations until you find what suits your palate best!
Adjust Baking Times Based on Oven Variability
Baking times can vary widely depending on individual ovens’ characteristics—this makes adjusting cooking time essential when making Groundhog Cookies at home. Always keep an eye on your cookies while they bake; if your oven tends towards being hotter or cooler than average, you may need to tweak the timing accordingly. For chewier cookies that remain soft in the center while still golden brown around edges—remove them from heat just before they look fully baked since they continue cooking slightly after being taken out of the oven.
Add Flavorful Frostings or Glazes
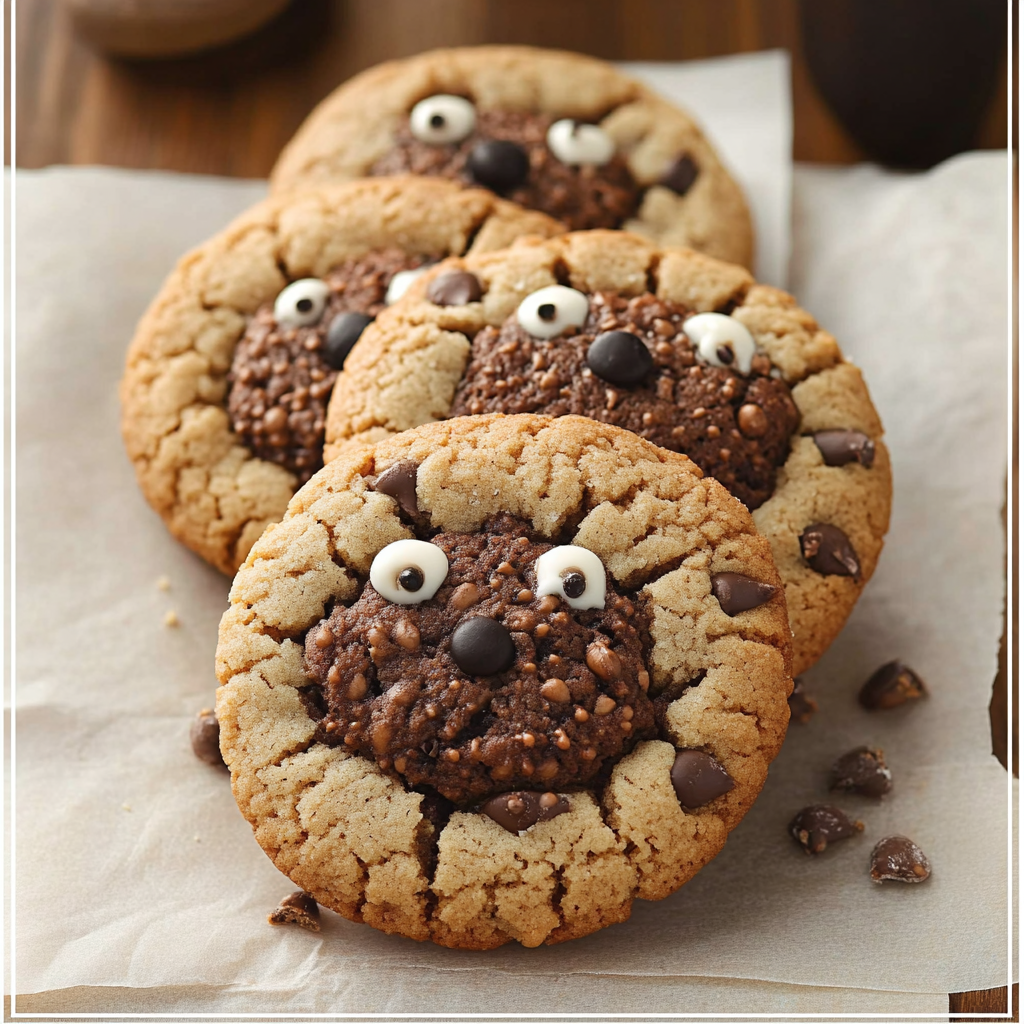
To take your Groundhog Cookies from ordinary to extraordinary, consider adding flavorful frostings or glazes! A simple buttercream frosting flavored with vanilla pairs beautifully with chocolate chip cookies while providing extra sweetness that appeals universally! Alternatively, try drizzling melted chocolate over cooled cookies for an elegant touch that elevates presentation without compromising taste! Adding toppings such as crushed nuts or colorful sprinkles transforms appearances dramatically—making these treats perfect for celebrations like birthdays or holidays!
FAQs for Groundhog Cookies:
What ingredients do I need for Groundhog Cookies?
To make delicious Groundhog Cookies, you will need a variety of simple ingredients. Start with basic baking essentials like all-purpose flour, granulated sugar, and brown sugar. You will also need unsalted butter, eggs, and vanilla extract to bind the ingredients together and add flavor. For the fun groundhog shapes, prepare chocolate chips or cocoa powder to create the eyes and nose. Don’t forget baking powder and a pinch of salt to enhance the flavors and ensure a good rise. You can also incorporate nuts or oats for added texture if desired. This combination of ingredients creates a delightful cookie that is perfect for celebrating Groundhog Day or any occasion.
How do I shape Groundhog Cookies?
Shaping Groundhog Cookies is an enjoyable part of the baking process. First, prepare your dough according to the recipe instructions. Once the dough is ready, take small portions and roll them into balls. Flatten these balls slightly to form a base. Use your fingers or a small tool to create rounded ears at the top of each cookie. For facial features, use chocolate chips or small bits of dough to form eyes and noses. It’s important to be creative with your designs so each cookie looks unique! After shaping, place them on a baking sheet lined with parchment paper before baking. The fun shapes will bring smiles to everyone enjoying these tasty treats.
Can I customize my Groundhog Cookies?
Absolutely! Customizing Groundhog Cookies allows you to get creative in the kitchen. You can experiment with different flavors by adding extracts like almond or peppermint to the dough for unique twists on taste. If you prefer chewy cookies, consider incorporating oats or using brown sugar as your sweetener. You can also mix in various add-ins such as dried fruits, nuts, or even candy pieces for an extra crunch and burst of flavor. Decorating is another way to personalize your cookies; try using icing or sprinkles after they cool down for festive flair that enhances their appearance.
How long do Groundhog Cookies last?
Groundhog Cookies are best enjoyed fresh but can be stored for later enjoyment as well. When stored properly in an airtight container at room temperature, these cookies typically last about five days without losing their deliciousness. If you want them to stay fresh longer, consider refrigerating them where they can last up to two weeks. For even longer storage, freeze your cookies in a freezer-safe bag or container; they can retain quality for about three months. When you’re ready to enjoy frozen cookies again, simply let them thaw at room temperature before indulging in their delightful flavors.
What occasions are suitable for Groundhog Cookies?
Groundhog Cookies are perfect for various celebrations beyond just Groundhog Day! Their fun shape makes them an ideal treat for children’s parties or school events where creativity is encouraged. They can also be great additions to holiday gatherings such as Valentine’s Day or Halloween when decorated accordingly. Consider bringing them along for bake sales or family get-togethers where desserts are appreciated; their whimsical design captures attention while tasting delicious! Additionally, you could use them as gifts during festive seasons by packaging them nicely in decorative bags or boxes—making sharing fun and enjoyable!
Are there any special tips for baking Groundhog Cookies?
When baking Groundhog Cookies, several tips can help ensure they turn out perfectly every time! First, make sure all your ingredients are at room temperature; this improves mixing and yields better texture in your cookies. Avoid overmixing your dough once you incorporate the dry ingredients; this prevents tough cookies from forming due to gluten development. Use a reliable oven thermometer to confirm that your oven reaches the correct temperature since oven variances can affect baking times significantly. Lastly, allow your cookies time to cool on the baking sheet before transferring them; this helps maintain their shape while ensuring they’re not too soft when handled.
Print
Groundhog Cookies Recipe
- Total Time: 27 minutes
- Yield: 24 cookies
Description
Groundhog Cookies are a delightful treat perfect for celebrating Groundhog Day or any sweet occasion. These scrumptious cookies combine rich chocolate chips with a soft, chewy texture that will please both children and adults alike. Easy to make, they can be customized with nuts or dried fruits, offering endless variations to suit everyone’s taste. Whether you’re hosting a festive gathering or enjoying a cozy day at home, these cookies are sure to bring joy with each bite. Follow our simple steps to create these irresistible treats and impress your family and friends!
Ingredients
– 2 cups all-purpose flour
– 1 cup granulated sugar
– 1 cup brown sugar (packed)
– 1 cup unsalted butter (room temperature)
– 2 large eggs
– 1 tsp vanilla extract
– 1 tsp baking soda
– 1 cup semi-sweet chocolate chips
Instructions
1. Preheat your oven to 350°F (175°C) and line baking sheets with parchment paper.
2. In a bowl, cream together softened butter, granulated sugar, and brown sugar until fluffy.
3. Add eggs one at a time, mixing well after each addition, then stir in vanilla extract.
4. In another bowl, whisk together flour and baking soda; gradually add to wet mixture until just combined.
5. Fold in chocolate chips.
6. Scoop dough onto prepared sheets, spacing them about 2 inches apart.
7. Bake for 10-12 minutes until edges are golden but centers are soft; cool on wire racks.
Notes
– For added flavor, try incorporating chopped nuts or dried fruit.
– Chill the dough for 30 minutes before baking for thicker cookies.
- Prep Time: 15 minutes
- Cook Time: 12 minutes
Nutrition
- Calories: 180
- Fat: 8g
- Carbohydrates: 25g
- Protein: 2g
In summary, Groundhog Cookies are not only adorable but also easy and fun to make at home! With simple ingredients like flour, butter, and chocolate chips, anyone can whip up these delightful treats while incorporating personal touches through customization options such as adding nuts or adjusting flavors with extracts. Shaping these cookies into playful groundhogs adds excitement and creativity that children especially love during baking activities.
Proper storage techniques allow you to enjoy these delicious creations over several days without compromising flavor quality—making them ideal snacks for various occasions beyond just Groundhog Day celebrations! Incorporate helpful tips throughout your baking process for successful results every time.
So whether you’re planning a themed party or simply want an enjoyable treat at home, consider making some delightful Groundhog Cookies today! They are sure to bring joy and satisfaction with each bite while making lasting memories in your kitchen adventures!

