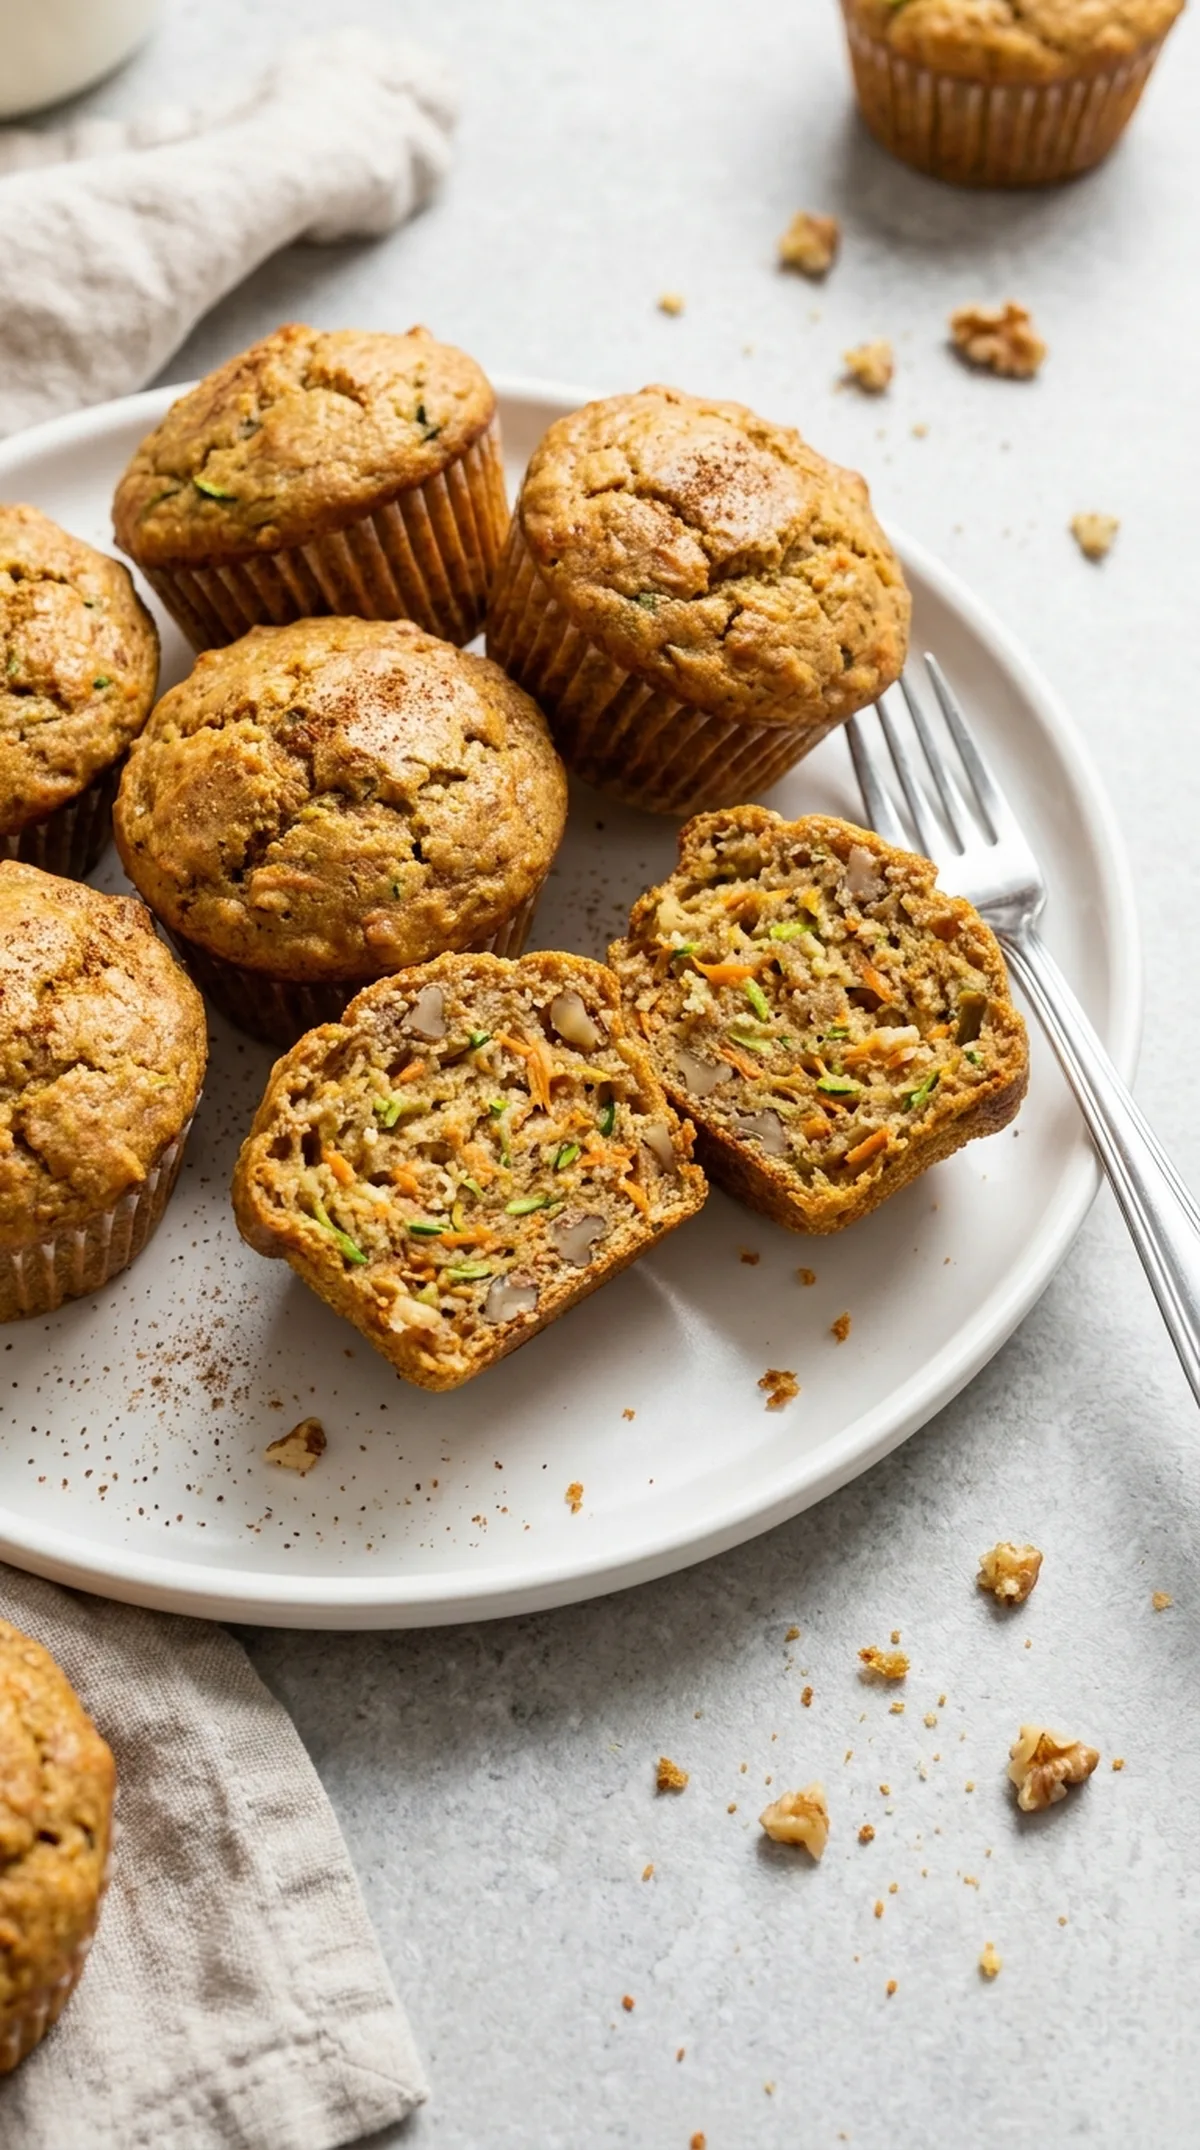
Ingredients
Method
Method
- Prepare the Oven and Pan: Preheat the oven to 375°F (190°C). Line all 12 cups of a standard muffin pan with paper liners. Lightly grease the liners if they are not labeled nonstick. This step ensures that the muffins do not stick to the liners, making for easier removal once they are baked.
- Shred the Vegetables: Finely shred the zucchini and carrots using the small or medium holes of a box grater. Avoid large shreds, which may remain firm or create uneven pockets in the muffins. The finer the shreds, the better they will incorporate into the batter, resulting in a uniform texture.
- Remove Excess Zucchini Moisture: Place the shredded zucchini in a clean kitchen towel and squeeze firmly over the sink. Remove the excess liquid without drying the zucchini completely. Measure 1 1/2 cups loosely packed (180 g) after squeezing. This step is crucial for preventing soggy muffins, as excess moisture can lead to a dense texture.
- Combine the Dry Ingredients: In a medium bowl, whisk together the flour, baking soda, cinnamon, nutmeg, and salt. Break up any compacted flour and make sure the spices and baking soda are evenly distributed. Properly mixing the dry ingredients ensures that the muffins rise evenly and have a consistent flavor throughout.
- Mix the Wet Ingredients: In a large bowl, whisk the eggs and brown sugar until smooth and evenly blended. Add the oil, Greek yogurt, and vanilla, then whisk until the mixture looks glossy and no streaks of yogurt remain. This mixture should be well combined to ensure that the muffins have a uniform sweetness and moisture.
- Add the Vegetables: Stir the squeezed zucchini and shredded carrots into the wet mixture. Separate any clumps so the vegetables are evenly distributed. This step helps to ensure that every muffin has a good balance of vegetables, enhancing both flavor and texture.
- Make the Batter: Add the dry ingredients to the vegetable mixture. Fold gently with a flexible spatula until only a few small flour streaks remain. Fold in the optional walnuts or pecans, if using, and stop mixing as soon as the batter is uniform. It should be thick, moist, and scoopable. Overmixing can lead to tough muffins, so be careful to mix just until combined.
- Fill the Muffin Cups: Divide the batter evenly among the 12 prepared muffin cups. Each cup should be about three-quarters full. Smooth any tall peaks lightly with the back of the scoop. This helps the muffins rise evenly and prevents them from forming large domes.
- Bake the Muffins: Bake on the center rack for 20 to 24 minutes. The muffins are done when the tops are lightly golden, the centers spring back when gently pressed, and a toothpick inserted in the middle comes out clean or with a few moist crumbs. Baking them at the right temperature is essential for achieving the perfect texture.
- Check for Doneness: If wet batter clings to the toothpick, continue baking for 2 minutes before checking again. If the tops are browning too quickly, place a loose sheet of aluminum foil over the pan. This step helps to prevent over-baking the tops while ensuring the centers are fully cooked.
- Cool in the Pan: Place the muffin pan on a wire rack and let the muffins cool for 10 minutes. They will be delicate while hot, so removing them immediately may cause the sides to break. Allowing them to cool slightly helps them set and makes them easier to handle.
- Finish Cooling: Transfer the muffins to the wire rack and cool for at least 10 more minutes before serving. The crumb will continue to set as the muffins cool. This final cooling step is important for achieving the desired texture and flavor.