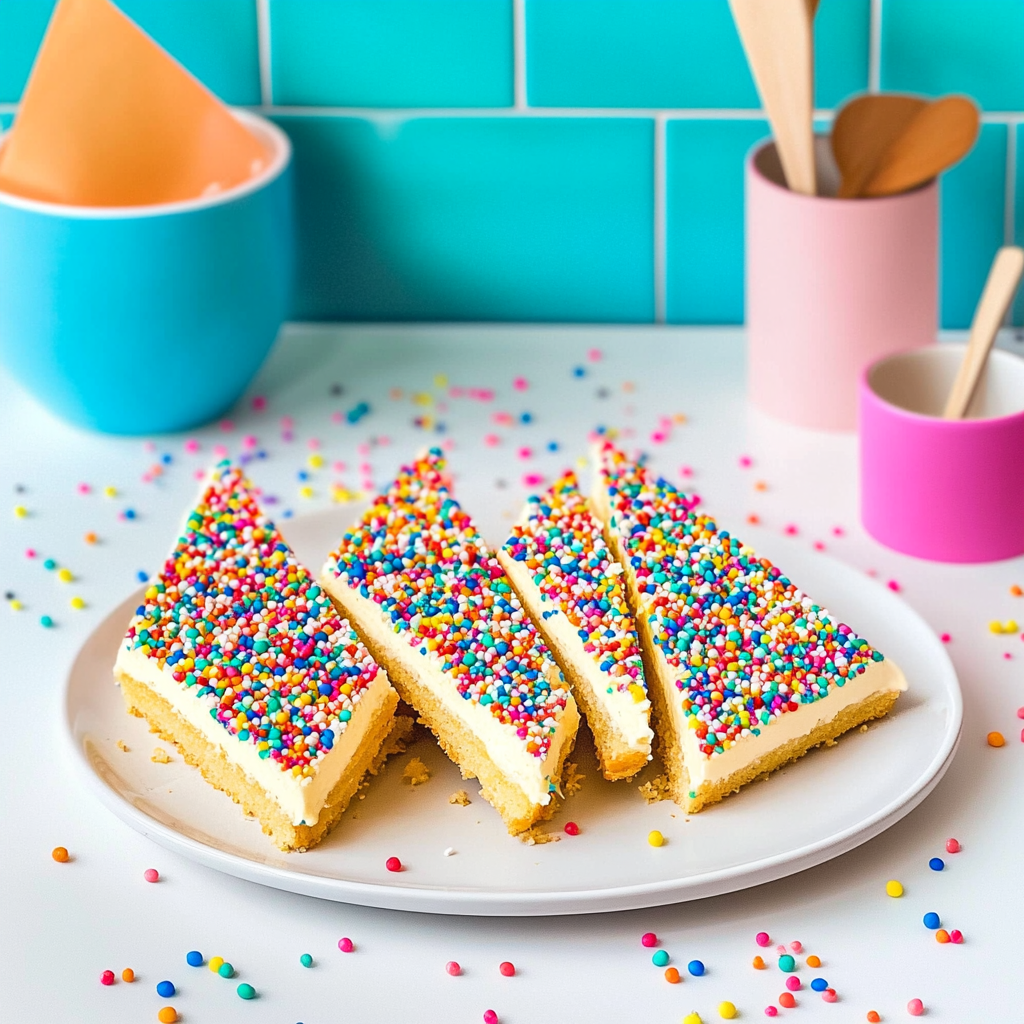
There’s something magical about the taste of a No-Bake Fairy Bread Slice, isn’t there? Picture this: a delightful, creamy concoction that combines the nostalgia of childhood with a sprinkle of rainbow happiness. festive candy cane appetizer Each bite bursts with sweet vanilla flavor and crunchy sprinkles, taking you back to days spent at birthday parties where this colorful treat reigned supreme. For more inspiration, check out this Cotton Candy Fudge Recipe recipe.
This recipe is perfect for sunny afternoons or as a whimsical dessert for any occasion. Whether you’re gathering friends for a picnic or planning an easy treat for your kid’s birthday, this No-Bake Fairy Bread Slice will wow everyone with its vibrant colors and delightful taste. fun Halloween treat Trust me; you’ll want to dive right in! For more inspiration, check out this Easy Sno Ball Brownies recipe.
Why You'll Love This Recipe
- This No-Bake Fairy Bread Slice is incredibly easy to make, requiring no special skills or baking equipment
- Its vibrant colors and textures make it a feast for the eyes and palate alike
- Perfect for kids’ parties but equally fun for adult gatherings, it offers versatility in customization
- Enjoy it as a quick dessert or snack whenever the mood strikes!
I remember the first time I made this No-Bake Fairy Bread Slice for my niece’s birthday party. The look on her face when she took that first bite was priceless!
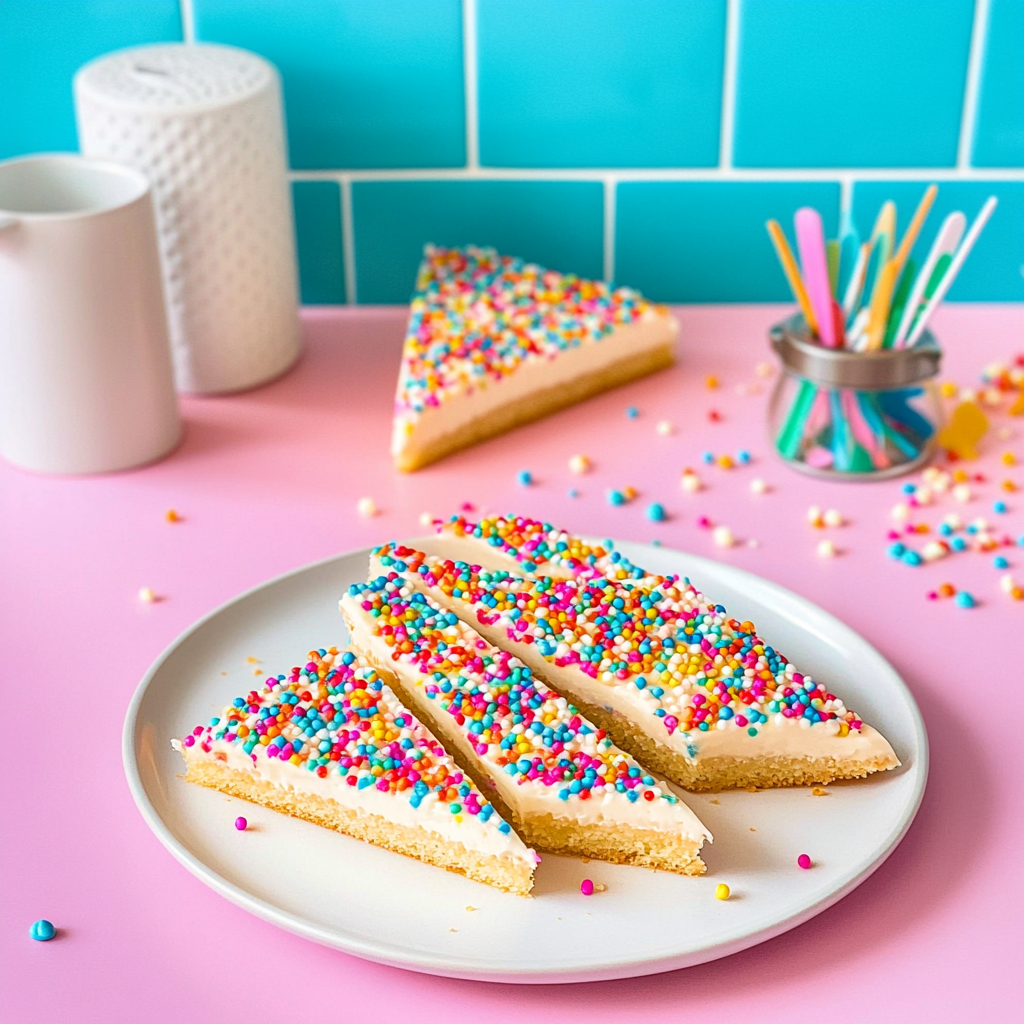
Essential Ingredients
Here’s what you’ll need to make this delicious dish: delicious gingerbread dip.
Digestive Biscuits: These provide the perfect crunch and base; feel free to substitute with graham crackers if you prefer.
Butter: Use unsalted butter for better control over the sweetness and flavor profile.
Condensed Milk: A must-have for that creamy texture; opt for full-fat for richness.
Vanilla Extract: Go for pure vanilla extract to elevate the flavors significantly.
Rainbow Sprinkles: These add both color and fun; use as many as your heart desires!
The full ingredients list, including measurements, is provided in the recipe card directly below.
Let’s Make it Together
Prepare Your Base: Start by crushing the digestive biscuits into fine crumbs using a food processor or a rolling pin. You want them crumbly but not powdery, just like little edible confetti.
Melt Butter and Combine: In a saucepan, gently melt butter over low heat until fully liquefied. Stir in crushed biscuits until they are evenly coated with buttery goodness.
Add Sweetness: Remove from heat and mix in condensed milk and vanilla extract. The mixture should start looking creamy and irresistible—give it a good stir to combine everything well.
Incorporate Sprinkles: Fold in rainbow sprinkles gently so they are evenly distributed throughout the mixture. Make sure you don’t crush them; we want all that glorious color intact!
Chill It Out: Spread your mixture evenly into a lined baking dish. Press down firmly to ensure it holds together well. Refrigerate for at least 2 hours until set—this is where the magic happens!
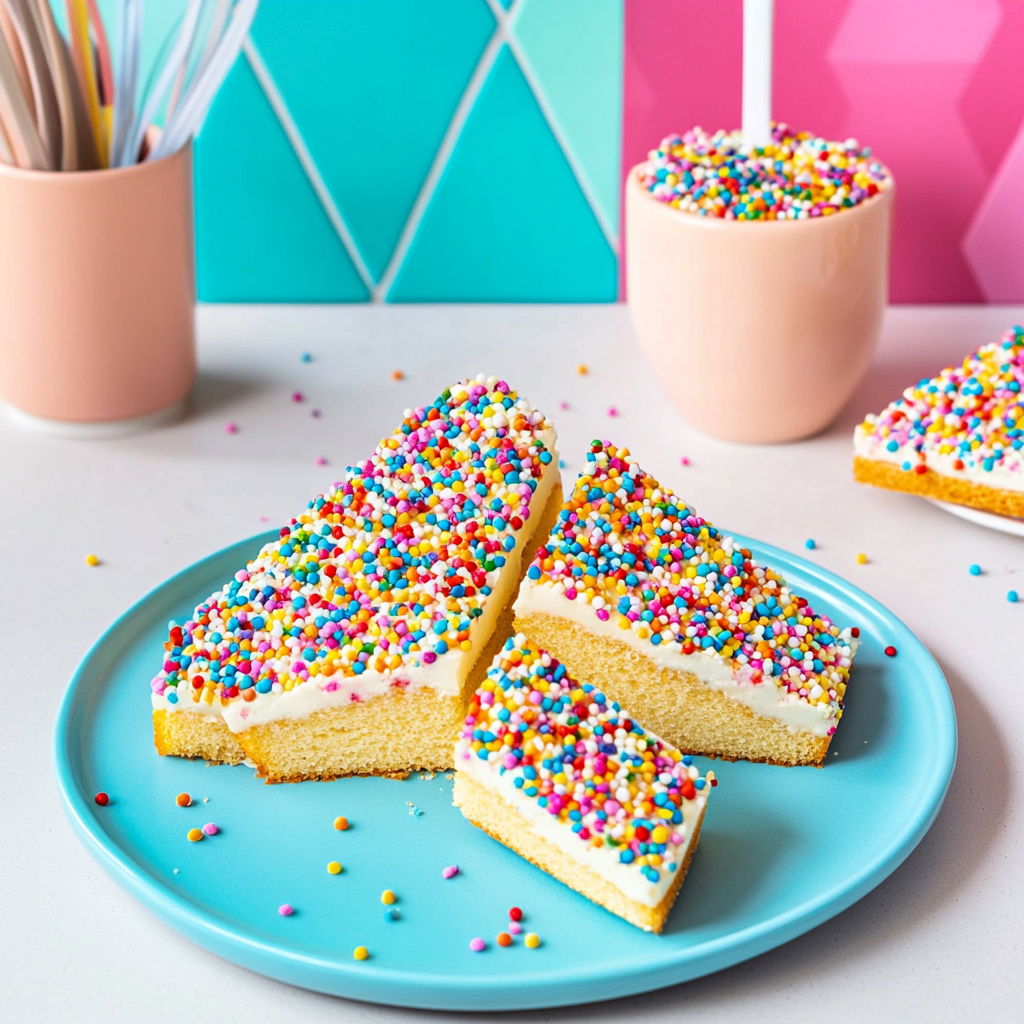
Slice and Serve!: Once set, remove from the fridge and cut into squares or rectangles. Serve on a colorful platter to showcase those beautiful sprinkles—your guests will be thrilled!
Now that you’ve made this delightful dessert, get ready to receive endless praise from friends and family! Enjoy every colorful bite!
You Must Know
- No-Bake Fairy Bread Slice is a delightful treat that combines nostalgia with simplicity
- This colorful dessert is perfect for all ages and requires no baking, making it an easy addition to any gathering
- The texture is both creamy and crunchy, creating a fun eating experience
Perfecting the Cooking Process
To achieve the finest No-Bake Fairy Bread Slice, mix your ingredients thoroughly before layering them in a dish. This ensures even distribution of flavors and textures, making every bite delightful.
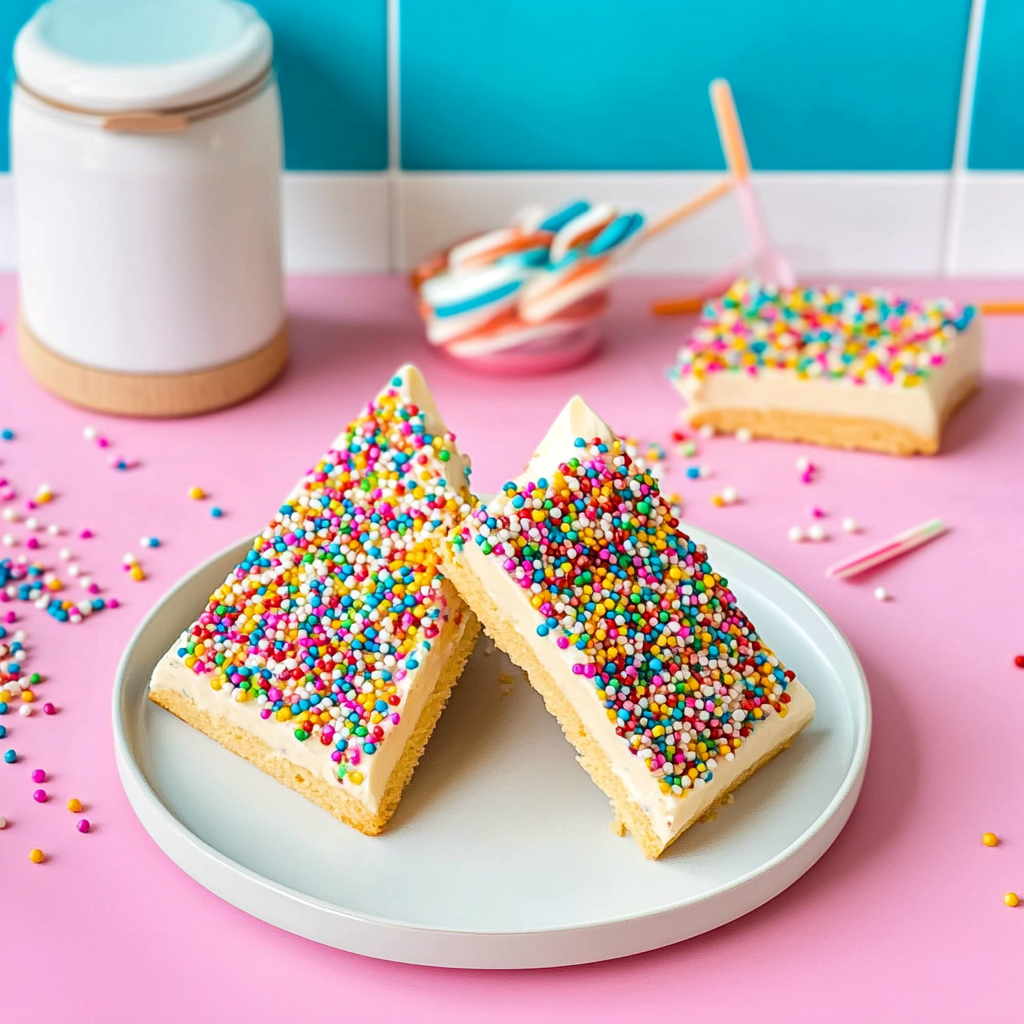
Add Your Touch
Feel free to customize by adding different sprinkles or even chopped nuts for an extra crunch. You can also use flavored cream cheese to enhance the taste.
Storing & Reheating
Store your No-Bake Fairy Bread Slice in an airtight container in the fridge. This keeps it fresh and ready to enjoy for up to a week without losing its delightful texture.
Chef's Helpful Tips
- Use room temperature butter for easier mixing; this helps create a smoother consistency
- Always line the pan with parchment paper to make removal effortless later on
- Experiment with different sprinkle combinations for a fun visual twist on this classic recipe
Sometimes when I whip up this No-Bake Fairy Bread Slice, friends reminisce about their childhood parties, sharing laughs over colorful sprinkles and gooey cream cheese. spooky mini pizzas It’s those moments that make cooking so rewarding!
FAQ
Can I use gluten-free bread for No-Bake Fairy Bread Slice?
Absolutely! Gluten-free bread works perfectly for this recipe without compromising flavor.
How long does it take to set?
The slice typically takes about 2-3 hours in the fridge to set properly.
Can I use other types of frosting instead of cream cheese?
Yes! You can substitute with whipped cream or any frosting you prefer for added sweetness.

No-Bake Fairy Bread Slice
- Total Time: 15 minutes
- Yield: 16 servings 1x
Description
No-Bake Fairy Bread Slice is a delightful, nostalgic treat that combines creamy condensed milk with crunchy rainbow sprinkles, creating a fun dessert perfect for any occasion. This easy-to-make recipe requires no baking and can be customized to suit your taste. Ideal for sunny afternoons or kids’ birthday parties, every colorful bite is sure to bring joy and smiles!
Ingredients
- 250g digestive biscuits (or graham crackers)
- 100g unsalted butter
- 395g sweetened condensed milk
- 1 tsp pure vanilla extract
- 100g rainbow sprinkles
Instructions
- Crush the digestive biscuits into fine crumbs using a food processor or rolling pin.
- Melt the unsalted butter in a saucepan over low heat, then stir in the crushed biscuits until well-coated.
- Remove from heat and mix in the sweetened condensed milk and vanilla extract until creamy.
- Gently fold in the rainbow sprinkles, ensuring they remain intact.
- Spread the mixture into a lined baking dish, pressing down firmly. Refrigerate for at least 2 hours until set.
- Once set, cut into squares or rectangles and serve on a colorful platter.
- Prep Time: 15 minutes
- Cook Time: 0 minutes
- Category: Dessert
- Method: No-Bake
- Cuisine: Australian
Nutrition
- Serving Size: 1 square (50g)
- Calories: 180
- Sugar: 10g
- Sodium: 50mg
- Fat: 9g
- Saturated Fat: 5g
- Unsaturated Fat: 3g
- Trans Fat: 0g
- Carbohydrates: 23g
- Fiber: 1g
- Protein: 2g
- Cholesterol: 15mg
