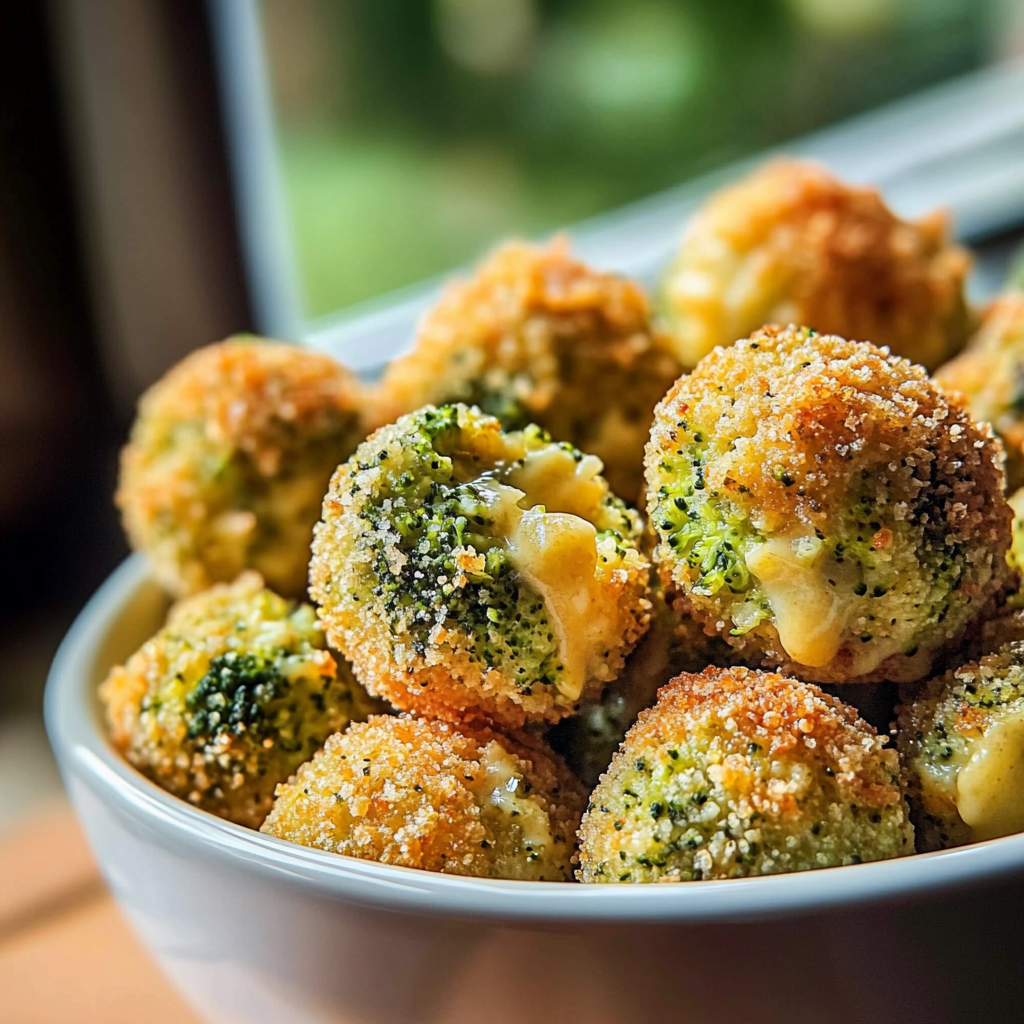
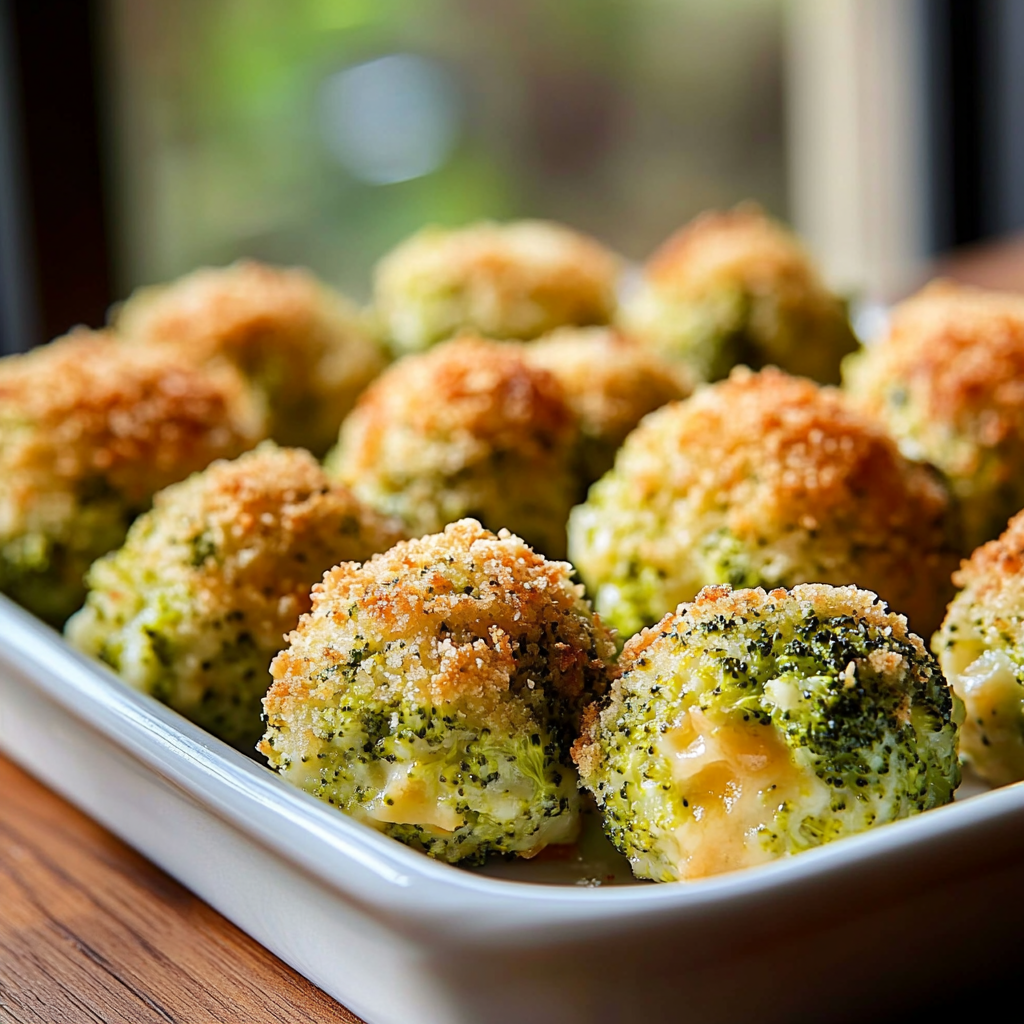
Have you ever craved a snack that is both nutritious and indulgent? Picture this: golden-brown, crispy balls packed with tender broccoli and oozing with melted cheese. These Baked Broccoli Cheese Balls not only satisfy your cravings but also provide a dose of healthy greens. The delightful contrast between the crunchy exterior and the gooey interior makes them an irresistible treat.
These delicious bites are perfect for various occasions—from game day gatherings to cozy family dinners. You can serve them as a wholesome appetizer or even as a main dish alongside a fresh salad. Their cheesy goodness will leave everyone wanting more, making them an instant hit at any gathering. Plus, you can easily whip up a batch in under an hour! Get ready to impress your guests and family with these mouthwatering delights.
Why You’ll Love This Baked Broccoli Cheese Balls
- Kid-Friendly Option: These baked broccoli cheese balls are an excellent way to sneak some veggies into your children’s diet without them noticing. They love the cheesy flavor while you know they’re getting their greens.
- Easy to Prepare: With minimal ingredients and straightforward steps, these bites come together quickly. They make cooking enjoyable without overwhelming you in the kitchen.
- Versatile Serving Options: Serve these cheese balls as an appetizer, snack, or even a side dish. Pair them with your favorite dipping sauce for added flavor variety that everyone will enjoy.

Ingredients for Baked Broccoli Cheese Balls
Here’s what you’ll need to make this delicious dish:
- Fresh Broccoli: Use about two cups of finely chopped fresh broccoli florets for the best flavor and texture.
- Shredded Cheddar Cheese: About one cup of sharp cheddar gives these bites their creamy goodness; feel free to mix in other cheeses like mozzarella.
- Breadcrumbs: Use plain or seasoned breadcrumbs to create a crispy coating that holds everything together well.
- Eggs: Two large eggs act as a binding agent, ensuring your mixture stays intact during baking.
- Garlic Powder: A teaspoon of garlic powder enhances the flavor profile and adds depth to each bite.
The full ingredients list, including measurements, is provided in the recipe card directly below.
How to Make Baked Broccoli Cheese Balls
Follow these simple steps to prepare this delicious dish:
Step 1: Preheat Your Oven
Preheat your oven to 400°F (200°C). Line a baking sheet with parchment paper or spray it with nonstick cooking spray for easy cleanup.
Step 2: Prepare the Broccoli
In a medium pot, bring water to a boil. Add chopped broccoli and blanch it for about two minutes until bright green. Drain and cool before chopping finely.
Step 3: Combine Ingredients
In a large bowl, mix blanched broccoli, shredded cheddar cheese, breadcrumbs, eggs, garlic powder, salt, and pepper until well combined.
Step 4: Form the Balls
Using your hands or a cookie scoop, form small balls (about one inch in diameter) from the mixture. Place them on the prepared baking sheet.
Step 5: Bake Until Golden
Bake in the preheated oven for about 20-25 minutes or until golden brown and crispy on the outside.
Step 6: Serve Warm
Transfer your baked broccoli cheese balls to a serving platter. Enjoy warm with your favorite dipping sauce!
Tips and Tricks
Here are some helpful tips to ensure the best results for your dish:
- Use Fresh Ingredients: Fresh broccoli makes all the difference in taste; avoid using frozen as it may lead to soggy balls.
- Customize Your Cheeses: Experiment with different cheeses like gouda or pepper jack for unique flavors tailored to your taste preferences.
- Chill Before Baking: If time allows, chill formed balls in the refrigerator for about thirty minutes before baking; this helps them hold their shape better.
Now you’re all set to create these scrumptious Baked Broccoli Cheese Balls! Enjoy every delicious bite!
Mistakes to avoid
- Using Raw Broccoli: One common mistake when preparing baked broccoli cheese balls is using raw broccoli. Raw broccoli can be too crunchy and may not blend well with the other ingredients. To achieve the perfect texture, always steam or blanch the broccoli before mixing it in. This step softens the broccoli, allowing it to incorporate seamlessly into the cheese mixture while maintaining a delightful bite.
- Not Draining Excess Moisture: Failing to drain excess moisture from the broccoli can lead to soggy baked broccoli cheese balls. After cooking the broccoli, ensure you press it between paper towels to remove any excess water. This will help your cheese balls hold their shape and achieve that crispy outer layer you desire. Properly draining moisture is crucial for achieving a perfect consistency.
- Overmixing the Ingredients: Overmixing can result in tough baked broccoli cheese balls. When combining your ingredients, opt for gentle folding rather than vigorous stirring. This technique maintains a light texture and allows the cheese and seasonings to blend without breaking down the broccoli too much. A gentle touch ensures your cheese balls stay fluffy and enjoyable.
- Skipping Seasoning: A common error is neglecting to season your mixture properly. Broccoli has a mild flavor, so it’s essential to add enough salt, pepper, and spices to elevate the taste of your baked broccoli cheese balls. Taste your mixture before shaping it into balls, adjusting seasonings as needed. This simple step can make all the difference in flavor.
- Baking at Incorrect Temperature: Baking your cheese balls at an incorrect temperature can lead to uneven cooking. Aim for a heat setting of around 375°F (190°C) for optimal results. This temperature allows for thorough cooking while achieving that desired golden-brown exterior. Always preheat your oven before baking to ensure consistent heat distribution.
Serving Suggestions
This Baked Broccoli Cheese Balls recipe is versatile and pairs wonderfully with:
- Marinara Sauce: Serve these delicious bites with a side of marinara sauce for dipping. The tangy flavor complements the cheesy broccoli perfectly.
- Mixed Greens Salad: A light mixed greens salad balances the richness of the cheese balls. Add some cherry tomatoes and a vinaigrette for freshness.
- Garlic Aioli: For a creamy twist, pair your baked broccoli cheese balls with garlic aioli. The garlicky flavor enhances each bite, making it even more enjoyable.
FAQs
Can I freeze Baked Broccoli Cheese Balls?
Yes, you can freeze Baked Broccoli Cheese Balls! After shaping them, place them on a baking sheet lined with parchment paper and freeze until solid. Once frozen, transfer them to an airtight container or freezer bag. They will last for up to three months in the freezer. When you’re ready to enjoy them, bake straight from frozen, adding a few extra minutes to the cooking time.
What type of cheese works best in this recipe?
For the best flavor and texture in Baked Broccoli Cheese Balls, use a combination of cheeses like sharp cheddar and mozzarella. Sharp cheddar adds a rich taste while mozzarella provides that gooey stretchiness. You can also experiment with other cheeses like Parmesan or Gouda for unique flavors.
How can I make these gluten-free?
Making Baked Broccoli Cheese Balls gluten-free is easy! Simply substitute regular breadcrumbs with gluten-free breadcrumbs or ground oats. Ensure that all other ingredients you use are certified gluten-free as well. This way, everyone can enjoy this tasty treat without worry.
Are Baked Broccoli Cheese Balls suitable for kids?
Absolutely! Baked Broccoli Cheese Balls are a great way to get kids to eat their veggies. The cheesy flavor masks the broccoli taste while providing essential nutrients. They make excellent snacks or appetizers for kids’ parties or gatherings!
In summary, this Cheese Balls are not only delicious but also easy to prepare, making them a perfect snack or appetizer for any occasion. With versatile serving suggestions like marinara sauce and garlic aioli, you can customize your experience to suit your taste preferences. Freezing leftovers allows you to enjoy this tasty treat anytime. Plus, by using different cheese combinations, you can enhance the flavor even further. So gather your ingredients and whip up this delightful recipe today – your taste buds will thank you!