
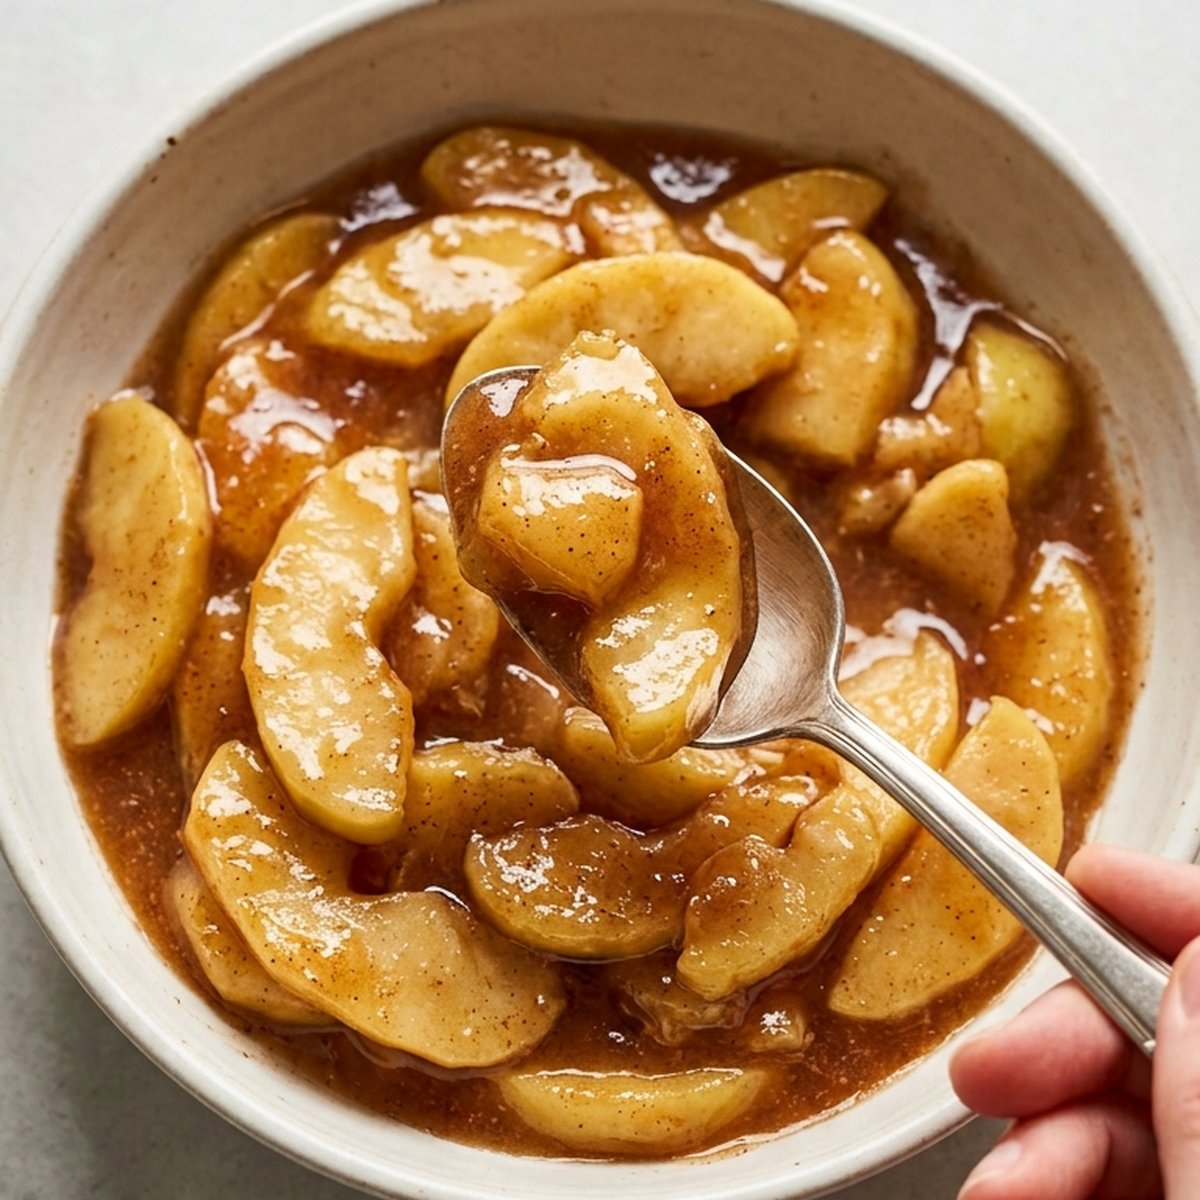
Homemade Apple Pie Filling is made with tender apple slices coated in a glossy cinnamon-brown sugar sauce with a touch of lemon and nutmeg. The apples are cooked just until crisp-tender so they hold their shape instead of turning into applesauce when used in pies, crisps, hand pies, or other baked desserts.
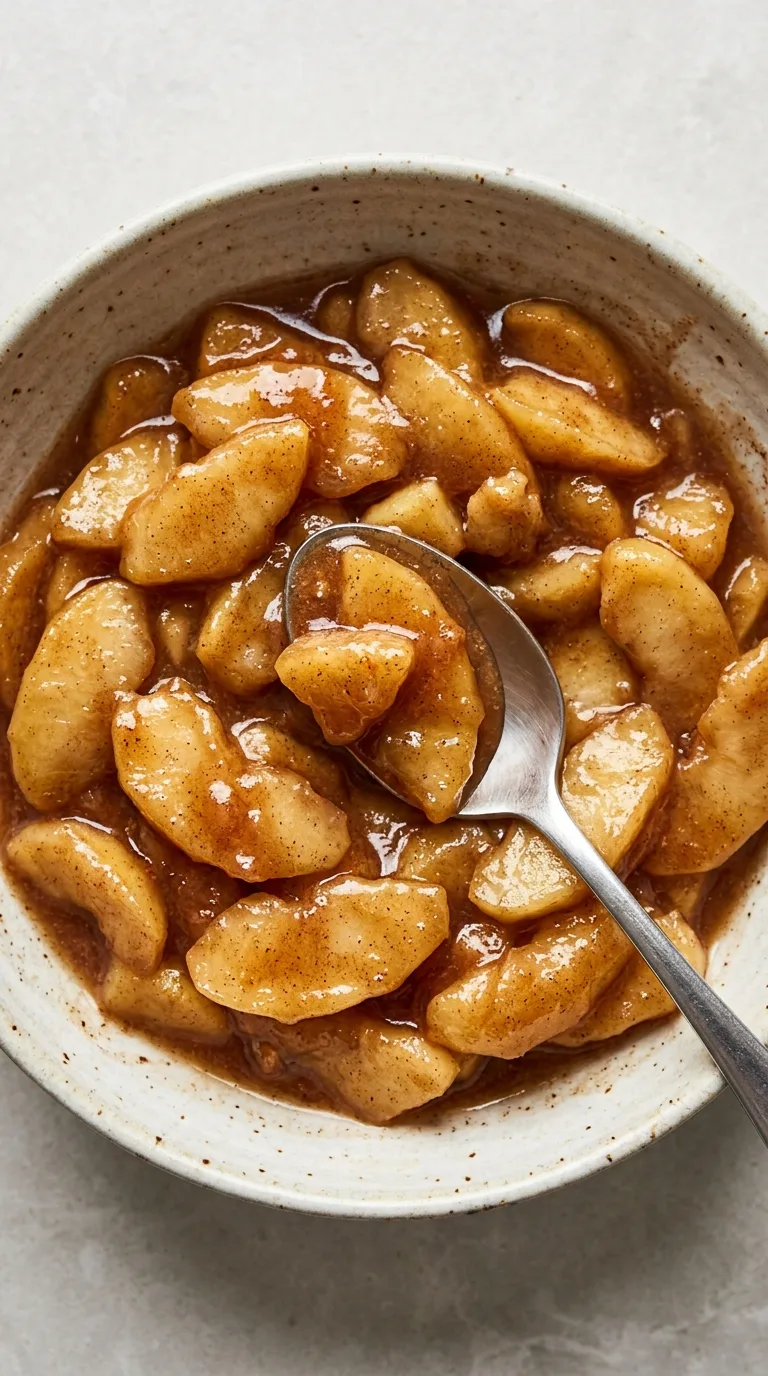
This stovetop recipe makes about 6 cups, enough for one generously filled 9-inch pie. It can be used after cooling or made several days ahead and refrigerated, making dessert assembly much quicker.
Why This Recipe Works
- Firm baking apples hold their shape. Varieties such as Granny Smith and Honeycrisp stay pleasantly tender instead of becoming mushy during cooking.
- Cornstarch creates a glossy, sliceable sauce. It thickens the apple juices enough to keep the filling from running out of a finished pie.
- Lemon juice balances the sweetness. Its acidity brightens the apples and keeps the brown sugar sauce from tasting heavy.
- The apples are only partially cooked. This keeps them from becoming overly soft if the filling is baked again inside a pie.
- A mix of brown and granulated sugar adds depth. Brown sugar supplies caramel notes while granulated sugar keeps the apple flavor clean and bright.
Equipment Needed
- Large 12-inch skillet or 4-quart saucepan
- Large mixing bowl
- Vegetable peeler
- Apple corer or paring knife
- Sharp knife and cutting board
- Whisk
- Heatproof spatula or wooden spoon
- Airtight storage container
Ingredients List
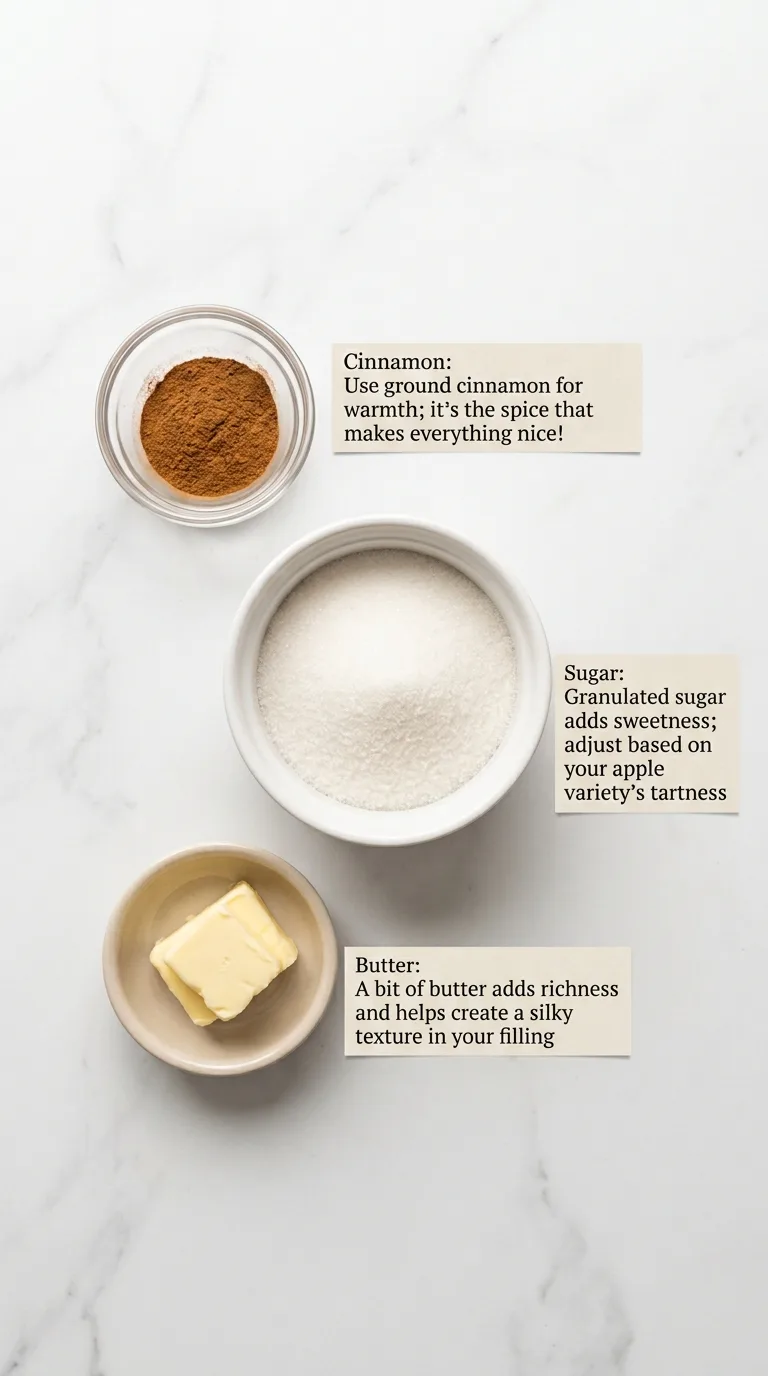
For the Apple Pie Filling
- 6 cups (about 900 g) peeled, cored apples, sliced about ¼ inch thick
- 2 tablespoons (30 mL) fresh lemon juice
- ½ cup (100 g) granulated sugar
- ½ cup (110 g) packed light brown sugar
- 1½ teaspoons (about 4 g) ground cinnamon
- ¼ teaspoon (about 0.5 g) ground nutmeg
- ¼ teaspoon (about 1.5 g) fine salt
- 1 cup (240 mL) water
- 3 tablespoons (24 g) cornstarch
- 2 tablespoons (28 g) unsalted butter
- 1 teaspoon (5 mL) pure vanilla extract
Ingredient Notes and Substitutions
- Apples: Firm baking apples give the filling the best texture. Granny Smith provides tartness and holds its shape especially well, while Honeycrisp, Braeburn, or Pink Lady add more sweetness. Using a combination creates a more balanced filling. Very soft apples such as McIntosh can break down quickly.
- Cornstarch: Cornstarch thickens the sauce quickly and creates a glossy texture suitable for refrigerated or frozen filling. Arrowroot starch can be used, but the finished sauce may be slightly more translucent and can soften after extended cooking.
- Brown Sugar: Light brown sugar gives the filling caramel and molasses notes. Dark brown sugar can be substituted in the same quantity for a deeper flavor and darker sauce.
- Lemon Juice: Fresh lemon juice balances the sugar and helps keep the apple flavor lively. Bottled lemon juice can be substituted in the same amount, although fresh juice usually has a cleaner flavor.
- Cinnamon and Nutmeg: These spices give the filling classic apple-pie flavor. About 1¾ teaspoons of apple pie spice can replace both, although the exact spice profile will depend on the blend.
Step-by-Step Instructions
1. Prepare the Apples
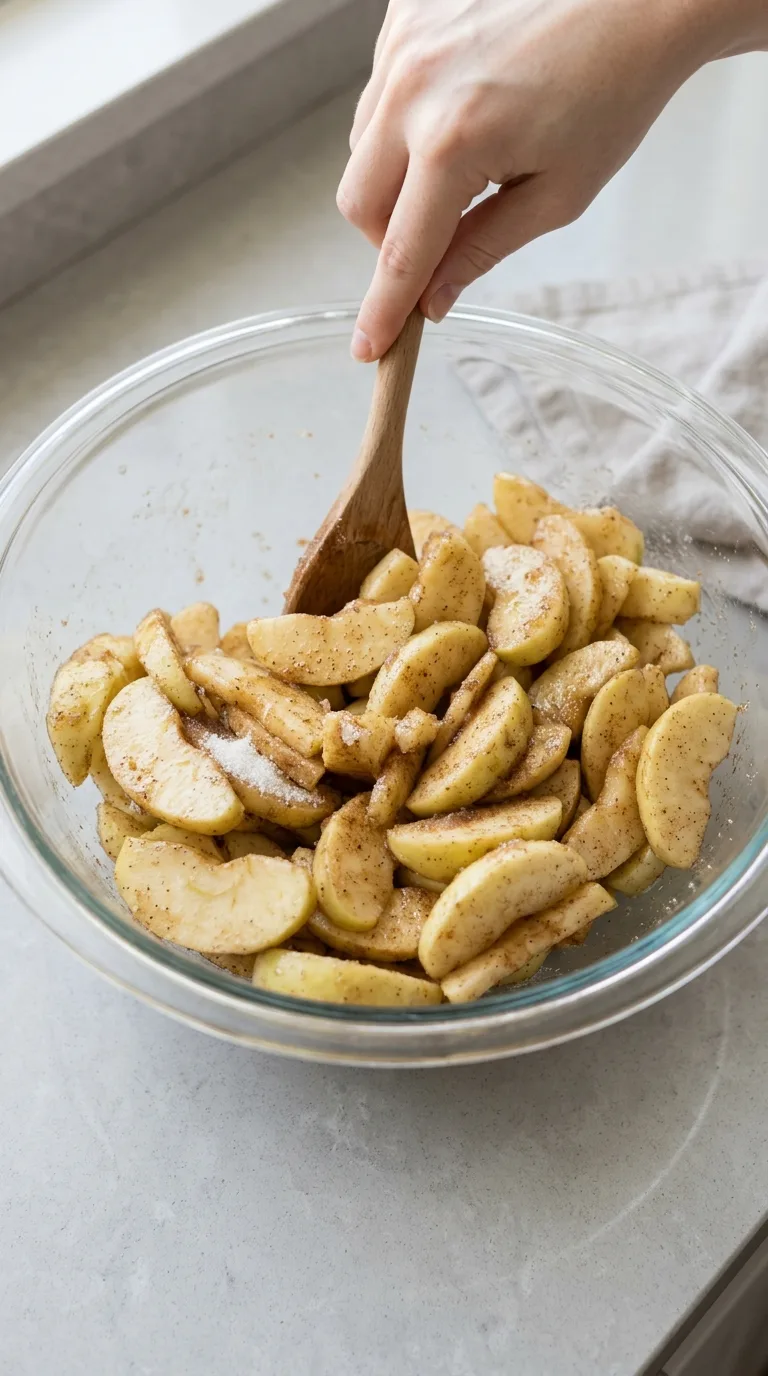
Peel and core the apples, then cut them into slices about ¼ inch thick.
Measure 6 cups (about 900 g) of prepared apples.
Place them in a large bowl and toss with the lemon juice to coat.
2. Combine the Sugar and Spices
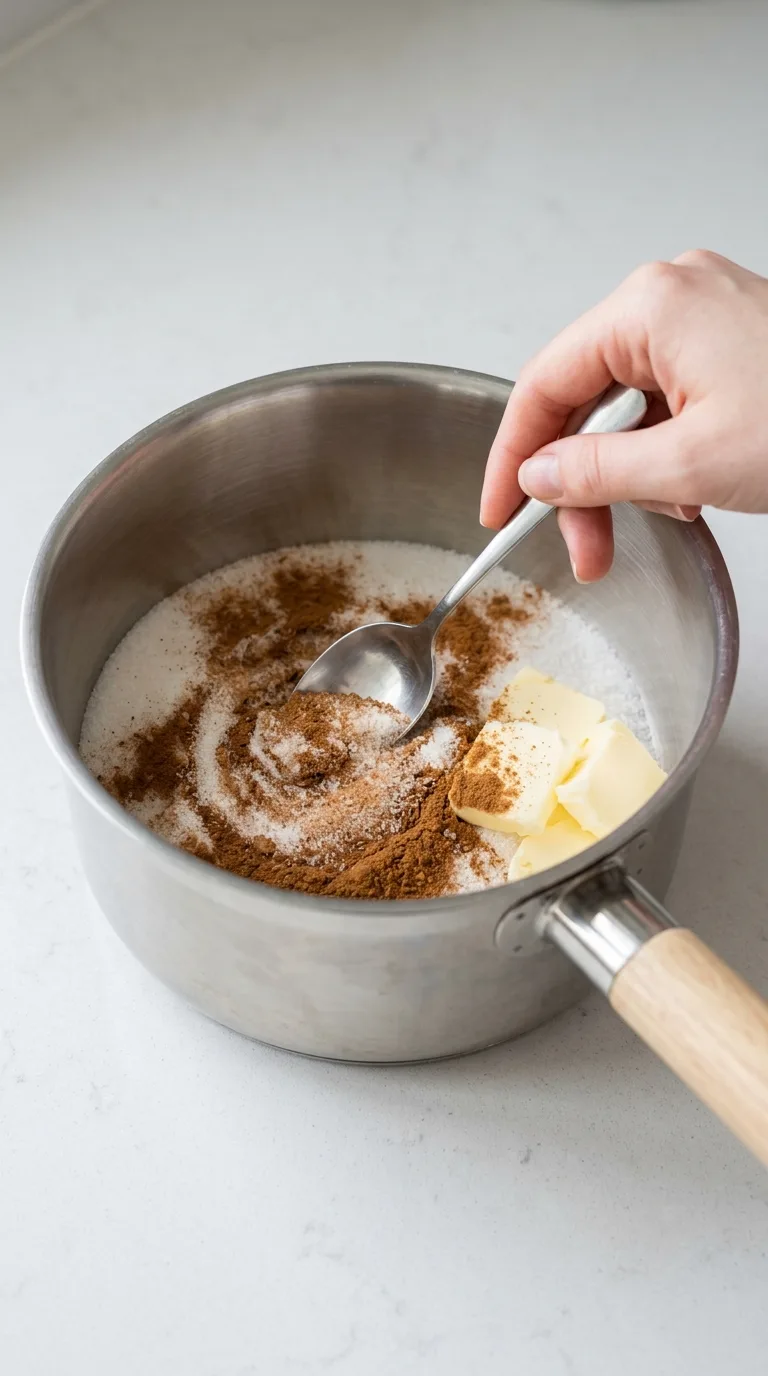
In a large skillet or saucepan, combine the granulated sugar, brown sugar, cinnamon, nutmeg, and fine salt.
Whisk until the spices are distributed evenly through the sugars.
3. Make the Thickening Mixture
Add the water and cornstarch to the sugar mixture.
Whisk thoroughly while the pan is still off the heat, making sure there are no visible cornstarch lumps.
The mixture will look cloudy and fairly thin.
4. Cook the Sauce
Place the pan over medium heat.
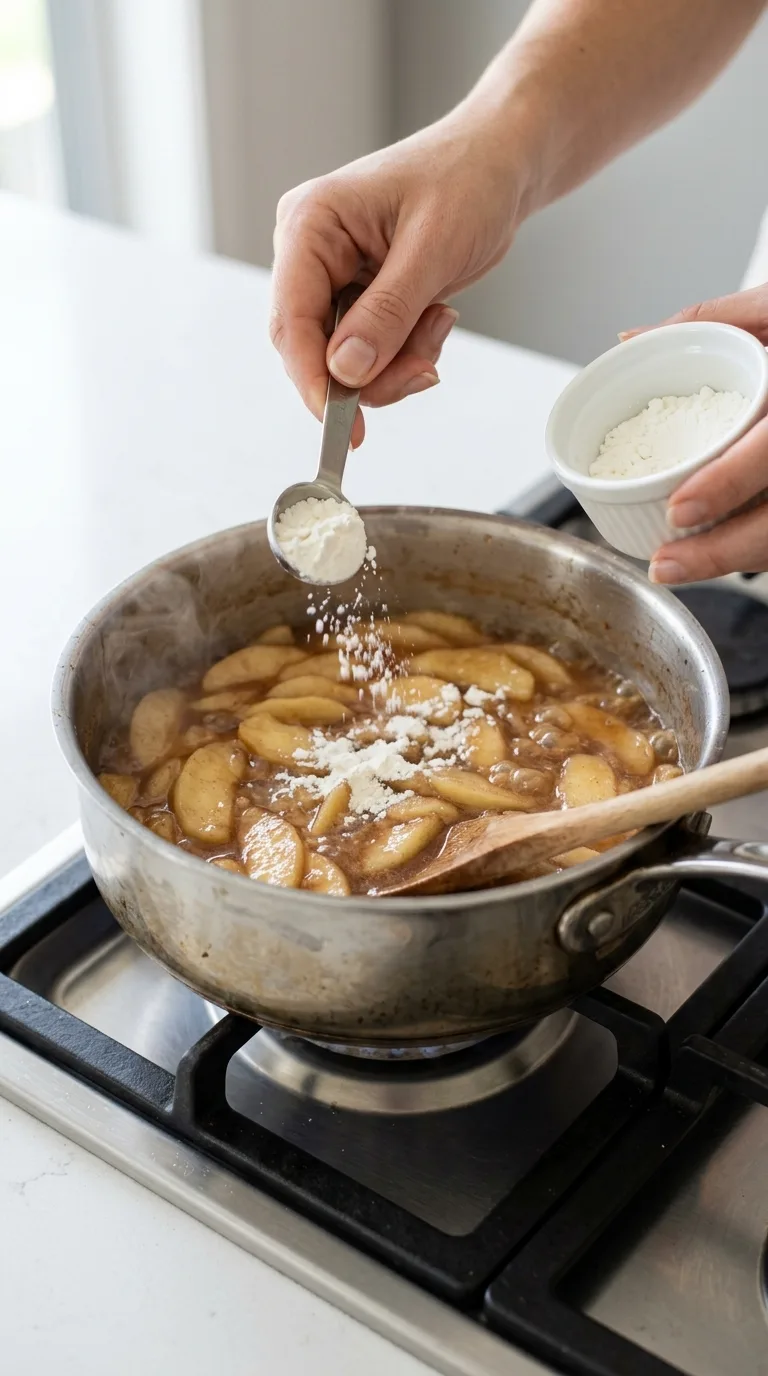
Cook for 3–5 minutes, whisking frequently, until the mixture begins to simmer and thickens into a glossy sauce.
It should coat the back of a spoon rather than run off like water.
5. Add the Apples
Add the lemon-coated apple slices to the thickened sauce.
Fold gently until every slice is coated.
At first the mixture may look very thick, but the apples will release additional moisture as they cook.
6. Cook Until Crisp-Tender
Continue cooking over medium to medium-low heat for 6–8 minutes, stirring gently every minute or so.
The apples should soften enough to bend slightly but still offer resistance when pierced with a fork.
Do not cook until completely soft if you plan to bake the filling again inside a pie.
7. Add the Butter and Vanilla
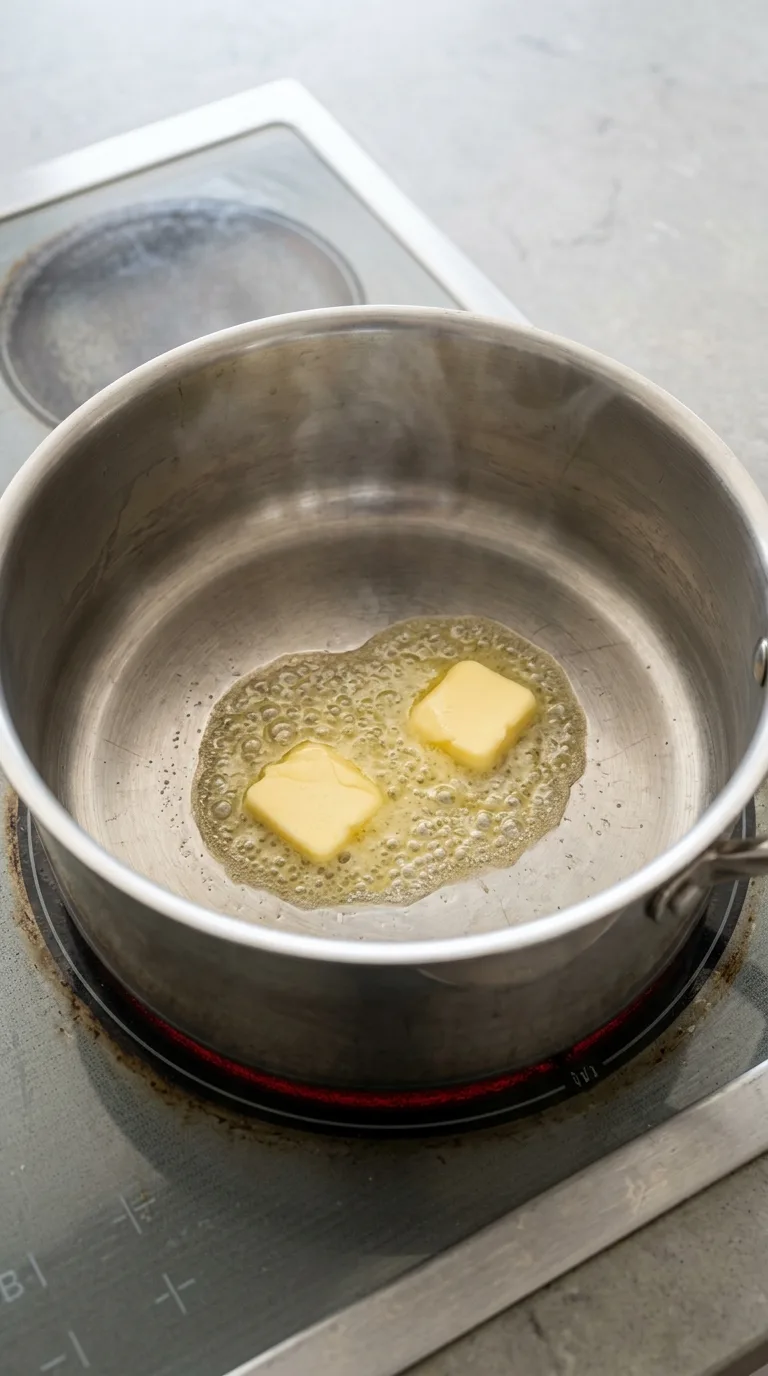
Remove the pan from the heat.
Add the butter and stir until completely melted.
Stir in the vanilla extract.
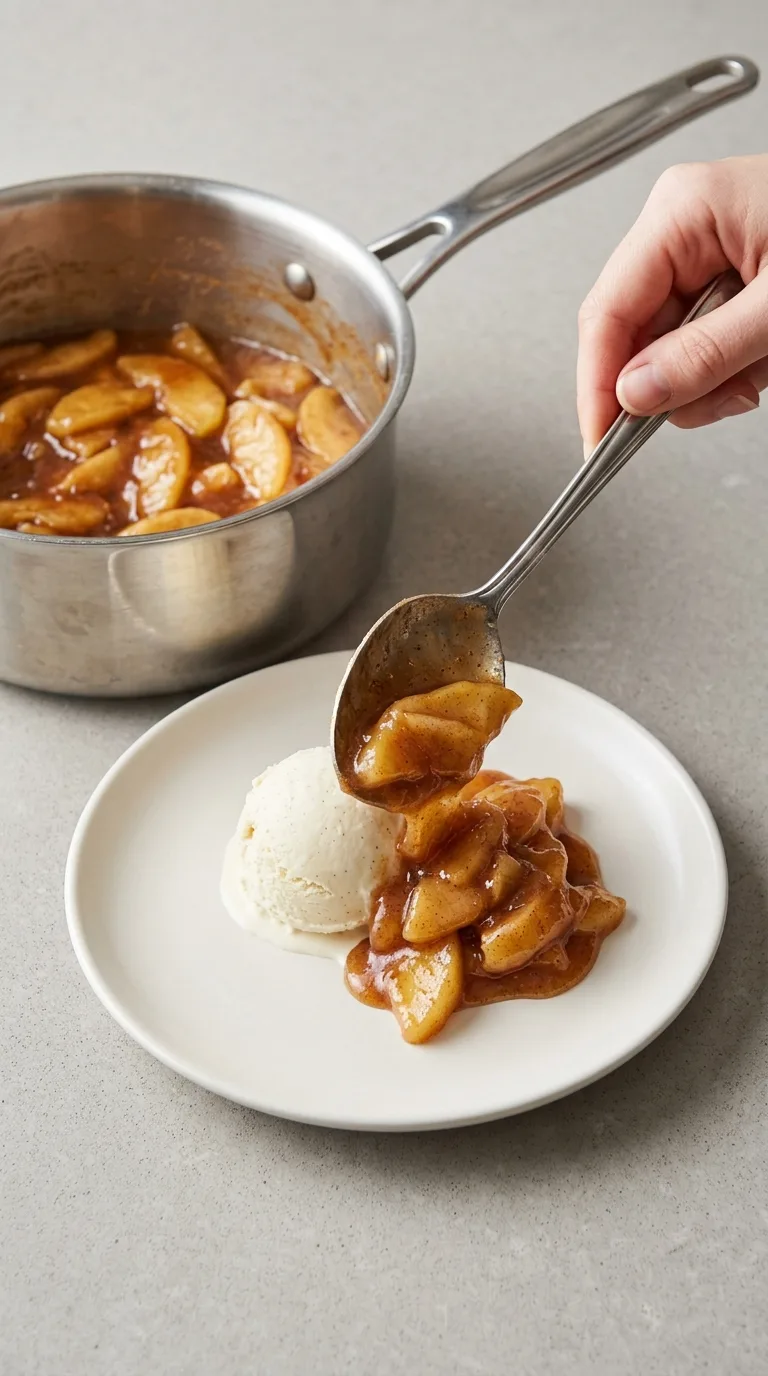
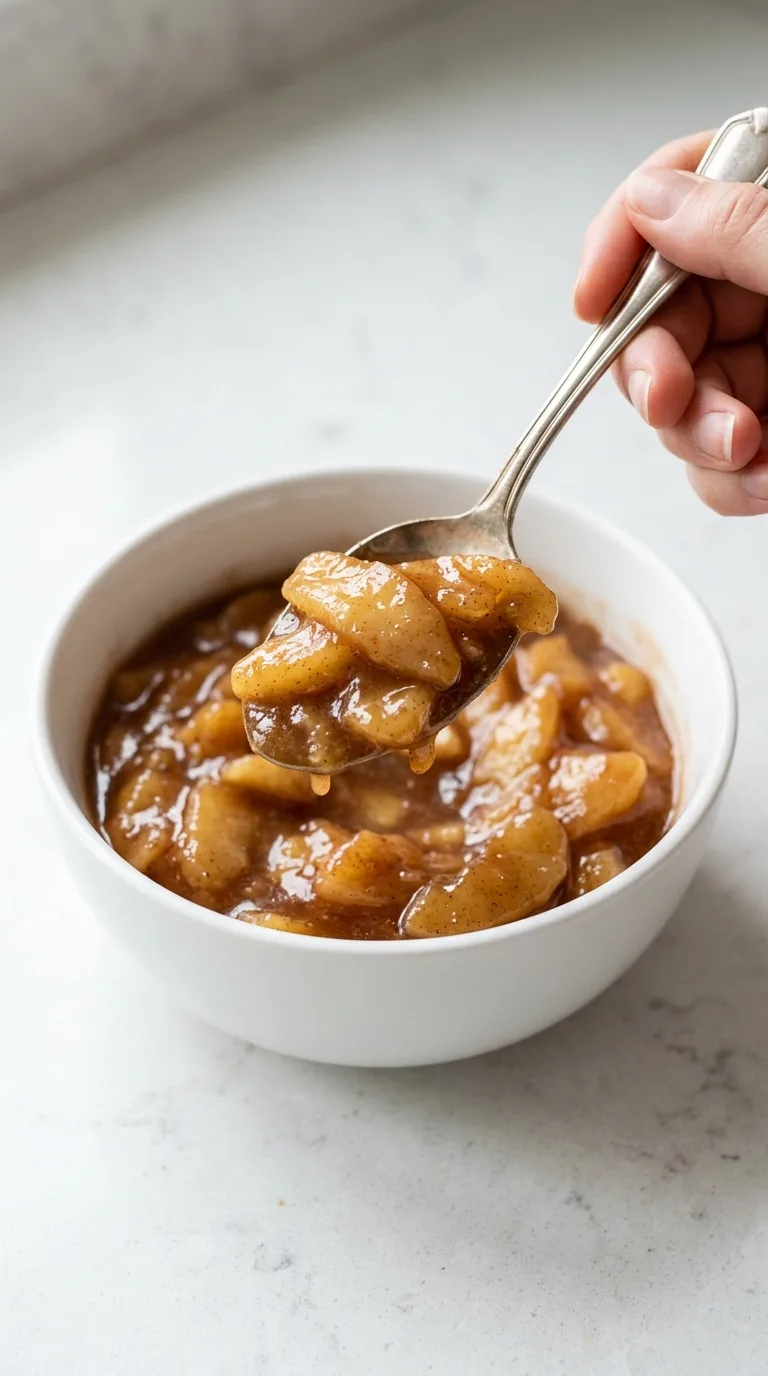
The finished sauce should be smooth, glossy, and thick enough to cling to the apple slices.
8. Check the Consistency
Let the filling stand for 5 minutes.
If it seems unusually thick, stir in 1 tablespoon (15 mL) water at a time until the sauce loosens slightly.
If it looks thin, remember that the filling will continue thickening as it cools.
9. Cool the Filling
Transfer the apple pie filling to a shallow heatproof container.
Let it cool for about 30 minutes before using it in pastry.
For refrigerated storage, continue cooling until no longer steaming, then cover and chill promptly.
10. Use or Store
Use about 6 cups of filling for one generously filled 9-inch pie.
The filling can also be spooned into turnovers, hand pies, crisps, cheesecakes, pancakes, or other desserts.
Storage, Freezing, and Make-Ahead Instructions
- Refrigeration: Transfer cooled Homemade Apple Pie Filling to an airtight container. Refrigerate for up to 4 days. Stir gently before using if the sauce has settled around the apples.
- Freezing: Cool the filling completely and transfer it to a freezer-safe container or heavy-duty freezer bag. Leave a little room for expansion. Freeze for up to 3 months. For convenient pie preparation, freeze approximately 6 cups together as one batch.
- Thawing: Thaw frozen filling overnight in the refrigerator. Stir gently before using. If the sauce seems slightly loose after thawing, it will usually thicken again when baked.
- Make-Ahead Preparation: Prepare the filling up to 3–4 days before assembling a pie. Keep it covered and refrigerated, then use it cold or let it stand briefly at room temperature before filling the crust.
- Canning Note: This cornstarch-thickened recipe is intended for refrigerator or freezer storage, not home canning. For shelf-stable canned apple pie filling, use a specifically tested canning recipe and the thickener required by that recipe rather than substituting this formula.
FAQ
Can I make Homemade Apple Pie Filling ahead of time?
Yes. Prepare it up to 4 days ahead and refrigerate it in an airtight container. It can also be frozen for up to 3 months.
What apples are good for apple pie filling?
Granny Smith, Honeycrisp, Braeburn, and Pink Lady are good choices because they hold their shape when cooked. Mixing a tart apple with a sweeter variety gives the filling balanced flavor.
Why is my apple pie filling runny?
The cornstarch may not have reached a simmer long enough to activate, or the apples may have released more juice than expected. The sauce also thickens substantially while cooling, so let it cool before deciding whether it is too thin.
Can I use this filling directly in a pie?
Yes. Once cooled, use about 6 cups for a 9-inch pie. Because the apples are only partially cooked, they can finish softening while the assembled pie bakes.
Can I reduce the sugar?
Yes. You can reduce each sugar to ⅓ cup—about 67 g granulated sugar and 73 g light brown sugar—for a less sweet filling. Tart apples will taste noticeably sharper with the reduced amount.
Homemade Apple Pie Filling
Ingredients
Method
- Peel and core the apples, then cut them into slices about ¼ inch thick. Measure 6 cups (about 900 g) of prepared apples. Place them in a large bowl and toss with the lemon juice to coat.
- In a large skillet or saucepan, combine the granulated sugar, brown sugar, cinnamon, nutmeg, and fine salt. Whisk until the spices are distributed evenly through the sugars.
- Add the water and cornstarch to the sugar mixture. Whisk thoroughly while the pan is still off the heat, making sure there are no visible cornstarch lumps. The mixture will look cloudy and fairly thin.
- Place the pan over medium heat: Cook for 3–5 minutes, whisking frequently, until the mixture begins to simmer and thickens into a glossy sauce. It should coat the back of a spoon rather than run off like water.
- Add the lemon-coated apple slices to the thickened sauce. Fold gently until every slice is coated. At first the mixture may look very thick, but the apples will release additional moisture as they cook.
- Continue cooking over medium to medium-low heat for 6–8 minutes, stirring gently every minute or so. The apples should soften enough to bend slightly but still offer resistance when pierced with a fork. Do not cook until completely soft if you plan to bake the filling again inside a pie.
- Remove the pan from the heat: Add the butter and stir until completely melted. Stir in the vanilla extract. The finished sauce should be smooth, glossy, and thick enough to cling to the apple slices.
- Let the filling stand for 5 minutes. If it seems unusually thick, stir in 1 tablespoon (15 mL) water at a time until the sauce loosens slightly. If it looks thin, remember that the filling will continue thickening as it cools.
- Transfer the apple pie filling to a shallow heatproof container. Let it cool for about 30 minutes before using it in pastry. For refrigerated storage, continue cooling until no longer steaming, then cover and chill promptly.
- Use about 6 cups of filling for one generously filled 9-inch pie. The filling can also be spooned into turnovers, hand pies, crisps, cheesecakes, pancakes, or other desserts.