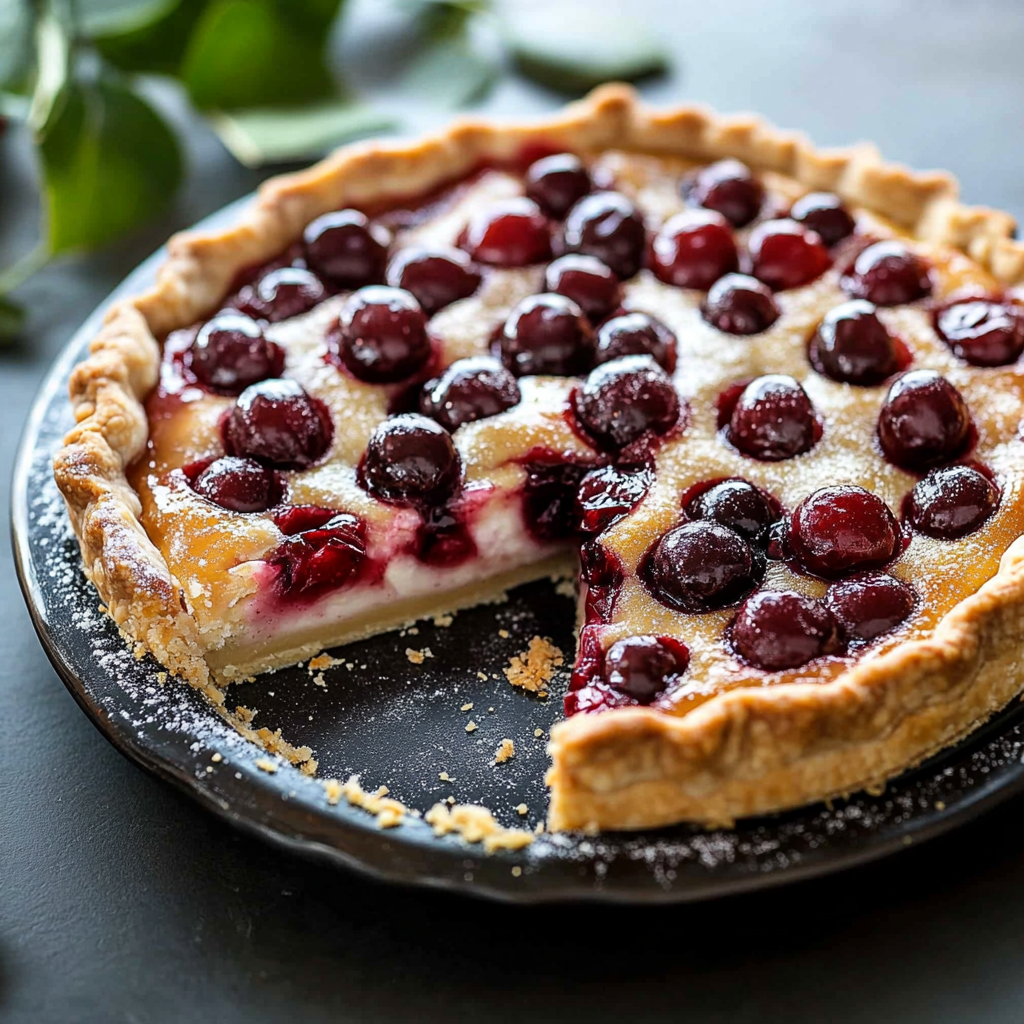
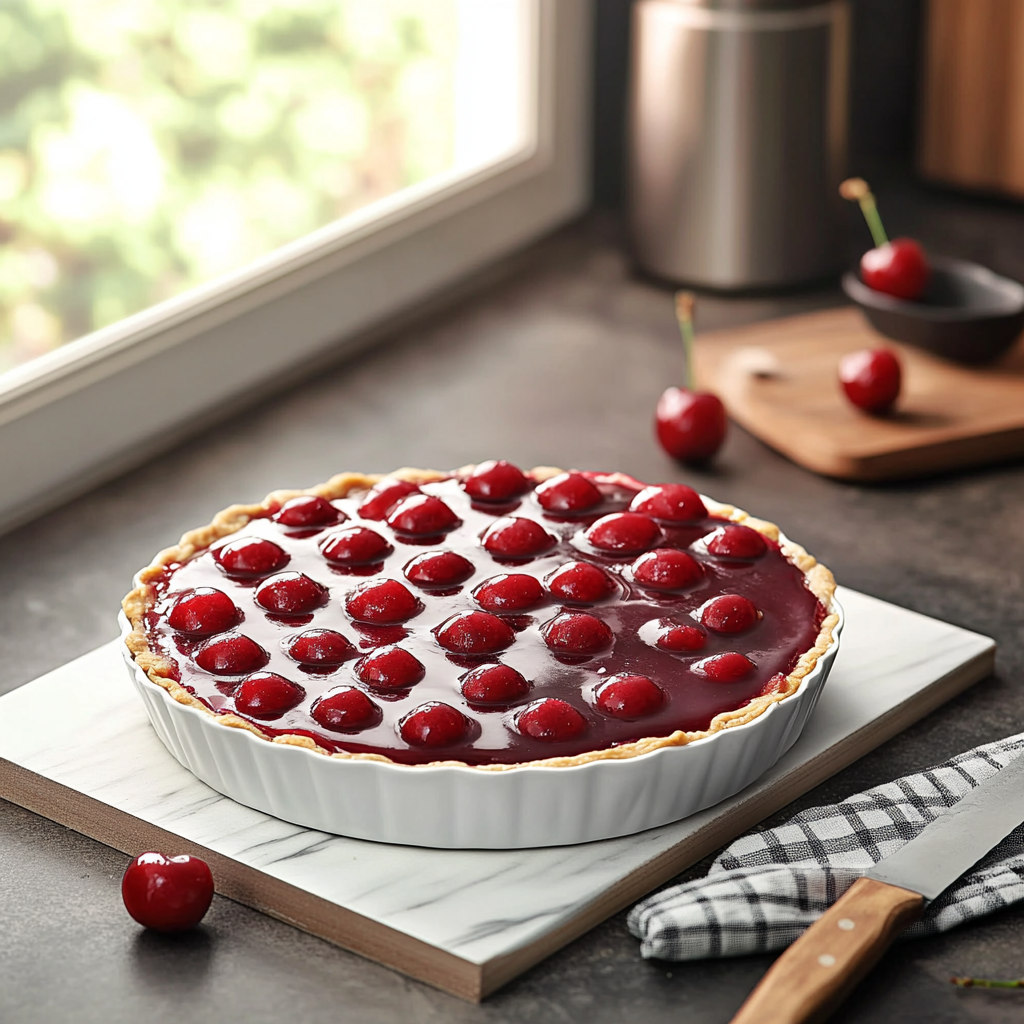
To me, a homemade cherry pie is like a warm hug from grandma on a chilly day. The sweet aroma of cherries mingling with the flaky crust fills the kitchen and instantly transports you to simpler times. Picture this: biting into that first slice and feeling the gooey cherry filling burst forth – it’s happiness on a plate!

Every family gathering in my house involved a contest to see who could snag the biggest slice before it disappeared. Homemade cherry pie became our secret weapon for creating joy and laughter around the table. Whether it’s summer picnics or cozy winter nights, this delectable treat promises to steal the show.
Why You'll Love This Recipe
- This delightful homemade cherry pie offers an easy preparation process that anyone can master
- Bursting with rich flavors and bright colors, it’s visually stunning on any dessert table
- Its versatility makes it perfect for celebrations or casual family dinners
- Best of all, it’s an instant mood booster that brings back lovely memories!
I still remember my cousin’s face when she took her first bite of my homemade cherry pie – pure bliss!
Essential Ingredients
Here’s what you’ll need to make this delicious dish:
- Fresh Cherries: The star of the show! Choose ripe, juicy cherries for the best flavor and sweetness.
- Sugar: Sweetens the filling; adjust based on your taste preference and the tartness of your cherries.
- Pie Crust: You can use store-bought or make your own; both work wonderfully to encase that scrumptious filling.
- Cornstarch: This helps thicken the cherry juices into a luscious filling while baking.
- Lemon Juice: Adds brightness and balances the sweetness; fresh is always best for maximum zing!
- Vanilla Extract: A splash enhances the flavor profile beautifully; don’t skip it!
The full ingredients list, including measurements, is provided in the recipe card directly below.
Let’s Make it Together
Prepare Your Cherries: Start by washing and pitting about four cups of fresh cherries. This step is crucial because nobody wants a surprise pit during their delicious bite.
Mix Your Filling: In a large bowl, combine pitted cherries with sugar, cornstarch, lemon juice, and vanilla extract. Stir gently until everything is well-coated and shiny; let it sit so flavors meld beautifully.
Roll Out Your Dough: If you’re making your own crust, roll out half for the bottom layer on a floured surface until it’s about 12 inches in diameter. Place it lovingly into your pie dish without stretching.
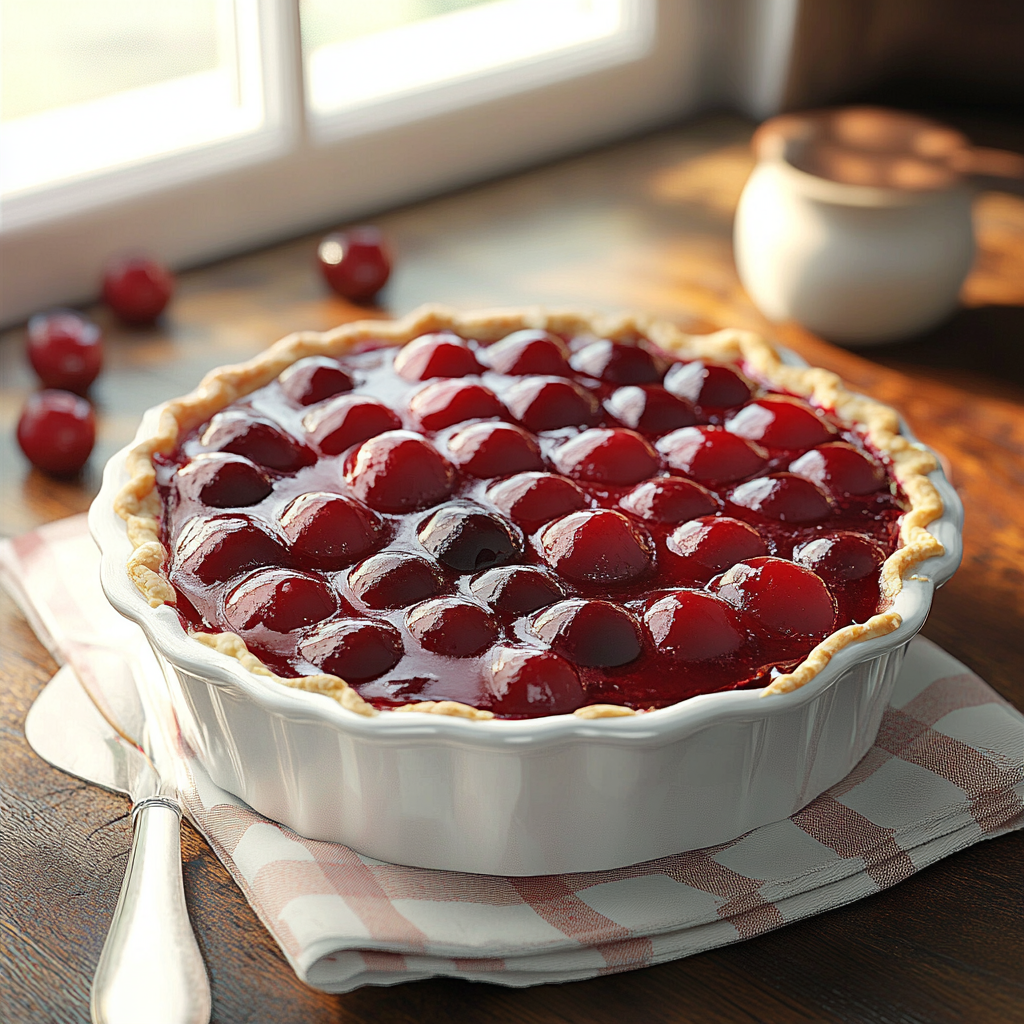
Add The Filling & Top Crust: Pour your vibrant cherry mixture into the prepared crust. Roll out another dough circle for the top; cut slits for venting steam or get creative with lattice work!
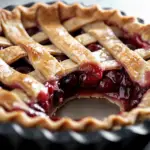
Bake To Perfection: Preheat your oven to 425°F (220°C). Bake for about 45-50 minutes until the crust is golden brown and you can see bubbling cherry juices through those slits.
Cool & Serve: Allow your pie to cool for at least an hour before slicing; this helps set up that glorious filling. Serve warm with whipped cream or vanilla ice cream if desired!
Now you’ve mastered making a delightful homemade cherry pie – a treat that’s sure to bring smiles all around!
You Must Know
- Homemade Cherry Pie is a delightful treat that is perfect for any occasion
- The combination of sweet cherries and flaky crust creates an irresistible dessert that brings back childhood memories
- Its vibrant color and delicious aroma will make your kitchen feel cozy and welcoming
Perfecting the Cooking Process
Start by preparing the crust first; it needs time to chill while you make the filling. Bake the pie until golden brown, which usually takes around 45-50 minutes for a perfectly baked shell.
Add Your Touch
Feel free to swap out some of the cherries for blueberries or raspberries. Adding a pinch of almond extract can also elevate the flavor profile and give it a unique twist.
Storing & Reheating
Store your Homemade Cherry Pie in an airtight container at room temperature for up to three days. To reheat, place slices in a preheated oven at 350°F for about 10-15 minutes.
Chef's Helpful Tips
- Be sure to use fresh, ripe cherries for the best flavor; frozen cherries can work but may require additional thickening
- Always let the pie cool before slicing, as this helps set the filling nicely
- A scoop of vanilla ice cream on top never hurts!
Creating my first Homemade Cherry Pie was an adventure filled with laughter and flour fights with my kids; their faces lit up when they took that first bite!
FAQ
Can I use frozen cherries for Homemade Cherry Pie?
Yes, you can use frozen cherries, but they may require extra thickening.
How do I know when my cherry pie is done baking?
Look for a golden-brown crust and bubbling filling to indicate it’s fully baked.
What is the best way to thicken my cherry filling?
Use cornstarch or tapioca starch to achieve a thicker consistency in your cherry filling.
Homemade Cherry Pie
- Total Time: 1 hour 10 minutes
- Yield: Serves approximately 8 slices 1x
Description
Savor the bliss of this homemade cherry pie, filled with sweet, juicy cherries and encased in a flaky crust—perfect for any occasion.
Ingredients
- 4 cups fresh cherries, pitted
- 1 cup sugar
- 1 pie crust (store-bought or homemade)
- 2 tablespoons cornstarch
- 1 tablespoon lemon juice
- 1 teaspoon vanilla extract
Instructions
- Wash and pit the cherries.
- In a bowl, combine pitted cherries with sugar, cornstarch, lemon juice, and vanilla extract; let sit to meld flavors.
- Roll out half of the pie dough on a floured surface and place it into your pie dish without stretching.
- Pour the cherry mixture into the crust. Roll out another dough circle for the top, cutting slits for steam venting or creating a lattice design.
- Preheat oven to 425°F (220°C) and bake for 45-50 minutes until golden brown and bubbling.
- Allow cooling for at least an hour before slicing; serve warm with whipped cream or ice cream.
- Prep Time: 20 minutes
- Cook Time: 50 minutes
- Category: Dessert
- Method: Baking
- Cuisine: American
Nutrition
- Serving Size: 1 slice (100g)
- Calories: 245
- Sugar: 20g
- Sodium: 150mg
- Fat: 9g
- Saturated Fat: 3g
- Unsaturated Fat: 5g
- Trans Fat: 0g
- Carbohydrates: 39g
- Fiber: 2g
- Protein: 2g
- Cholesterol: 0mg