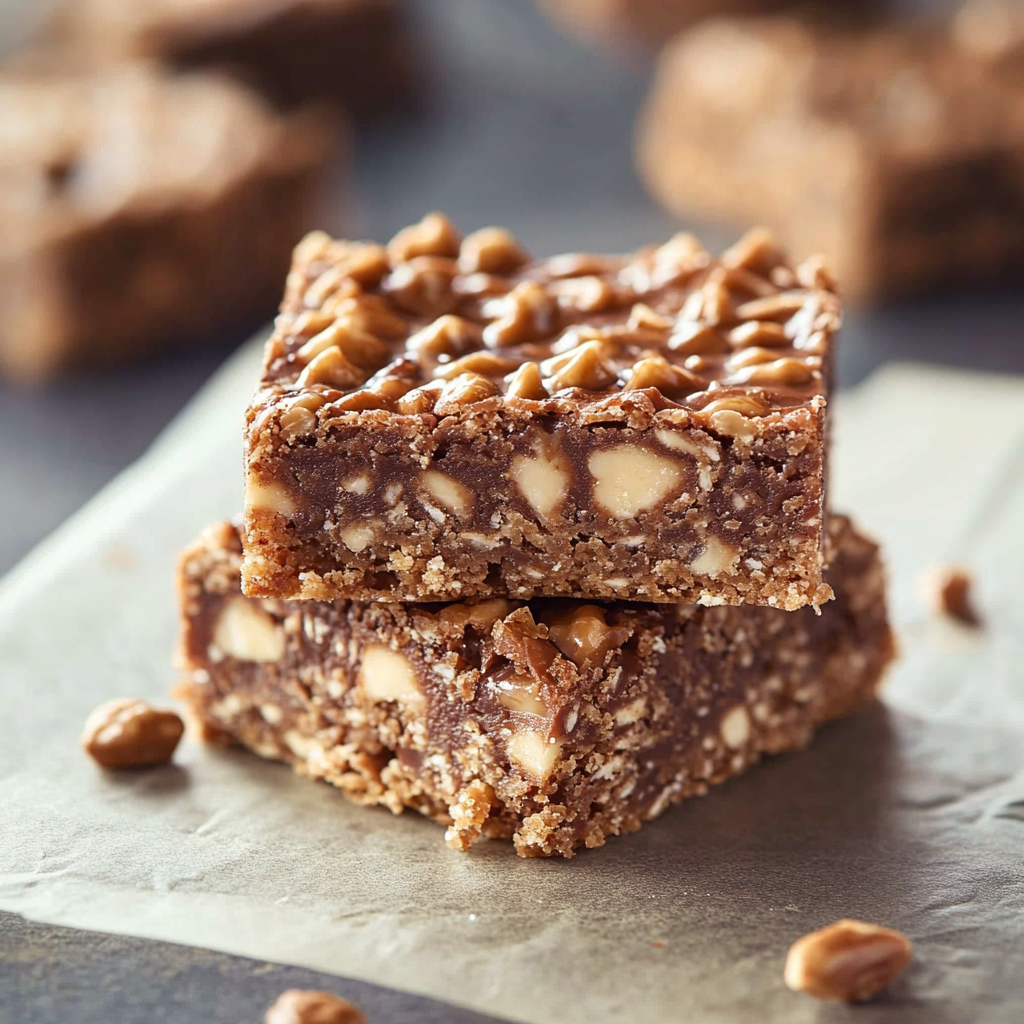
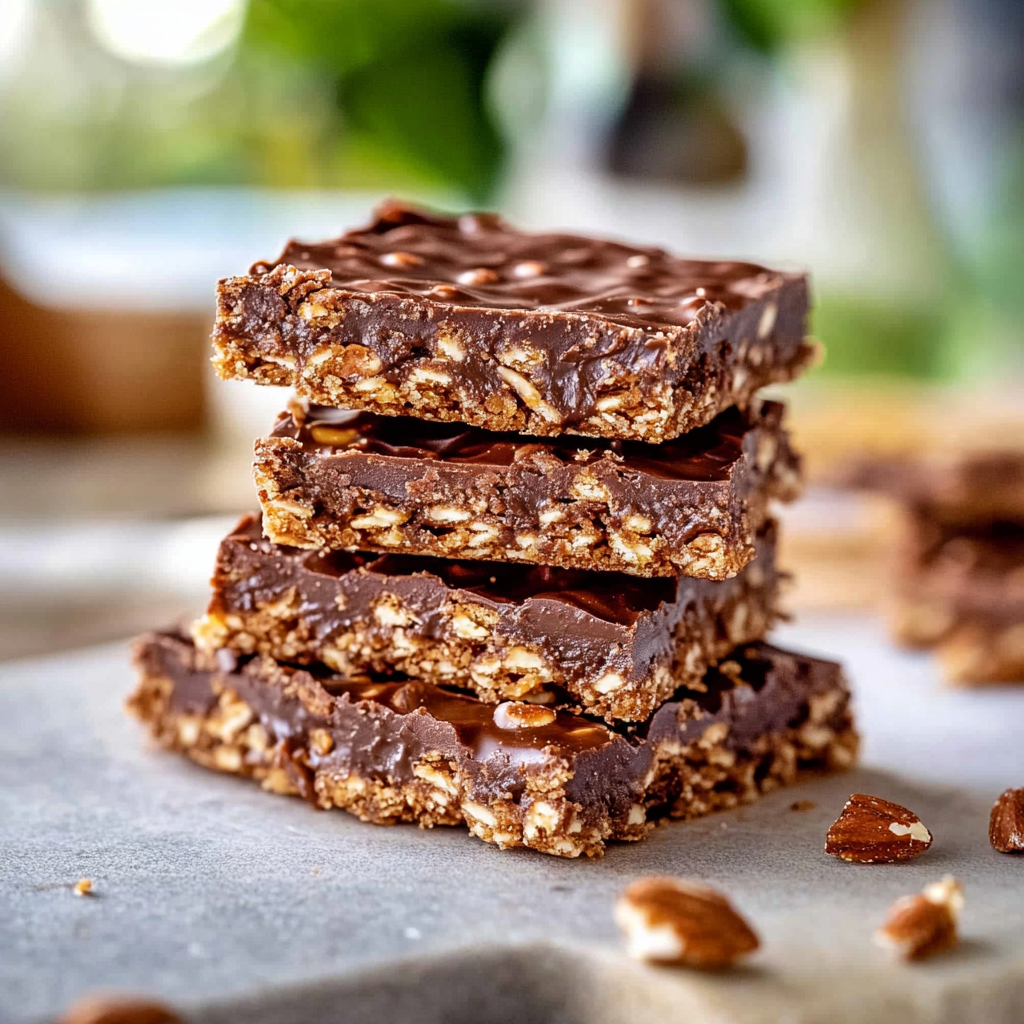
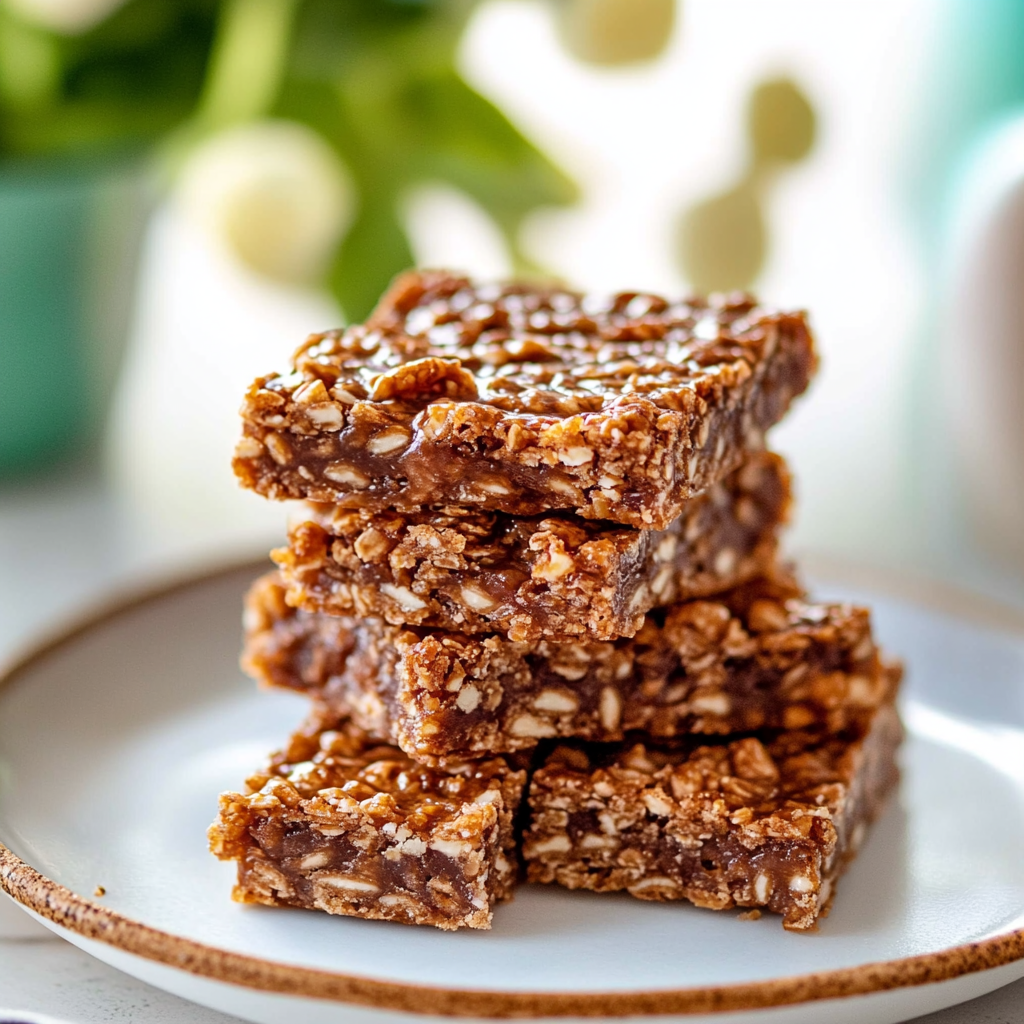
Imagine sinking your teeth into a crispy, chewy morsel that melts in your mouth while whispering sweet nothings to your taste buds. Yes, we’re talking about homemade crunch bars! These delightful treats combine the satisfying crunch of rice cereal with a sweet layer of chocolate that dances on your palate. The aroma wafting through your kitchen will have everyone wondering what magic you’ve conjured up.

As I concocted these delicious bites during a particularly boring afternoon, I had flashbacks to my childhood those school lunchboxes filled with store-bought versions that were okay but never quite hit the spot. This version not only brings nostalgia but also promises to be a hit at any gathering or just as a guilty pleasure on a quiet evening.
Why You'll Love This Recipe
- Making homemade crunch bars is a breeze; it takes just minutes to whip up
- The flavors are endlessly customizable based on your cravings or pantry staples
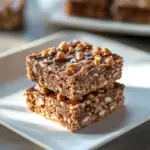
- With a beautiful golden hue and glossy chocolate finish, they’re visually stunning
- Perfect for parties or an after-school snack, they suit any occasion!
A few weeks ago, my friends devoured these homemade crunch bars in record time during our movie night definitely a crowd-pleaser!
Essential Ingredients
Here’s what you’ll need to make this delicious dish:
- Rice Cereal: Choose any brand you love; it’s the crunchy base for our bars.
- Chocolate Chips: Opt for semi-sweet or dark chocolate for a richer flavor; melt them to create that luscious coating.
- Butter: Use unsalted butter for better control over the sweetness; it adds richness to the mix.
- Marshmallows: Mini marshmallows work best as they melt evenly and blend beautifully into the mixture.
- Optional Toppings: Consider adding nuts or sprinkles for extra flavor and visual appeal; customize according to your mood!
The full ingredients list, including measurements, is provided in the recipe card directly below.
Let’s Make it Together
Prepare Your Workspace: Start by greasing an 8×8-inch baking dish with butter or cooking spray to prevent sticking later on. Set aside your trusty spatula and mixing bowl.
Melt Chocolate and Butter: In a medium saucepan over low heat, melt together butter and chocolate chips until smooth. Stir continuously until you achieve glossy perfection—this is where the magic begins!
Add Marshmallows and Rice Cereal: Once melted, add in mini marshmallows and stir until they become gooey and combined with the chocolate mixture. Gently fold in rice cereal until every piece is coated.
Transfer Mixture to Baking Dish: Pour the mixture into the prepared baking dish and press down firmly with your spatula to create an even layer. Let it cool slightly before cutting into squares; patience is key here!
Add Optional Toppings (If Desired): If you fancy some flair, sprinkle chopped nuts or colored sprinkles on top before it fully cools this will add both texture and fun.
Chill and Slice: Refrigerate for about 30 minutes until set firmly. Once chilled, slice into squares using a sharp knife for clean edges.
Enjoy making these homemade crunch bars! Each bite will transport you back to simpler times while satisfying that sweet tooth craving beautifully.
You Must Know
- Homemade Crunch Bars are not just delicious; they are quick to make and customizable
- You can adjust the sweetness or add nuts for extra crunch
- The smell of melted chocolate makes the whole kitchen feel like a candy factory
Perfecting the Cooking Process
Start by melting your chocolate and peanut butter together, ensuring a smooth texture. While that cools, prepare your crunchy base and layer it evenly before pouring on the chocolate mixture for perfect results.
Add Your Touch
Feel free to swap out peanut butter for almond or cashew butter. Adding sea salt or crushed pretzels can enhance flavor and texture, making your Homemade Crunch Bars even more delightful.
Storing & Reheating
Store Homemade Crunch Bars in an airtight container at room temperature for up to a week. For longer freshness, keep them in the fridge and enjoy them cold for that extra crunch.
Chef's Helpful Tips
- When melting chocolate, avoid overheating; it should be smooth but not bubbling
- Use a spatula for even spreading and avoid sticking
- If bars become too crumbly, adding a bit of coconut oil can help bind them better
Sharing these Homemade Crunch Bars with friends was a memorable experience; they vanished within minutes and sparked requests for more—a testament to their irresistible charm!
FAQ
What are the main ingredients in Homemade Crunch Bars?
You need chocolate, peanut butter, crispy rice cereal, and optional toppings for customization.
How do I make my Homemade Crunch Bars less sweet?
Reduce the amount of chocolate or use dark chocolate for a richer flavor profile.
Can I use other cereals instead of crispy rice?
Yes! Try cornflakes or granola for different textures and flavors in your bars.
Homemade Crunch Bars
- Total Time: 20 minutes
- Yield: Approximately 16 servings 1x
Description
Homemade Crunch Bars are a deliciously easy no-bake treat, combining the crunch of rice cereal with rich chocolate. Perfect for any occasion, these bars will satisfy your sweet cravings effortlessly.
Ingredients
- 3 cups rice cereal
- 1 cup chocolate chips (semi-sweet or dark)
- 4 tablespoons unsalted butter
- 2 cups mini marshmallows
- Optional toppings: nuts or sprinkles
Instructions
- Grease an 8×8-inch baking dish with butter or cooking spray.
- In a medium saucepan over low heat, melt the butter and chocolate chips until smooth.
- Stir in mini marshmallows until melted and fully combined with the chocolate mixture.
- Gently fold in rice cereal until evenly coated.
- Pour the mixture into the prepared baking dish and press down firmly to create an even layer.
- Add optional toppings before it cools completely, if desired.
- Refrigerate for about 30 minutes until set, then slice into squares.
- Prep Time: 10 minutes
- Cook Time: 10 minutes
- Category: Dessert
- Method: No-bake
- Cuisine: American
Nutrition
- Serving Size: 1 square (40g)
- Calories: 170
- Sugar: 10g
- Sodium: 35mg
- Fat: 8g
- Saturated Fat: 4g
- Unsaturated Fat: 3g
- Trans Fat: 0g
- Carbohydrates: 23g
- Fiber: <1g
- Protein: 2g
- Cholesterol: 10mg