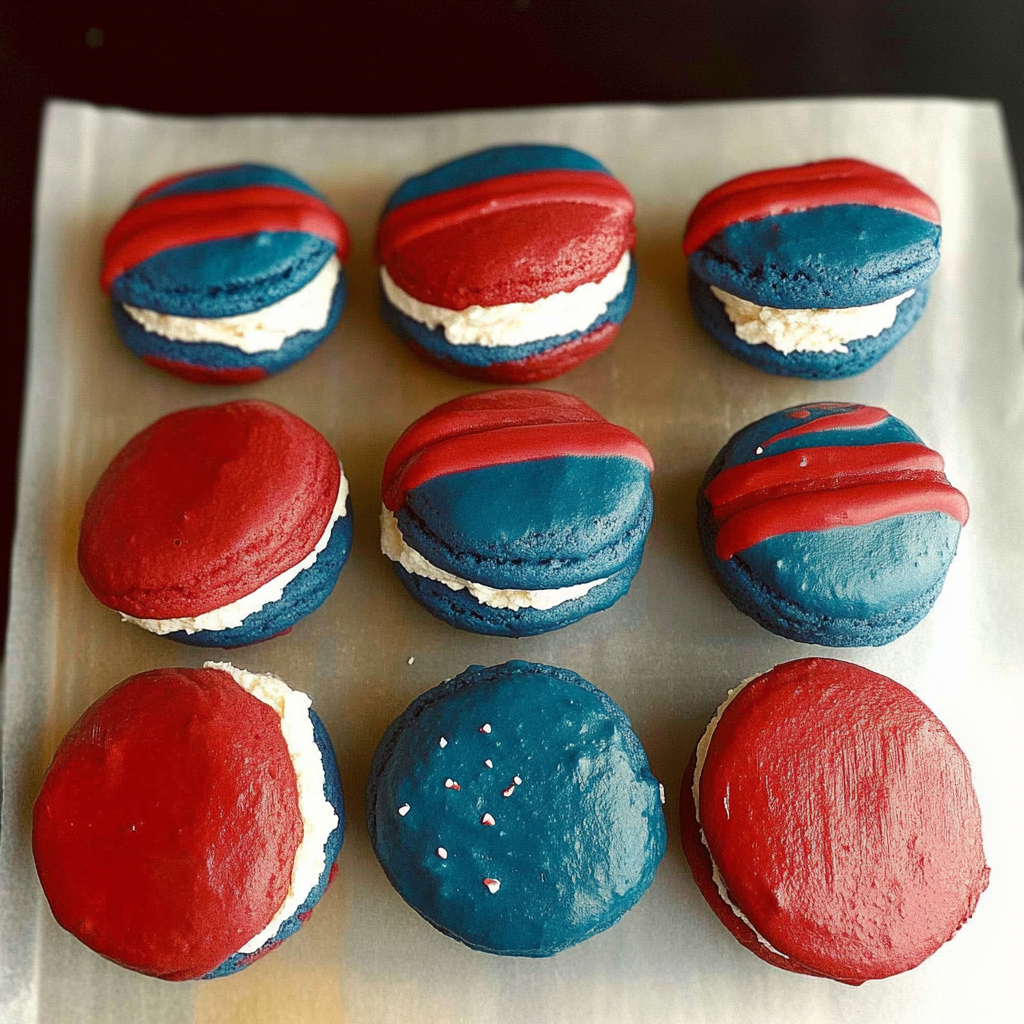
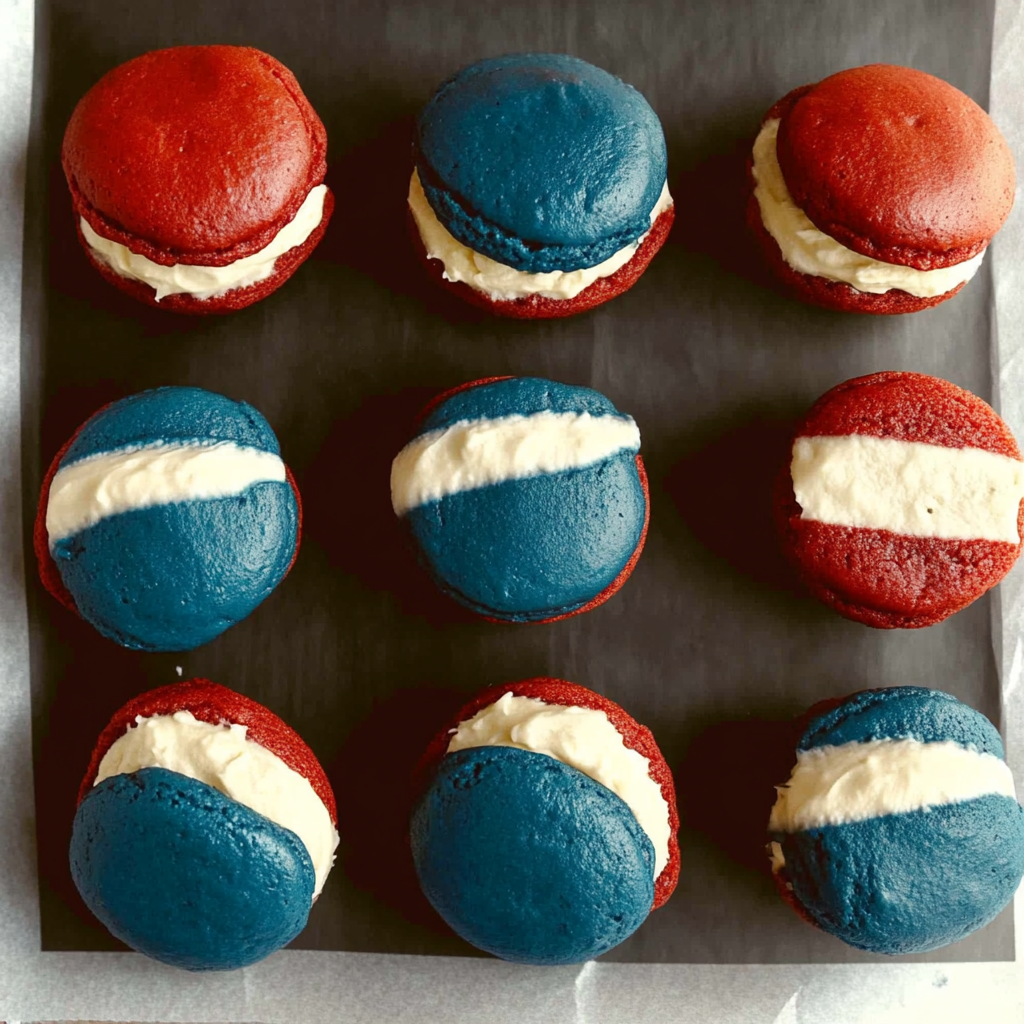
4th of July Whoopie Pies are the ultimate treat to celebrate America’s independence! Picture two soft, cake-like cookies hugging a luscious filling that tastes like fluffy clouds drizzled with vanilla and a hint of nostalgia. festive strawberry cake donuts The flavors burst in your mouth, and as you take a bite, you can almost hear fireworks crackling in the background.
The first time I made these 4th of July Whoopie Pies, my kitchen looked like it had been hit by a flour bomb. But when my family gathered around the table, their eyes lit up as they took a bite. It was a moment filled with laughter and joy—just like the holiday itself! These delightful treats are perfect for any summer celebration, especially when fireworks light up the sky. For more inspiration, check out this easy Sno Ball brownies recipe.
Why You'll Love This Recipe
- These whoopie pies are incredibly easy to make and will impress your friends and family
- Their rich chocolate flavor paired with creamy filling makes each bite unforgettable
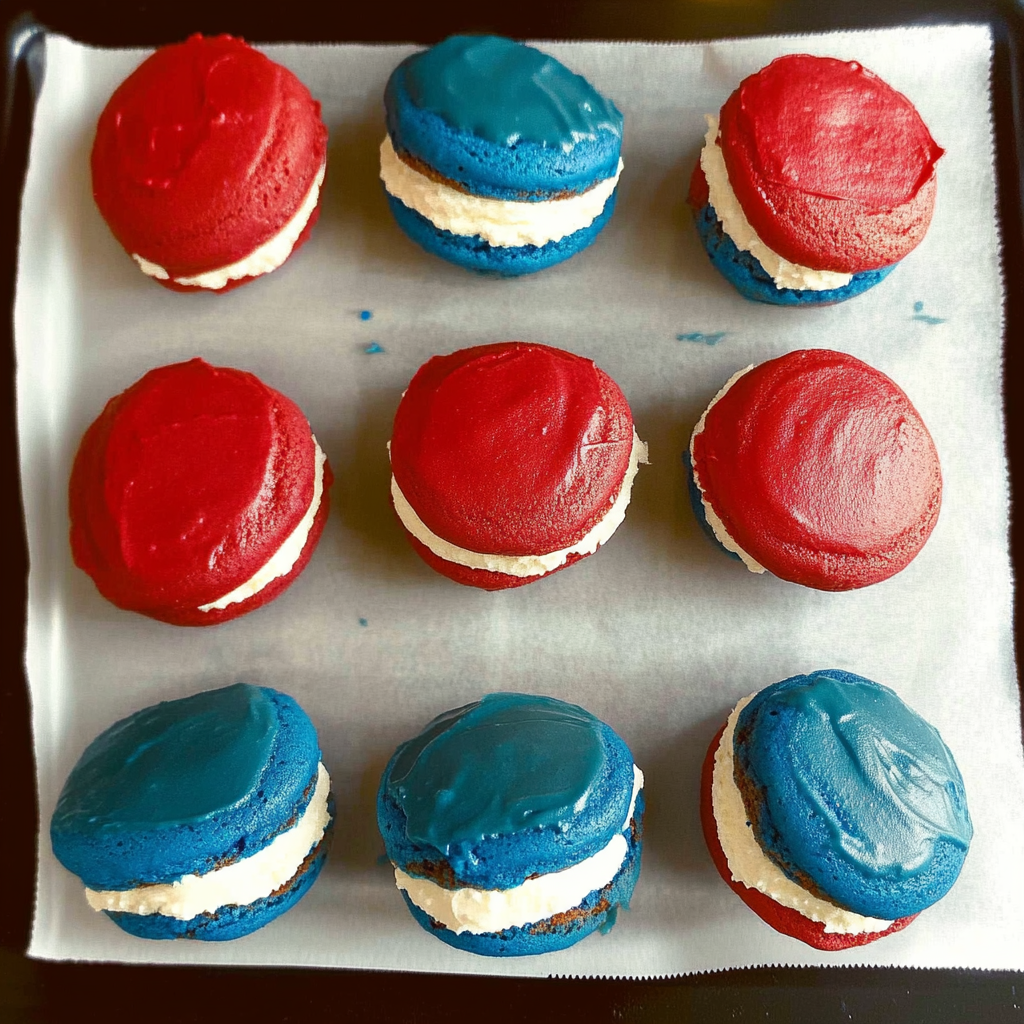
- The vibrant colors will make them the star of any dessert table
- They are versatile enough to be customized with different fillings or toppings based on your taste preferences
I remember my cousin’s face lighting up when I brought these out at our last Fourth of July barbecue.
Essential Ingredients
Here’s what you’ll need to make this delicious dish: delicious cinnamon roll blondies.
- All-Purpose Flour: Use high-quality flour for the best texture in your cookies; it’s the base of your delicious creation.
- Cocoa Powder: Choose unsweetened cocoa powder for that deep chocolate flavor; it’s essential for that classic whoopie pie taste. rich chocolate chip cheesecake bars.
- Baking Soda: This is your secret rising agent; it helps your cookies puff up nicely while baking.
- Salt: Just a pinch enhances all flavors; it balances the sweetness perfectly.
- Granulated Sugar: Sweeten things up; this adds just the right amount of sweetness to each cookie.
- Butter: Use unsalted butter for rich flavor; make sure it’s softened for easy mixing! decadent peanut butter brownie bars.
- Eggs: Two large eggs help bind everything together and add moisture to your cookie dough.
- Vanilla Extract: A splash of pure vanilla extract brings warmth and depth to both cookies and filling.
- Powdered Sugar: This is key for the creamy filling; it creates that smooth, sweet texture we all love.
- Milk: Add milk gradually to reach desired consistency for your frosting; it should be thick yet spreadable.
The full ingredients list, including measurements, is provided in the recipe card directly below.
Let’s Make it Together
Prepare Your Baking Sheets: Preheat your oven to 350°F (175°C). Line two baking sheets with parchment paper to prevent sticking and ensure easy cleanup.
Mix Dry Ingredients: In a bowl, whisk together flour, cocoa powder, baking soda, and salt until evenly combined. This step ensures that all dry ingredients are well mixed before adding wet ones.
Cream Butter and Sugar: In another bowl, beat softened butter and granulated sugar until light and fluffy—about 3-4 minutes. This aeration is crucial for achieving soft cookies.
Add Eggs and Vanilla: Beat in eggs one at a time followed by vanilla extract until everything is well incorporated. The mixture should look creamy and inviting at this stage.
Combine Wet and Dry Mixtures: Gradually mix in dry ingredients into wet ingredients using a spatula or mixer on low speed until just combined. Be careful not to overmix; we want airy cookies here!
Scoop and Bake: Use a cookie scoop or tablespoon to drop dollops of dough onto prepared baking sheets. Bake for 10-12 minutes or until they spring back when lightly touched. Let them cool on racks before filling!
Create the Filling: In a separate bowl, beat together softened butter, powdered sugar, milk, and vanilla extract until smooth and fluffy. Adjust milk until you reach your desired consistency—it should be spreadable but thick!
Assemble Your Whoopie Pies: Take one cooled cookie, spread a generous layer of filling on its flat side, then top with another cookie flat side down. Repeat this process until all cookies are filled.
Enjoy every delightful bite of your homemade 4th of July Whoopie Pies as you celebrate under the fireworks! For more inspiration, check out this homemade cotton candy fudge recipe.
You Must Know
- These 4th of July Whoopie Pies are not only delicious but also a fun dessert that brings out your inner child
- The combination of soft cookies and creamy filling makes them an instant crowd-pleaser
- Plus, their festive colors will light up any summer gathering!
Perfecting the Cooking Process
Start by baking the cookies first, allowing them to cool completely before adding the filling. This ensures a perfect sandwich without melting chaos.
Add Your Touch
Feel free to swap out the vanilla extract for almond or mint for a unique flavor twist. Sprinkles or colored sugar can add festive flair!
Storing & Reheating
Store Whoopie Pies in an airtight container at room temperature for up to three days. They can be refrigerated for longer freshness.
Chef's Helpful Tips
- To create perfectly round Whoopie Pies, use a cookie scoop for uniform sizes
- Avoid overbaking by keeping an eye on them; they should look slightly underdone
- For easy filling, let your frosting sit out for a bit to soften it up before using
Sharing these 4th of July Whoopie Pies with my family always brings smiles, especially when my niece dives face-first into her dessert – pure joy!
FAQ
What flavors can I use for the filling?
You can use cream cheese, buttercream, or even whipped marshmallow fluff for variety.
Can I freeze Whoopie Pies?
Absolutely! Freeze them individually wrapped in plastic wrap for up to three months.
How do I make my Whoopie Pies look festive?
Add red, white, and blue sprinkles or edible glitter for that celebratory touch on the 4th of July.

4th of July Whoopie Pies
- Total Time: 32 minutes
- Yield: Approximately 12 servings 1x
Description
4th of July Whoopie Pies are the perfect patriotic dessert to celebrate Independence Day! These soft, cake-like cookies sandwich a creamy filling, creating a delightful treat that bursts with flavor and nostalgia. Ideal for summer gatherings, they not only taste amazing but also look festive on any dessert table. Whip up a batch this July 4th and watch your friends and family light up with joy!
Ingredients
- 1 cup all-purpose flour
- 1/3 cup unsweetened cocoa powder
- 1 tsp baking soda
- 1/4 tsp salt
- 3/4 cup granulated sugar
- 1/2 cup unsalted butter, softened
- 2 large eggs
- 1 tsp vanilla extract
- 1 cup powdered sugar
- 2 tbsp milk
Instructions
- Preheat oven to 350°F (175°C) and line two baking sheets with parchment paper.
- In a bowl, whisk together flour, cocoa powder, baking soda, and salt.
- In another bowl, beat softened butter and sugar until fluffy. Add eggs one at a time followed by vanilla.
- Gradually mix dry ingredients into wet ingredients until just combined.
- Scoop dough onto prepared sheets, bake for 10-12 minutes, then cool completely.
- For the filling, beat butter, powdered sugar, milk, and vanilla until smooth.
- Assemble Whoopie Pies by spreading filling between two cookies.
- Prep Time: 20 minutes
- Cook Time: 12 minutes
- Category: Dessert
- Method: Baking
- Cuisine: American
Nutrition
- Serving Size: 1 whoopie pie (60g)
- Calories: 215
- Sugar: 18g
- Sodium: 90mg
- Fat: 9g
- Saturated Fat: 5g
- Unsaturated Fat: 3g
- Trans Fat: 0g
- Carbohydrates: 31g
- Fiber: 1g
- Protein: 2g
- Cholesterol: 35mg