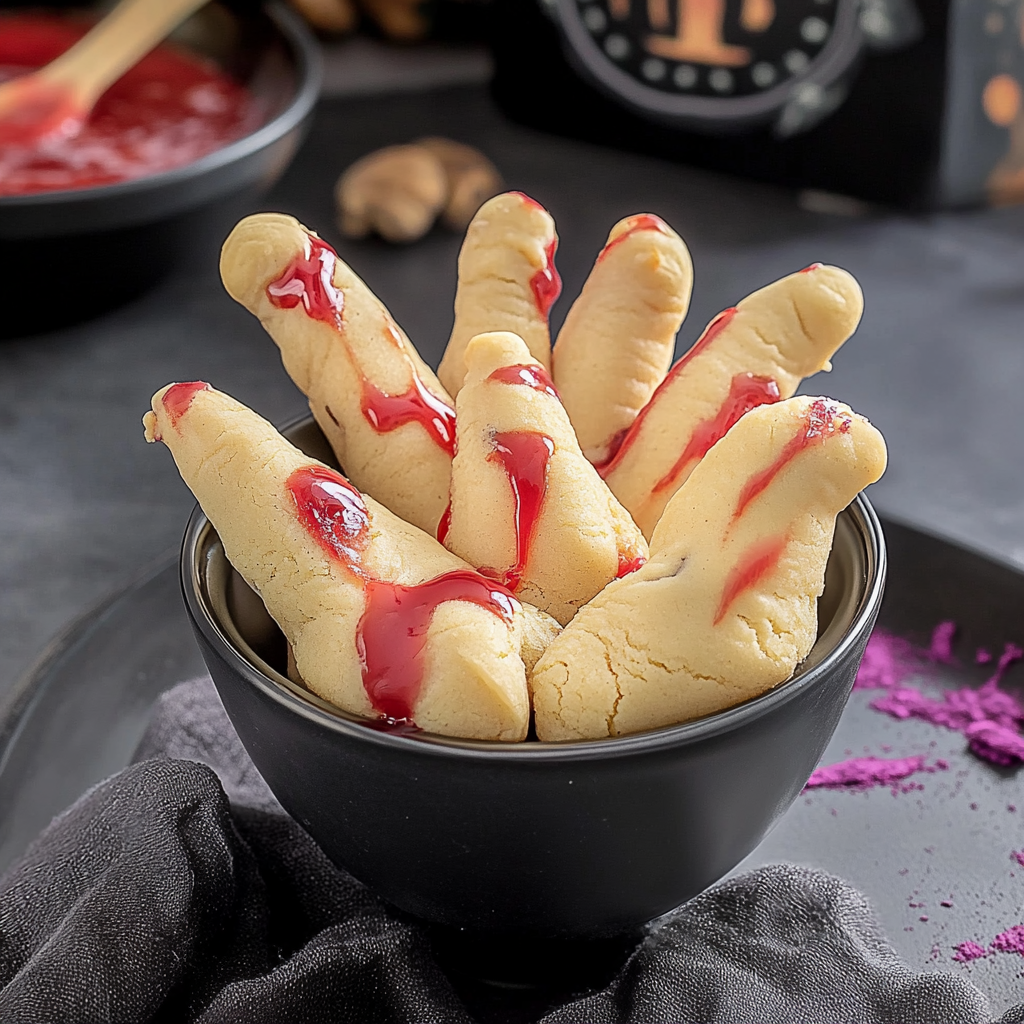
Witch Finger Cookies are a delightfully spooky treat that will have your guests chuckling and cringing at the same time. Picture this: a crunchy, buttery cookie shaped like a witch’s finger, complete with almond nails and a dash of green food coloring. gingerbread cookie butter dip spookily festive cinnamon rolls The perfect balance of whimsical and creepy, these cookies are bound to elevate your Halloween festivities to legendary status.
These Witch Finger Cookies aren’t just fun to make; they also offer a delightful flavor experience that’s sure to please everyone. Whether you’re hosting a ghoulish gathering or simply looking for a way to entertain the kids on a rainy day, these cookies promise laughter, creativity, and deliciousness in every bite. For more inspiration, check out this Shamrock Lasagna Dessert recipe.
Why You'll Love This Recipe
- Witch Finger Cookies are easy to whip up, making them perfect for last-minute Halloween parties
- Their creepy appearance is sure to impress guests of all ages
- With a delightful almond flavor and buttery texture, they taste as good as they look
- Customize them with colors and decorations to match your theme for any occasion
One Halloween, my friends and I decided to have a cookie decorating contest. Let’s just say my Witch Finger Cookies stole the show—and maybe my friends’ lunch money too! The combination of laughter and creativity made it a memorable night.
Essential Ingredients
Here’s what you’ll need to make this delicious dish:
- Unsalted Butter: Use room temperature butter for easy mixing and a creamy texture. For more inspiration, check out this Easy Sno Ball Brownies recipe.
- Sugar: Granulated sugar brings sweetness and helps create that crunchy exterior.
- Egg Yolk: Just one yolk adds richness without compromising the cookie’s structure.
- Vanilla Extract: A splash of vanilla enhances the overall flavor profile beautifully.
- All-Purpose Flour: This is the base of your cookies; sift it for lightness!
- Baking Powder: A leavening agent that gives your cookies just the right lift.
- Green Food Coloring: Optional but fun! A few drops can bring that spooky vibe alive.
- Almonds: Slivered almonds serve as the “fingernails,” adding crunch and authenticity.
The full ingredients list, including measurements, is provided in the recipe card directly below.
Let’s Make it Together
Prep Your Kitchen: Preheat your oven to 350°F (175°C) while preparing your baking sheets with parchment paper for easy cleanup later.
Cream Butter and Sugar: In a mixing bowl, beat together softened unsalted butter and sugar until light and fluffy—about 3 minutes will do!
Add Egg Yolk and Vanilla: Mix in one egg yolk along with vanilla extract until fully combined, creating a rich batter that smells heavenly.
Combine Dry Ingredients: In another bowl, whisk together flour, baking powder, and salt before gradually adding this mixture into your wet ingredients.
Color the Dough (Optional): If you’re feeling adventurous, add green food coloring until you achieve your desired spooky shade—fun for both kids and adults!
Scoop and Shape Cookies: Using about two tablespoons of dough per cookie, shape them into slender fingers on the baking sheet. Press slivered almonds at one end to create “fingernails.”
Don’t forget: Bake for 12-15 minutes or until lightly golden around the edges. Let cool before serving!
Now you’re ready to enjoy these Witch Finger Cookies at any spooky gathering or simply as a fun family treat! With their crispy edges and chewiness inside, they’re sure to create unforgettable memories around your dining table.
You Must Know
- Witch Finger Cookies are not just spooky; they also deliver a delightful crunch and a hint of almond flavor
- Perfect for Halloween parties, they bring smiles and giggles, especially when you show off your ‘witchy’ decorating skills
- These cookies are simple yet impressive!
Perfecting the Cooking Process
Start by mixing your butter and sugar until creamy. Then, add the egg and extracts before incorporating the dry ingredients. This order ensures a smooth dough without lumps.

Add Your Touch
Feel free to swap almond extract for vanilla if you prefer a milder flavor. You can also use colored icing for more festive decoration or even chocolate chips for an extra treat. festive candy cane caprese.
Storing & Reheating
Store Witch Finger Cookies in an airtight container at room temperature for up to one week. If you need to reheat, pop them in the microwave for 10 seconds to revive their crunch.
Chef's Helpful Tips
- For perfect Witch Finger Cookies, chill the dough before shaping to prevent spreading
- Roll the fingers thinner for extra crispy edges
- Always use slivered almonds for realistic fingernails; they add an authentic touch
Baking these cookies became a family tradition after my kids insisted we make them every Halloween, each year with more crazy decorations than the last!

FAQ
What are Witch Finger Cookies?
Witch Finger Cookies are spooky-looking treats shaped like fingers, perfect for Halloween celebrations. fun ghost-shaped pizzas.
Can I freeze Witch Finger Cookies?
Yes, you can freeze them in an airtight container for up to three months.
How do I avoid burnt edges?
Keep an eye on baking time and consider using parchment paper to prevent sticking and burning.

Witch Finger Cookies
- Total Time: 30 minutes
- Yield: Approximately 24 cookies 1x
Description
These Witch Finger Cookies are a fun and eerie addition to any Halloween celebration. Shaped like creepy fingers, they feature crunchy edges and a buttery almond flavor that will delight both kids and adults. With green food coloring and slivered almond ‘nails,’ these cookies are sure to impress your guests while adding a whimsical touch to your festivities.
Ingredients
- 1 cup unsalted butter, room temperature
- 1 cup granulated sugar
- 1 large egg yolk
- 1 tsp vanilla extract
- 2 cups all-purpose flour, sifted
- 1 tsp baking powder
- 3 drops green food coloring (optional)
- ½ cup slivered almonds (for nails)
Instructions
- Preheat your oven to 350°F (175°C) and line baking sheets with parchment paper.
- In a mixing bowl, cream together the butter and sugar until light and fluffy (about 3 minutes).
- Beat in the egg yolk and vanilla extract until fully combined.
- In a separate bowl, whisk together the flour, baking powder, and salt; gradually mix into the wet ingredients.
- If desired, add green food coloring until you reach your preferred spooky shade.
- Scoop out about two tablespoons of dough per cookie, shaping them into slender fingers on the baking sheet. Press slivered almonds at one end for 'fingernails.'
- Bake for 12-15 minutes or until lightly golden around the edges. Allow to cool before serving.
- Prep Time: 15 minutes
- Cook Time: 15 minutes
- Category: Dessert
- Method: Baking
- Cuisine: American
Nutrition
- Serving Size: 1 cookie (30g)
- Calories: 140
- Sugar: 8g
- Sodium: 45mg
- Fat: 7g
- Saturated Fat: 4g
- Unsaturated Fat: 2g
- Trans Fat: 0g
- Carbohydrates: 17g
- Fiber: <1g
- Protein: 2g
- Cholesterol: 20mg
