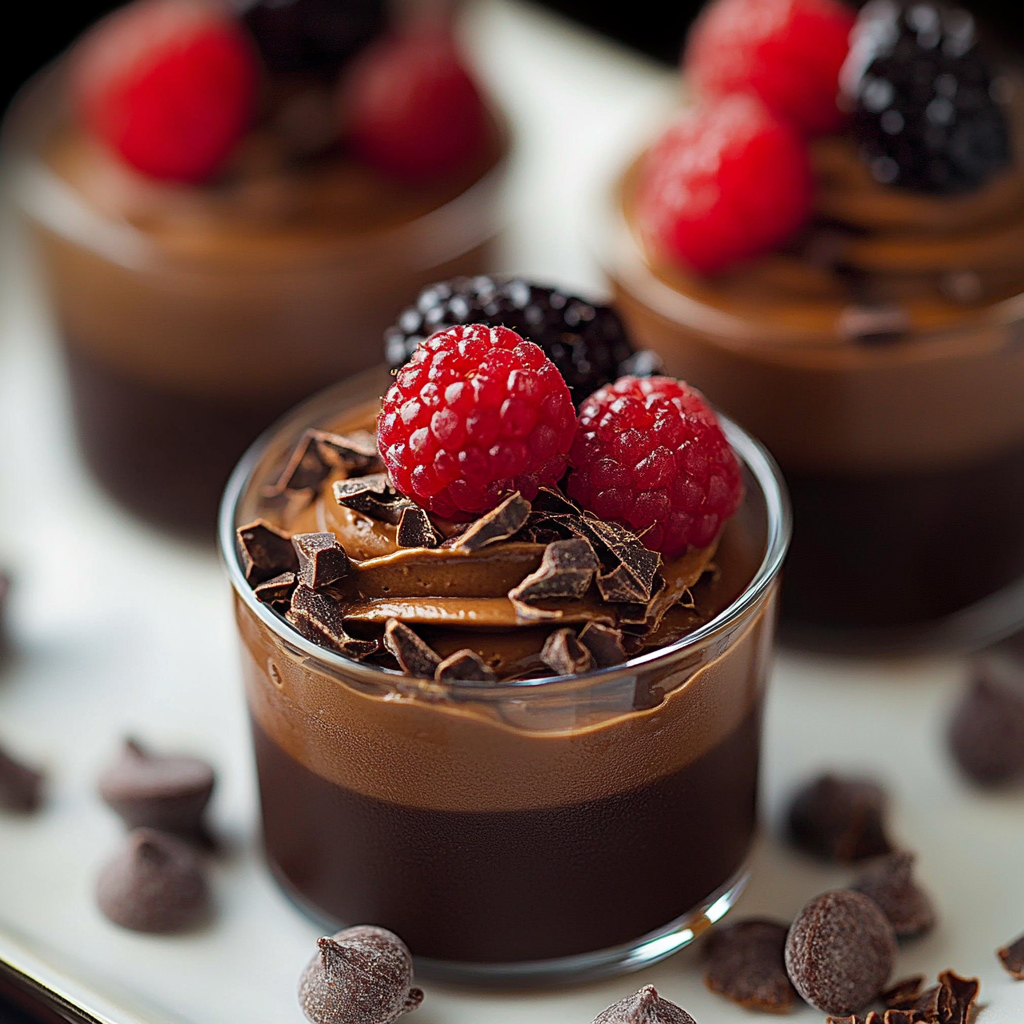
Chocolate mousse cups are the epitome of indulgent desserts that can elevate any occasion. Whether you’re hosting a dinner party, celebrating a birthday, or simply looking to treat yourself after a long day, these decadent treats are sure to impress. With their rich and creamy texture, each spoonful transports you to dessert heaven. The beauty of chocolate mousse cups lies not only in their taste but also in their presentation. They can be served in elegant glassware or simple ramekins, making them versatile enough for both casual and formal gatherings.
In this recipe, we will guide you through the process of creating your own chocolate mousse cups from scratch. We’ll share tips on selecting the best ingredients and provide step-by-step instructions that even novice bakers can follow. The secret to achieving that perfect velvety texture lies in whipping air into the cream while maintaining the rich flavor of high-quality chocolate. Prepare to dazzle your guests with these delightful treats that are as visually appealing as they are delicious.
So grab your mixing bowls and let’s dive into the world of chocolate mousse cups! This quick summary will ensure you have all the details needed to create these culinary delights right in your kitchen.
Main Ingredients
To create luscious chocolate mousse cups, you’ll need a few core ingredients that come together to form this delightful dessert. Below is a detailed list of what you’ll need:
Dark Chocolate (200g)
High-quality dark chocolate serves as the base for your mousse. Opt for a variety with at least 70% cocoa content for a rich flavor profile that balances sweetness with a deep chocolate taste. Melt it gently over a double boiler or in short bursts in the microwave to prevent burning. Ensure it cools slightly before combining with other ingredients so it doesn’t curdle the egg whites or cream.
Heavy Cream (300ml)
Heavy cream adds richness and helps achieve that signature fluffy texture in chocolate mousse cups. When whipped properly, heavy cream can incorporate air while maintaining its structure, giving your dessert its lightness. It’s essential to chill both the bowl and beaters before whipping; this allows the cream to whip up faster and hold its shape better.
Egg Whites (3 large)
Egg whites are crucial for achieving volume in your mousse. When whipped to soft peaks, they provide lightness and aeration that contrasts beautifully with the dense chocolate mixture. Make sure there is no yolk contamination when separating them; even a tiny amount of yolk can prevent egg whites from whipping properly.
Granulated Sugar (50g)
Sugar enhances sweetness while also helping stabilize whipped egg whites during preparation. When combined with egg whites and beaten until glossy peaks form, sugar contributes to a smooth texture in your final product. Adjust the amount according to your preference for sweetness; some may prefer less sugar for a more intense chocolate flavor.
Vanilla Extract (1 tsp)
Vanilla extract adds depth to your dessert without overpowering its primary flavor—chocolate! Using pure vanilla extract instead of artificial variations ensures you get natural flavors that enhance rather than mask the richness of your mousse.
How to Prepare Chocolate Mousse Cups
Creating divine chocolate mousse cups requires precision and care but is ultimately straightforward when broken down into manageable steps:
Step 1: Melt the Chocolate
Begin by breaking up your dark chocolate into small pieces for even melting. Place them in a heatproof bowl over simmering water (double boiler method) or microwave them at 20-second intervals until fully melted—stir between increments until smooth. Allow it to cool slightly before proceeding; this prevents cooking the eggs when combined later.
Step 2: Whip Heavy Cream
In another bowl chilled beforehand, pour in 300ml of heavy cream. Using an electric mixer set on medium speed, whip until soft peaks form—this should take about 2-3 minutes depending on equipment used. Be careful not to over-whip as it can turn grainy; stop once it holds its shape well but still looks silky.
Step 3: Prepare Egg Whites
In a separate clean bowl (make sure it’s free from grease), add three large egg whites along with granulated sugar (50g). Use an electric mixer on medium-high speed until soft peaks form—this usually takes about 4 minutes—then increase speed slightly until glossy peaks form without becoming stiff.
Step 4: Combine Mixtures
First, fold one-third of whipped cream into melted chocolate until just combined; this lightens up the mixture making it easier to incorporate egg whites next without deflating them too much. Then gently fold remaining whipped cream followed by egg whites using spatula motions—be careful not to overmix!
Step 5: Fill Cups
Using either a piping bag or simply spooning directly from mixing bowl, carefully divide mixture among serving dishes or glasses—aiming for equal portions so every guest enjoys similar sizes! Tap lightly on counter if necessary so air bubbles rise out ensuring smooth tops.
Step 6: Chill Before Serving
Cover each cup with plastic wrap and refrigerate for at least two hours before serving—this allows flavors meld while enhancing overall texture further solidifying contents within vessel giving stunning showcase once removed from fridge!
Serving and Storing Tips
Properly serving and storing your delectable chocolate mousse cups ensures they maintain their quality long after preparation:
Serving Tips
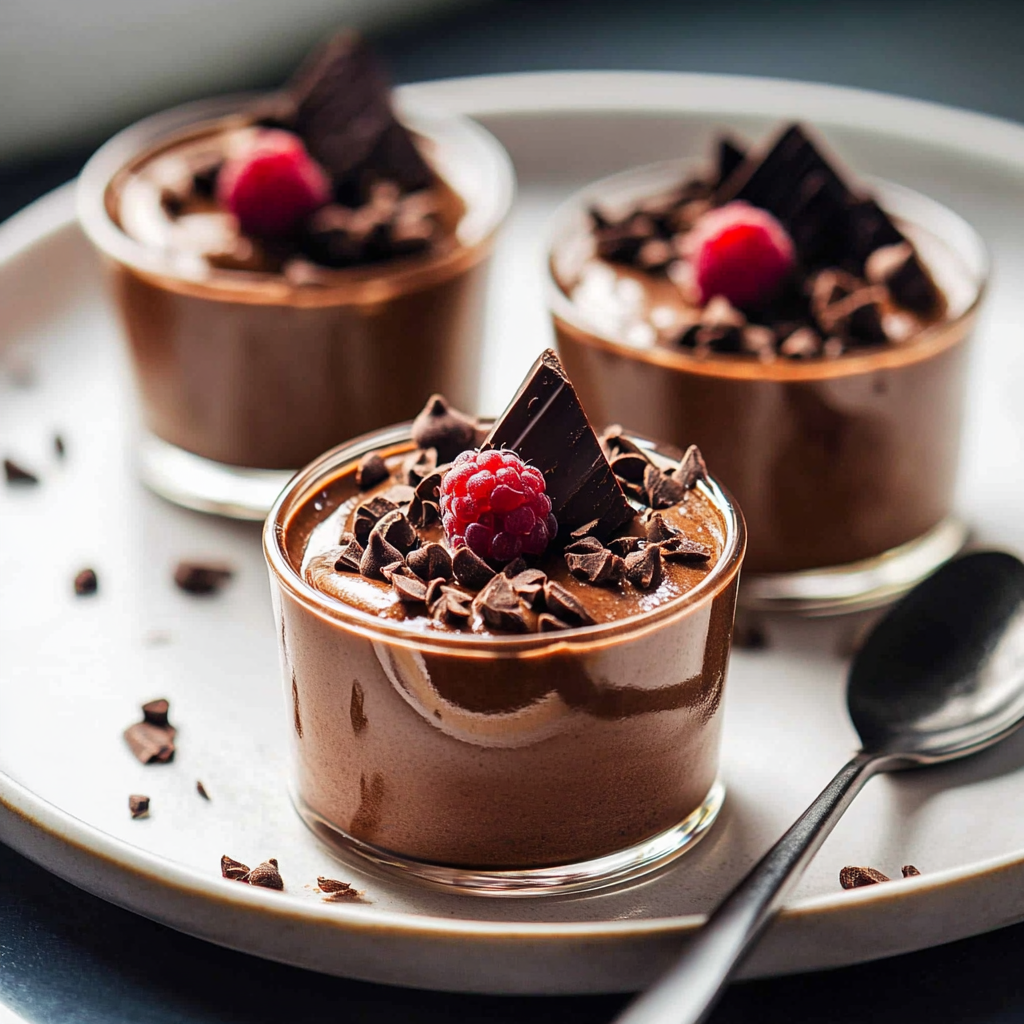
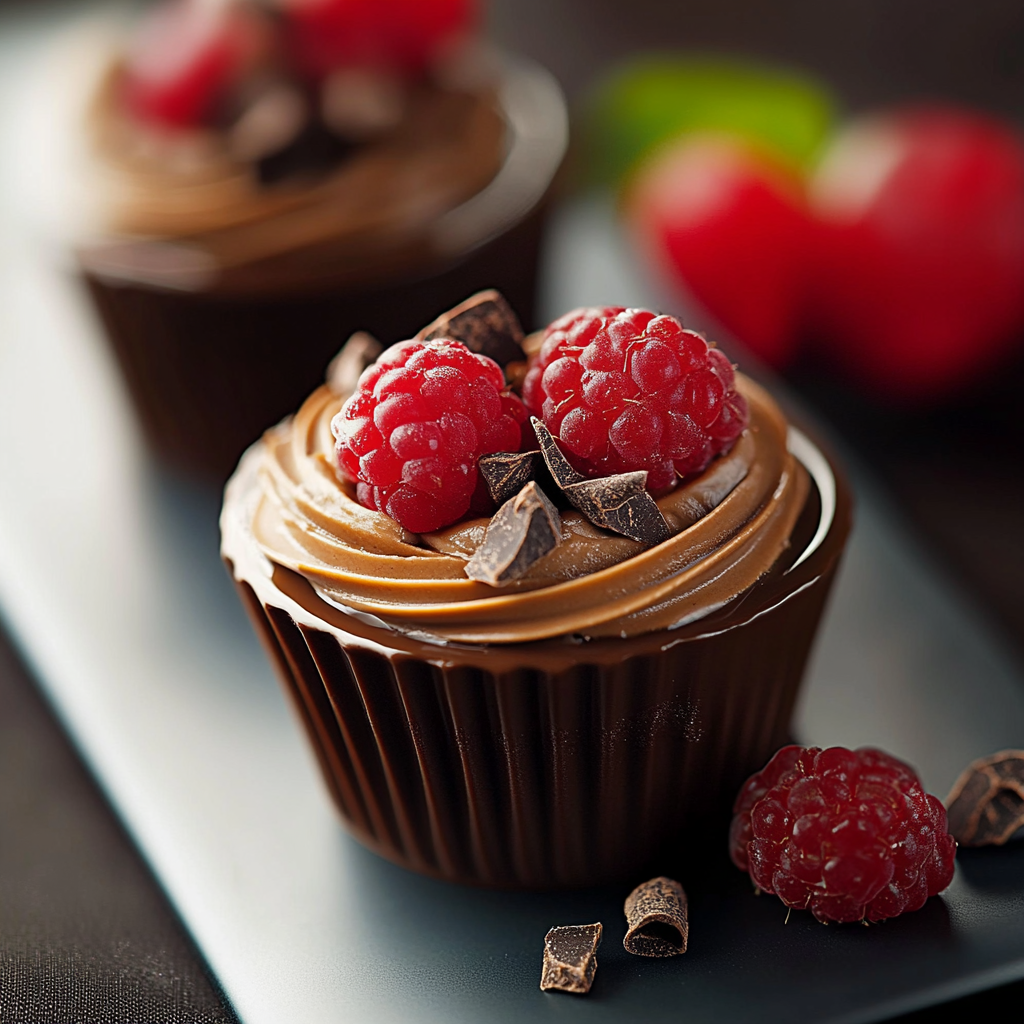
When it’s time to serve those wonderful chocolate mousse cups, consider garnishing them with fresh berries like raspberries or strawberries for contrast against rich brown color! A dollop of whipped cream atop adds extra flair alongside grated dark chocolate sprinkled around edges creating visual appeal worth savoring before first bite! You could also utilize mint leaves if desired—a simple touch elevates presentation effortlessly while providing refreshing hint during consumption!
For larger gatherings where multiple servings occur simultaneously keep portions small as people tend prefer sampling various desserts rather than indulging solely one item—they’ll appreciate being able enjoy every morsel without feeling overwhelmed! Lastly ensure utensils available match elegance displayed by dessert itself; delicate spoons work wonders here enhancing experience beyond taste alone!
Storing Tips
If you find yourself with leftover mousse—which is rare given how delicious these treats are—you can store them safely for future enjoyment! Cover each cup tightly with plastic wrap or transfer into airtight containers if available ensuring no excess air infiltrates creating freezer burn issues later on preserving freshness throughout duration stored!
Chocolate mousse stays fresh up-to three days maximum when refrigerated—past this point texture may alter resulting less enjoyable experience as components begin separating gradually losing original silkiness created earlier upon completion! Freezing isn’t recommended since it could compromise texture significantly leading undesirable outcomes upon thawing instead always opt refrigerating where possible keeping moist environment intact providing optimal results every time indulged upon thereafter!
Mistakes to avoid:
Using the Wrong Chocolate
One of the most common mistakes when making chocolate mousse cups is using the wrong type of chocolate. Different chocolates have varying cocoa content, sweetness, and texture. To achieve the perfect mousse, opt for high-quality dark chocolate with at least 60% cocoa solids. This ensures that the mousse will have rich flavor and a smooth texture. Milk chocolate or white chocolate can result in a overly sweet or grainy consistency, detracting from the overall experience of your dessert. Always taste your chocolate before incorporating it into your recipe. This simple step ensures that you love the flavor you’re adding to your mousse cups.
Overmixing the Whipped Cream
Another critical mistake is overmixing the whipped cream. When preparing chocolate mousse cups, you want to achieve a light and airy texture. If you whip the cream too much, it can turn grainy and lose its volume. Aim for soft peaks when whipping cream; this means that when you lift your whisk out of the bowl, peaks should form but still be droopy. Gently fold the whipped cream into your melted chocolate mixture using a spatula to maintain that lightness. This technique helps retain air bubbles, essential for achieving that velvety mouthfeel characteristic of an excellent mousse.
Not Allowing Enough Chilling Time
Forgetting to chill your mousse mixture adequately can lead to disappointing results. Chocolate mousse cups need time in the refrigerator to set properly. If you skip this step or rush it by placing them in a freezer, your dessert may end up runny or overly soft. Allow at least two hours of chilling time for optimal results. During this period, flavors meld together beautifully while achieving that desired firm yet creamy texture. Be patient; good things come to those who wait!
Tips and tricks:
Use Room Temperature Ingredients
To create perfectly blended chocolate mousse cups, consider using room temperature ingredients. When whipping cream or incorporating eggs, having everything at room temperature helps achieve better emulsification and allows for easier mixing. Cold ingredients can lead to uneven textures and may hinder proper incorporation of air into the mousse mixture. For best results, take ingredients out of the refrigerator about 30 minutes before you begin preparing your dessert.
Experiment with Flavors
Don’t hesitate to get creative with flavors! While classic chocolate mousse is delightful on its own, adding different flavorings can elevate your dessert experience. Consider incorporating extracts such as vanilla or coffee for added depth and complexity. You can also infuse your whipped cream with citrus zest or spices like cinnamon for an exciting twist on this classic treat. Just remember to balance these flavors carefully so they complement rather than overpower the rich chocolate base.
Choose Your Serving Dish Wisely
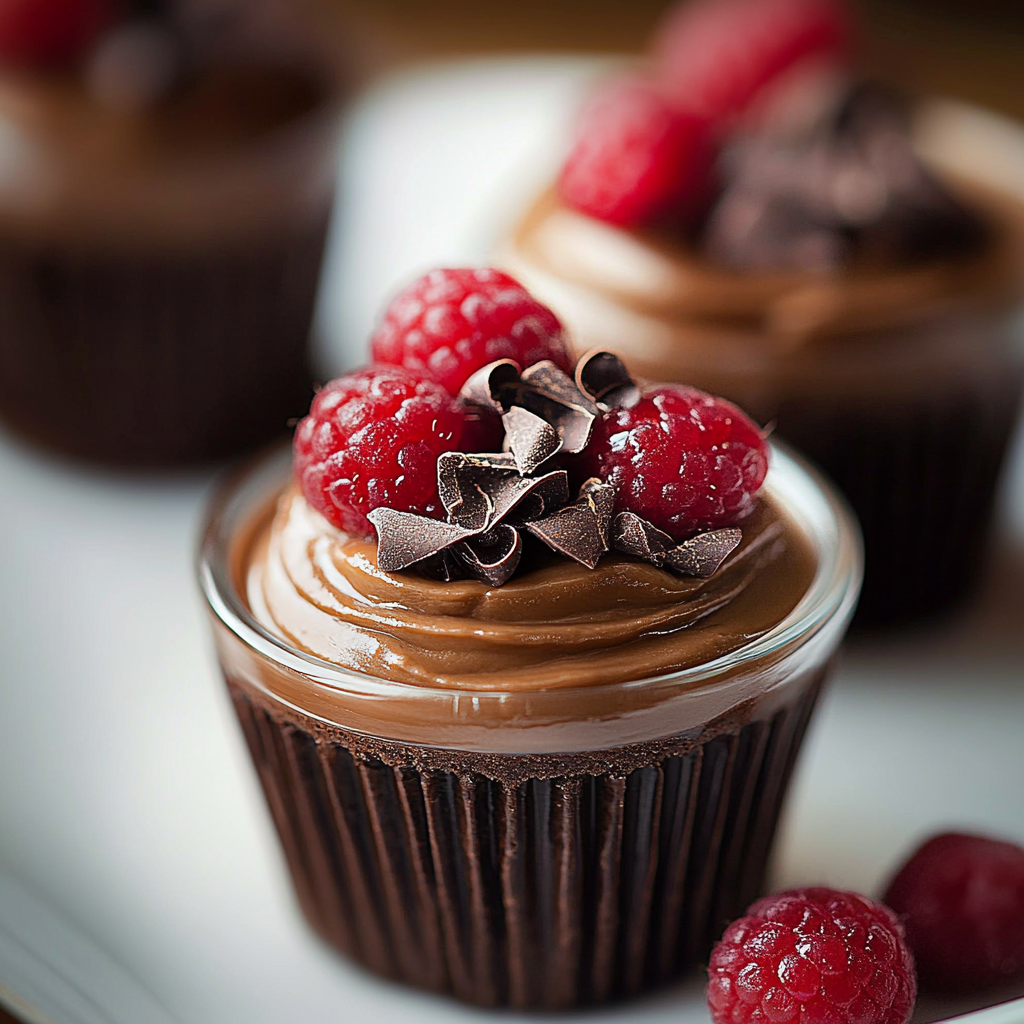
The presentation of your Chocolate Mousse cups matters just as much as taste! Choosing elegant serving dishes can enhance both visual appeal and overall dining experience. Opt for clear glass cups or small jars so guests can appreciate those beautiful layers of decadent mousse as they dig in! Additionally, consider pairing them with fresh fruit or garnishes like mint leaves for color contrast and flavor balance.
Suggestions for Chocolate Mousse cups:
Balance Sweetness with Salt
Adding a pinch of salt may seem counterintuitive when preparing something sweet like Chocolate Mousse cups, but it’s essential! A small amount of salt enhances flavor complexity by balancing sweetness without making it salty itself. Salt brings out inherent flavors in chocolate, making it taste richer and more intense than before! Incorporating salt while melting your chocolate ensures even distribution throughout your dessert.
Garnish Creatively
Garnishing adds an extra touch of elegance to Chocolate Mousse cups! Consider topping them off with fresh berries, shaved chocolate curls, or whipped cream swirls for a beautiful finish. These garnishes not only enhance visual appeal but also contribute various textures and flavors that elevate every spoonful taken from these delicious desserts! Get creative—your guests will appreciate thoughtful presentation just as much as they enjoy indulging in delightful treats.
Serve at Optimal Temperature
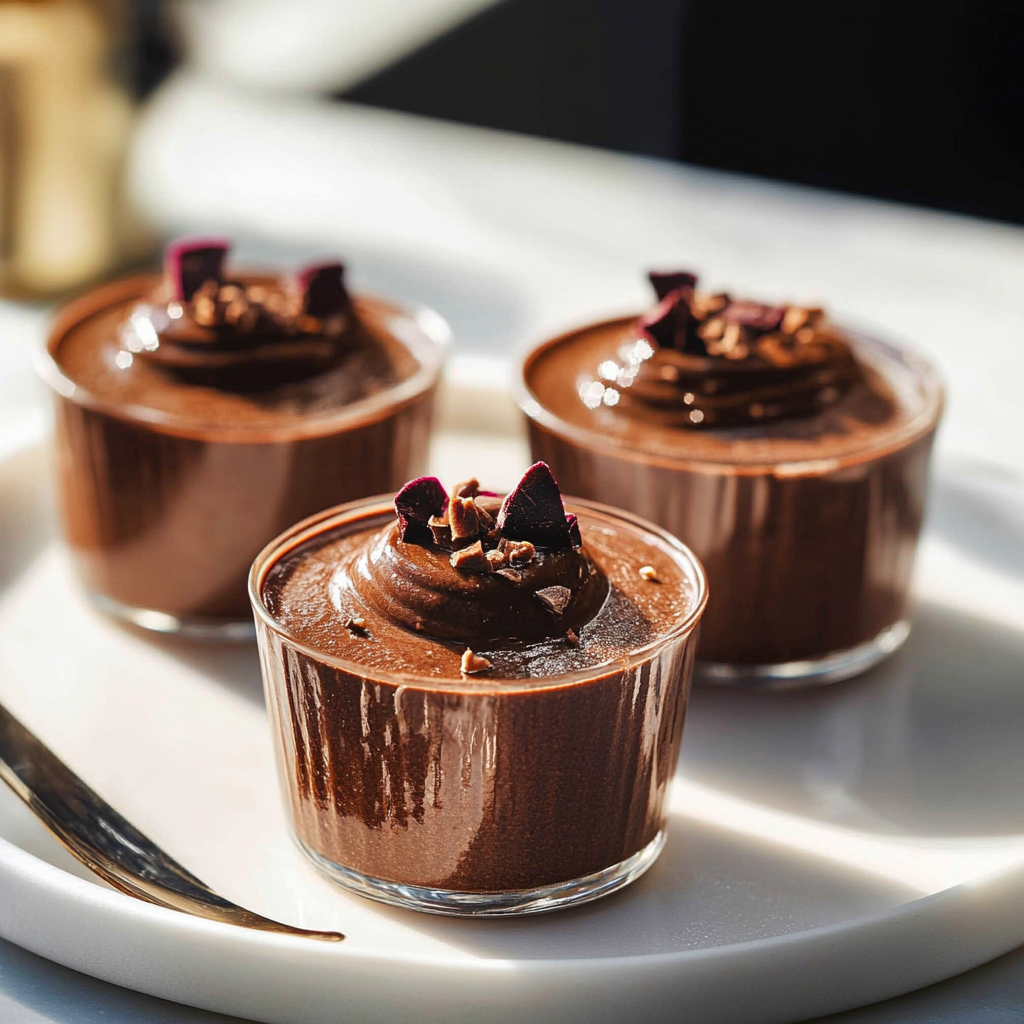
Lastly, serve your Chocolate Mousse cups at their optimal temperature! While chilling is crucial during preparation stages, serving them straight from fridge isn’t always ideal either; allow them to sit out briefly before enjoying! Letting them warm slightly helps soften their texture slightly while allowing flavors bloom fully—leading to an even richer tasting experience overall! Aim for about 10 minutes outside refrigeration prior serving time—it makes all difference between good dessert versus great one!
FAQs for Chocolate Mousse cups :
What are Chocolate Mousse cups made of?
Chocolate Mousse cups are delightful desserts that typically consist of rich chocolate, heavy cream, and eggs. The main ingredients include bittersweet or semisweet chocolate, which provides a deep chocolate flavor. Heavy cream is whipped to create a fluffy texture, while eggs help to stabilize the mousse and give it a light and airy consistency. Some recipes may also call for sugar, vanilla extract, or even a pinch of salt to enhance the flavors. You can serve the mousse in various cups or glasses, making it an elegant choice for any occasion. Variations might include adding flavors like coffee or orange zest to elevate the taste further.
How long do Chocolate Mousse cups need to chill?
Chilling Chocolate Mousse cups is essential for achieving the perfect texture. After preparing your mousse mixture, you should allow it to chill in the refrigerator for at least two hours. This chilling time helps the mousse set properly, ensuring it maintains its shape when served. If you’re short on time, you could chill them for one hour as a minimum; however, longer chilling will yield a firmer consistency. For best results, consider letting your mousse sit overnight. This additional time allows flavors to meld together beautifully while achieving an ideal texture.
Can I make Chocolate Mousse cups ahead of time?
Absolutely! Making Chocolate Mousse cups ahead of time is not only feasible but often recommended. Preparing them the day before your event allows the mousse ample time to chill and set correctly. You can store them in airtight containers in the refrigerator for up to three days without compromising quality. Just be sure to cover them well if you plan to top them with whipped cream or garnishes later on. When you’re ready to serve, simply add your toppings right before presentation for an impressive dessert that tastes fresh and delicious.
What toppings pair well with Chocolate Mousse cups?
When it comes to toppings for your Chocolate Mousse cups, there are countless delicious options! Fresh berries such as raspberries or strawberries add a refreshing contrast to the rich chocolate flavor. Whipped cream is a classic choice that adds lightness and creaminess. For added texture, consider crushed cookies or nuts; they provide an enjoyable crunch with each bite. Drizzling melted chocolate or caramel sauce can also elevate your dessert’s presentation and taste significantly. Feel free to get creative with toppings—coconut flakes or mint leaves can offer unique twists that delight your guests!
Are Chocolate Mousse cups gluten-free?
Yes, Chocolate Mousse cups can easily be made gluten-free! The basic ingredients—chocolate, eggs, and heavy cream—are naturally gluten-free. However, it’s crucial to check labels when purchasing chocolate or any other packaged ingredients to ensure they have not been processed in facilities that handle gluten-containing products. Additionally, if you plan on incorporating any mix-ins or toppings like cookies or cakes, opt for gluten-free varieties to maintain the integrity of this dessert. When prepared carefully, everyone can enjoy these luscious treats.
Can I use dairy-free alternatives in Chocolate Mousse cups?
Certainly! If you’re looking for dairy-free alternatives for your Chocolate Mousse cups, several options exist that still yield delicious results. Instead of heavy cream, you can use coconut cream; just chill a can of coconut milk overnight and scoop out the solidified cream from the top layer. For egg-free options, consider using aquafaba (chickpea brine) whipped into stiff peaks as a substitute for egg whites while maintaining fluffiness in your mousse. There are also various dairy-free chocolates available on the market today that work perfectly in this recipe.
PrintChocolate Mousse Cups Recipe
- Total Time: 20 minutes
- Yield: Serves 4
Description
Indulge in the luxurious experience of homemade Chocolate Mousse Cups, a dessert that effortlessly combines rich flavor and airy texture. Perfect for any occasion—be it a dinner party or a cozy night in—these delightful treats are sure to impress. With just a handful of simple ingredients, you can craft these creamy cups that are both visually stunning and utterly delicious. Each spoonful offers a velvety mouthfeel, making it hard to stop at just one!
Ingredients
– 200g high-quality dark chocolate (70% cocoa or more)
– 300ml heavy cream
– 3 large egg whites
– 50g granulated sugar
– 1 tsp pure vanilla extract
Instructions
1. Melt the dark chocolate using a double boiler or microwave until smooth; let cool slightly.
2. In a chilled bowl, whip the heavy cream until soft peaks form.
3. In another clean bowl, beat egg whites with sugar until glossy peaks form.
4. Fold melted chocolate into whipped cream, then gently incorporate egg whites without deflating.
5. Spoon or pipe the mixture into serving cups and refrigerate for at least 2 hours before serving.
Notes
– Experiment with flavors by adding espresso powder or orange zest.
– For an elegant touch, garnish with fresh berries or chocolate shavings.
- Prep Time: 20 minutes
- Cook Time: 0 minutes
Nutrition
- Calories: 250
- Fat: 18g
- Carbohydrates: 20g
- Protein: 4g
In summary, making exquisite Chocolate Mousse cups is both simple and rewarding! This delightful dessert showcases rich flavors through its key ingredients: high-quality chocolate, eggs, and heavy cream (or dairy alternatives). Chill times play a critical role in achieving that luscious texture we all love; ideally allowing at least two hours for setting ensures optimal results. Preparing these decadent treats ahead of time makes hosting effortless while impressing guests with an elegant presentation.
With numerous topping possibilities—from fresh berries to whipped cream—you can customize each serving according to personal preferences. Moreover, you can adapt this recipe easily by considering dietary restrictions such as gluten intolerance or lactose sensitivity without sacrificing taste.
Overall, whether enjoyed during special occasions or as an indulgent treat after dinner, these Chocolate Mousse cups will undoubtedly satisfy any sweet tooth craving!

