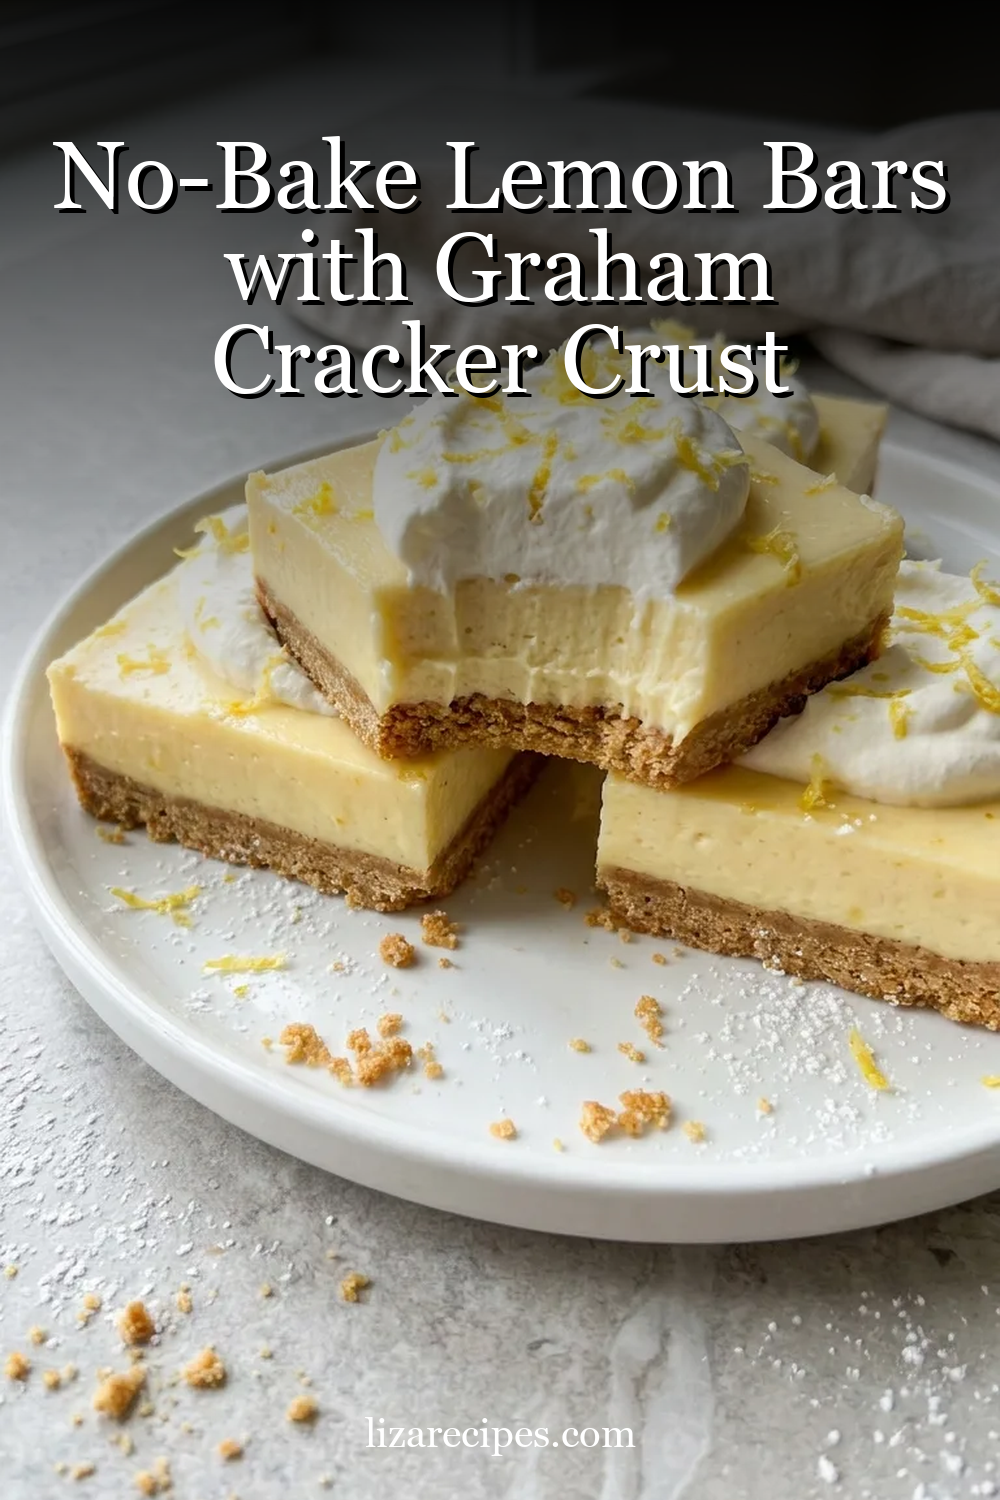
No-Bake Lemon Bars pair a buttery graham cracker crust with a cool, creamy filling made from cream cheese, sweetened condensed milk, fresh lemon juice, and lemon zest. The bars are tangy and lightly sweet, with a smooth cheesecake-like texture and a firm crust that provides a gentle crunch.
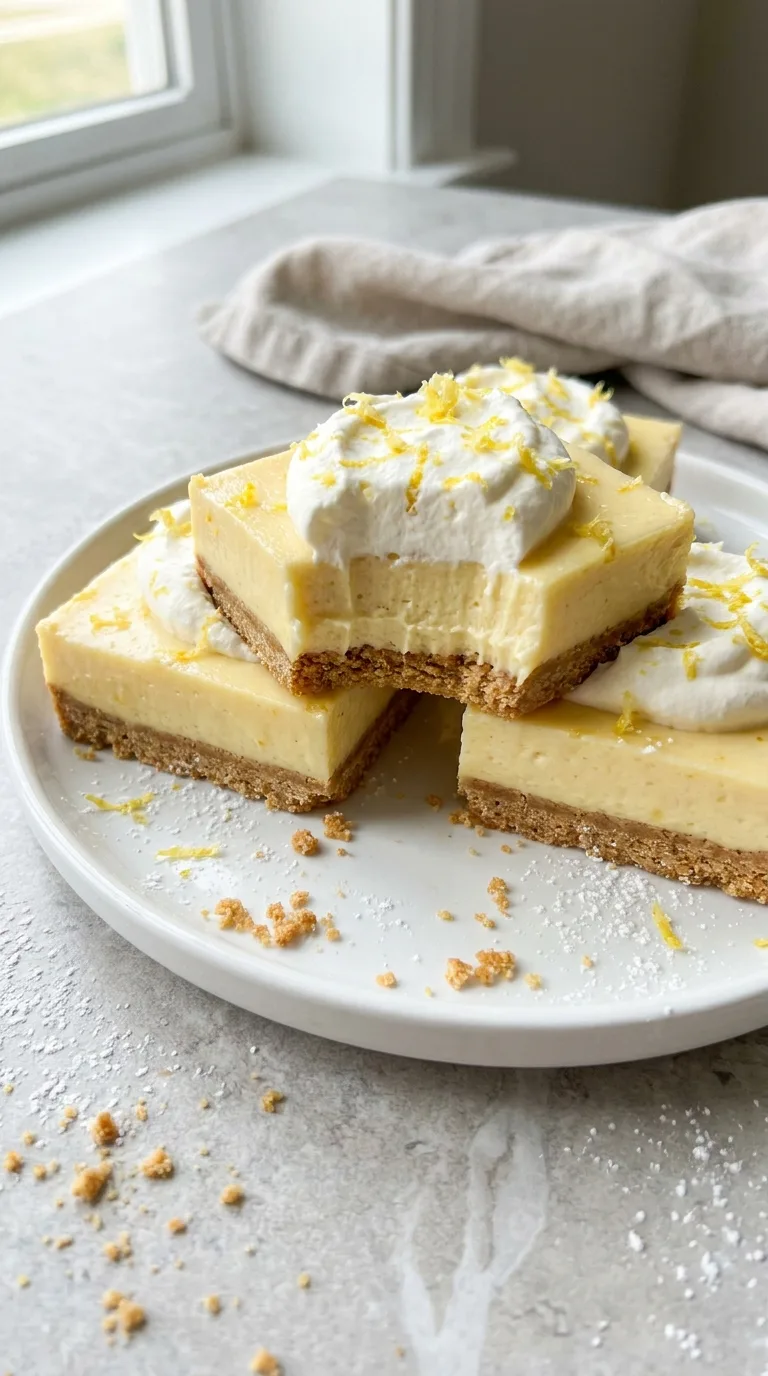
A small amount of gelatin helps the filling hold clean slices without baking. The bars need at least 6 hours in the refrigerator, so they are especially convenient to prepare the day before serving.
Recipe at a Glance
- Prep Time: 30 minutes
- Cook Time: 0 minutes
- Additional Time: 6 hours
- Total Time: 6 hours 30 minutes
- Yield: 16 bars
- Difficulty: Easy
Why You'll Love This Recipe
- Firmly compacting the graham cracker mixture creates a sturdy crust that supports the creamy filling.
- Full-fat block cream cheese provides enough structure for neat slices without making the bars overly dense.
- Fresh lemon juice thickens the sweetened condensed milk while adding bright acidity.
- Bloomed gelatin reinforces the filling so it remains stable after cutting.
- Folding in softly whipped cream gives the bars a lighter texture without making the filling loose or foamy.
Equipment Needed
- 9-inch (23 cm) square metal baking pan, at least 2 inches (5 cm) deep
- Parchment paper
- Food processor or rolling pin and zip-top bag
- Large mixing bowl
- Medium mixing bowl
- Small microwave-safe bowl
- Electric hand mixer or stand mixer with whisk attachment
- Flexible spatula
- Offset spatula
- Fine grater or microplane
- Sharp chef’s knife
Ingredients You'll Need
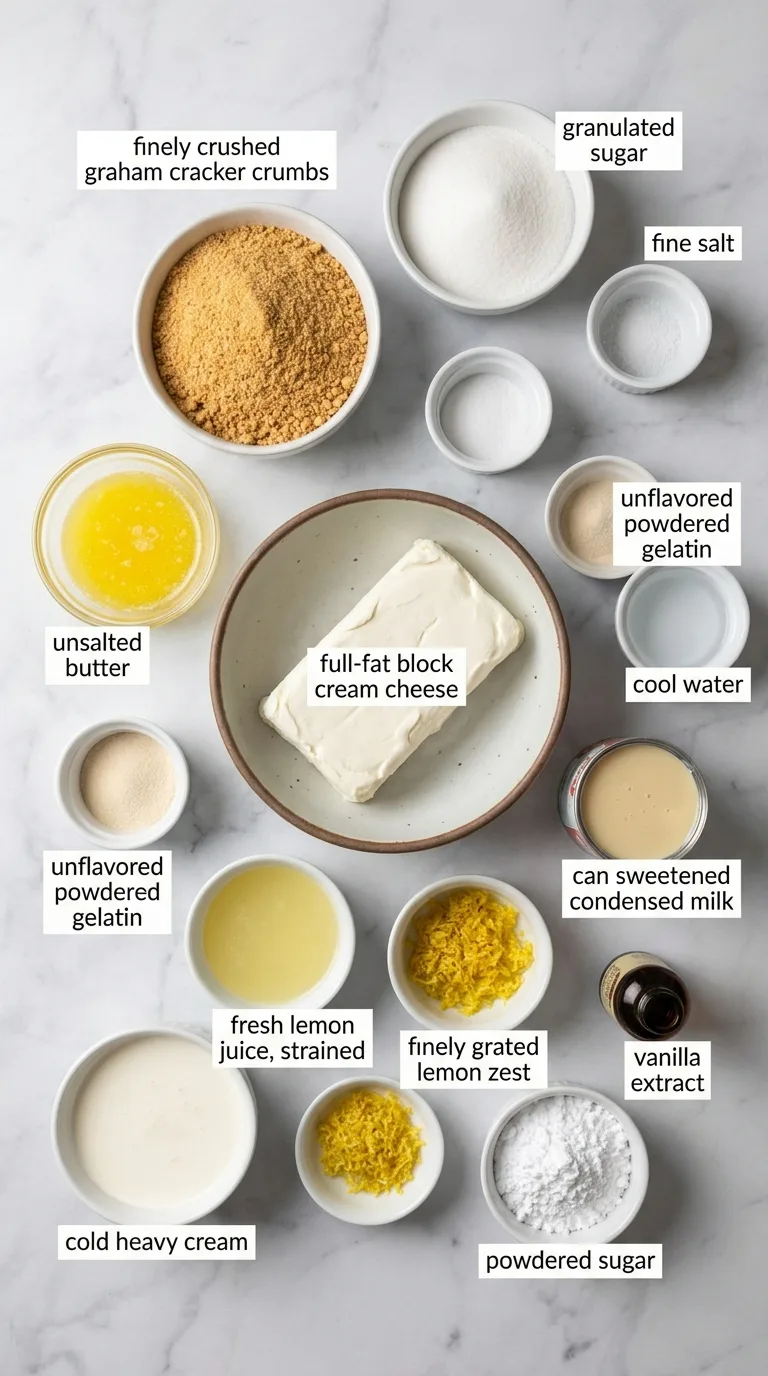
For the Graham Cracker Crust
- ️ ️ 1 3/4 cups (175 g) finely crushed graham cracker crumbs
- ️ ️ 1/4 cup (50 g) granulated sugar
- ️ ️ 1/4 teaspoon fine salt
- ️ ️ 7 tablespoons (100 g) unsalted butter, melted
For the Lemon Filling
- ️ ️ 2 teaspoons (6 g) unflavored powdered gelatin
- ️ ️ 3 tablespoons (45 ml) cool water
- ️ ️ 12 ounces (340 g) full-fat block cream cheese, softened to room temperature
- ️ ️ 1 can (14 ounces/396 g) sweetened condensed milk
- ️ ️ 1/2 cup (120 ml) fresh lemon juice, strained
- ️ ️ 1 tablespoon finely grated lemon zest
- ️ ️ 1 teaspoon (5 ml) vanilla extract
- ️ ️ 1/4 teaspoon fine salt
- ️ ️ 3/4 cup (180 ml) cold heavy cream
Optional Garnish
- ️ ️ 1 teaspoon finely grated lemon zest, optional
- ️ ️ 1 tablespoon (8 g) powdered sugar, optional
How to Make No-Bake Lemon Bars with Graham Cracker Crust
Prepare the Pan
Line a 9-inch (23 cm) square metal pan with parchment paper, leaving an overhang on two opposite sides. Lightly grease the exposed sides so the filling releases cleanly.
Make the Graham Cracker Mixture
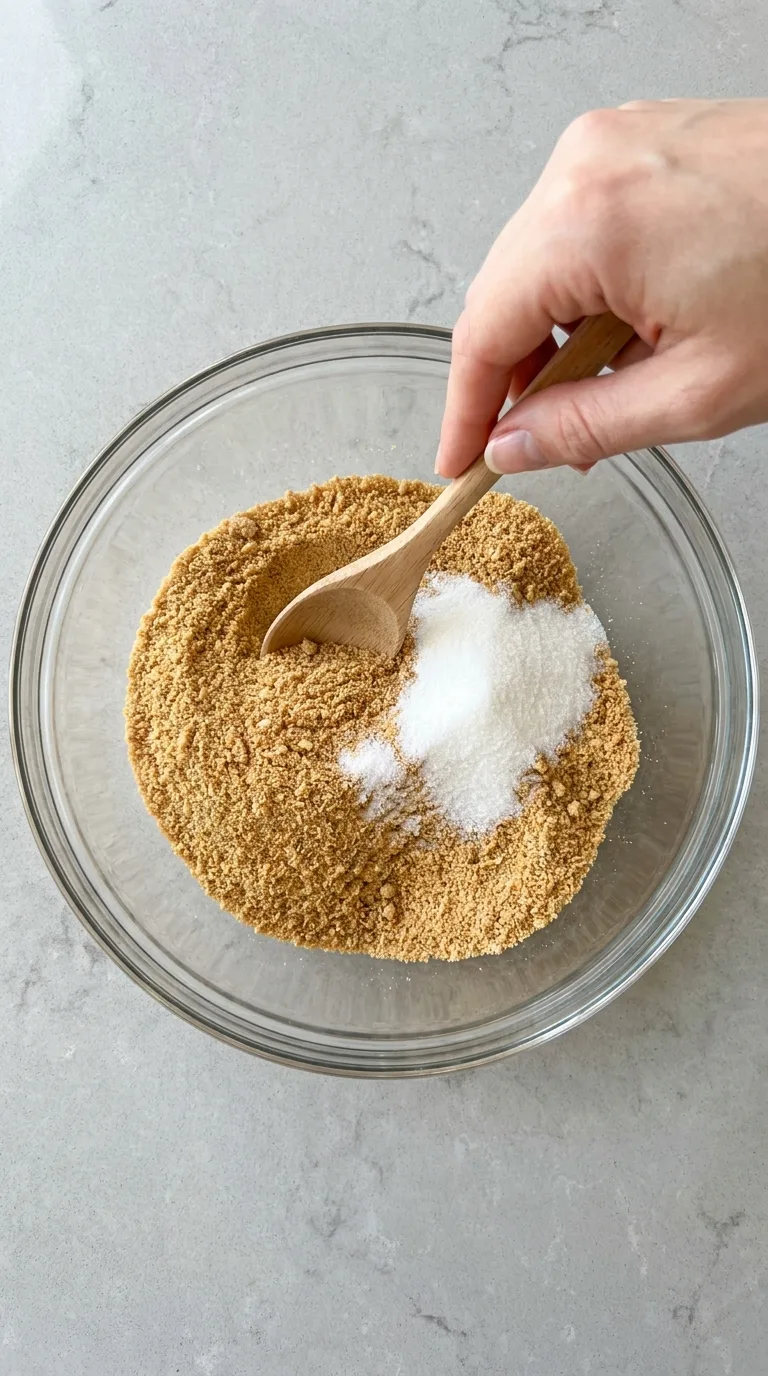
Combine the graham cracker crumbs, granulated sugar, and salt in a medium bowl. Pour in the melted butter and stir until every crumb is evenly moistened. The mixture should resemble damp sand and hold together when pressed.
Form the Crust
Transfer the crumb mixture to the prepared pan. Press it firmly and evenly across the bottom using the flat base of a measuring cup. Pay particular attention to the corners, where loose crumbs can cause the bars to break.
Chill the Crust
Refrigerate the crust while preparing the filling. This brief chill allows the butter to firm and helps keep crumbs from mixing into the lemon layer.
Bloom the Gelatin
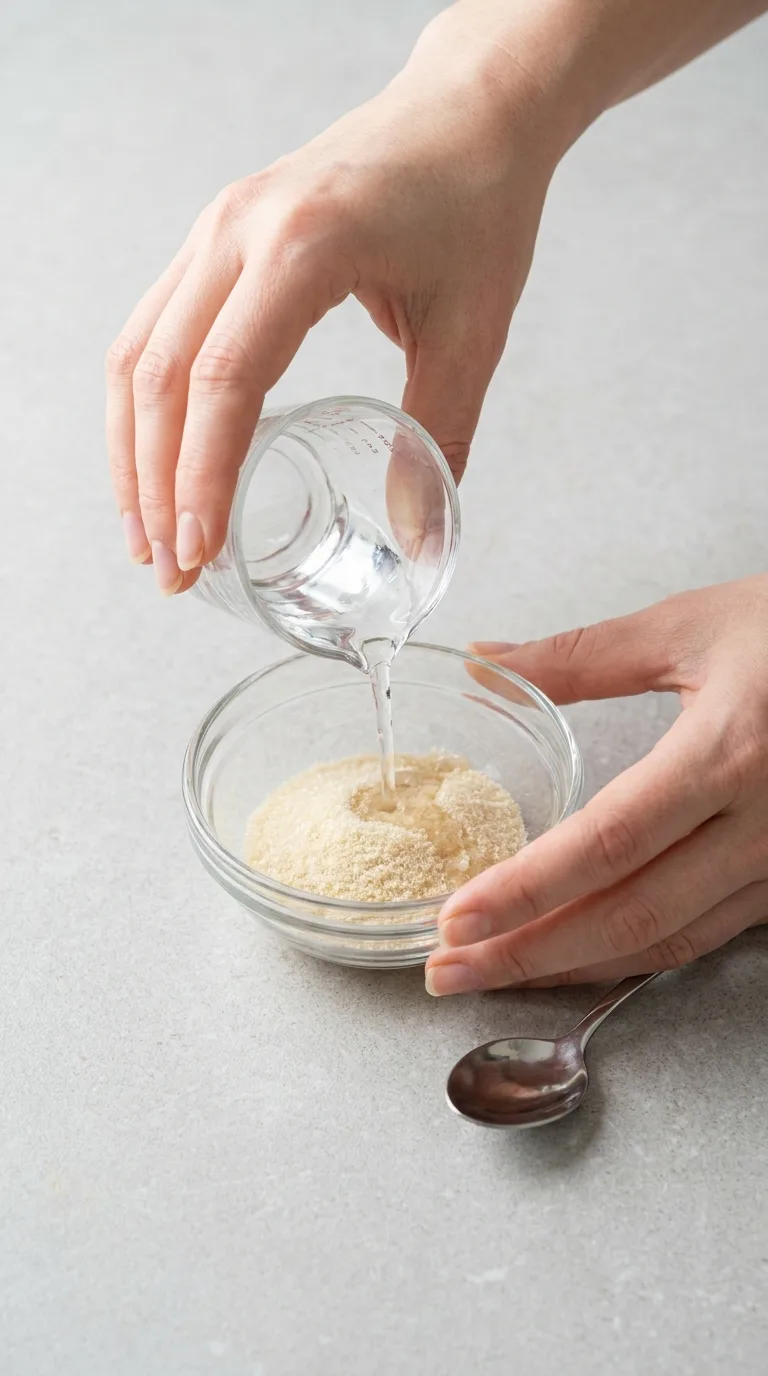
Pour the cool water into a small microwave-safe bowl. Sprinkle the gelatin evenly over the surface rather than dropping it in one pile. Let it stand for 5 minutes. The mixture should become thick and wrinkled as the gelatin absorbs the water.
Smooth the Cream Cheese
Place the softened cream cheese in a large mixing bowl. Beat on medium speed for 1 to 2 minutes, until completely smooth. Scrape the bottom and sides of the bowl to remove any firm lumps.
Add the Condensed Milk
Gradually beat in the sweetened condensed milk on low speed. Continue mixing until the filling looks smooth, glossy, and uniform.
Add the Lemon Flavoring
Mix in the lemon juice, lemon zest, vanilla, and salt on low speed. The filling will begin to thicken slightly as the lemon juice combines with the condensed milk.
Dissolve the Gelatin
Microwave the bloomed gelatin for 8 to 12 seconds, just until it becomes clear and liquid. Do not allow it to boil. Stir well and let it cool for about 1 minute; it should remain fluid.
Temper the Gelatin
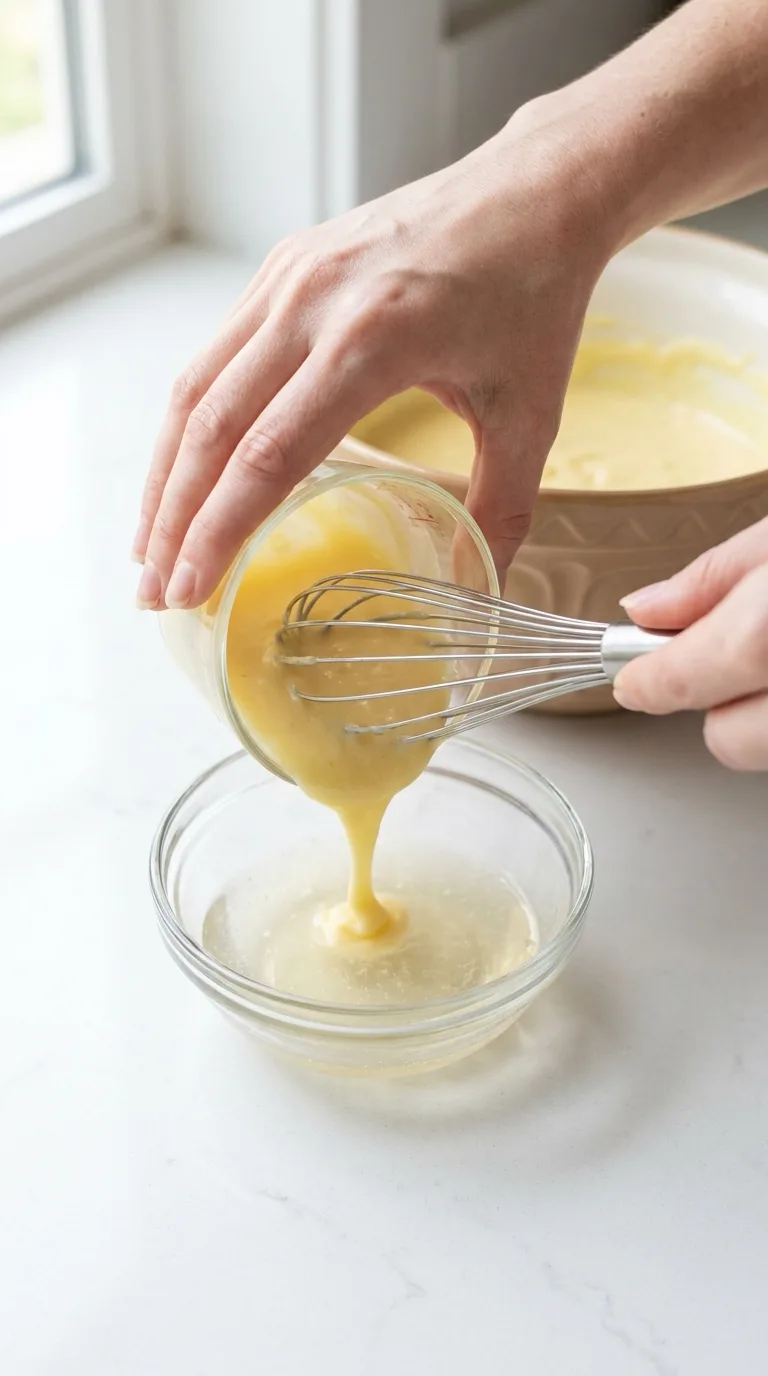
Whisk approximately 1/4 cup (60 ml) of the lemon filling into the dissolved gelatin. Slowly pour this mixture back into the main bowl while beating on low speed. Mix just until evenly incorporated. This gradual method reduces the risk of gelatin strands or lumps.
Whip the Cream
In a clean medium bowl, whip the cold heavy cream on medium-high speed until soft peaks form. The cream should hold a curved peak when the beaters are lifted and still look smooth rather than stiff.
Finish the Filling
Fold one-third of the whipped cream into the lemon mixture to lighten it. Gently fold in the remaining whipped cream in two additions. Stop when no white streaks remain. The finished filling should be thick, airy, and spreadable.
Fill the Pan
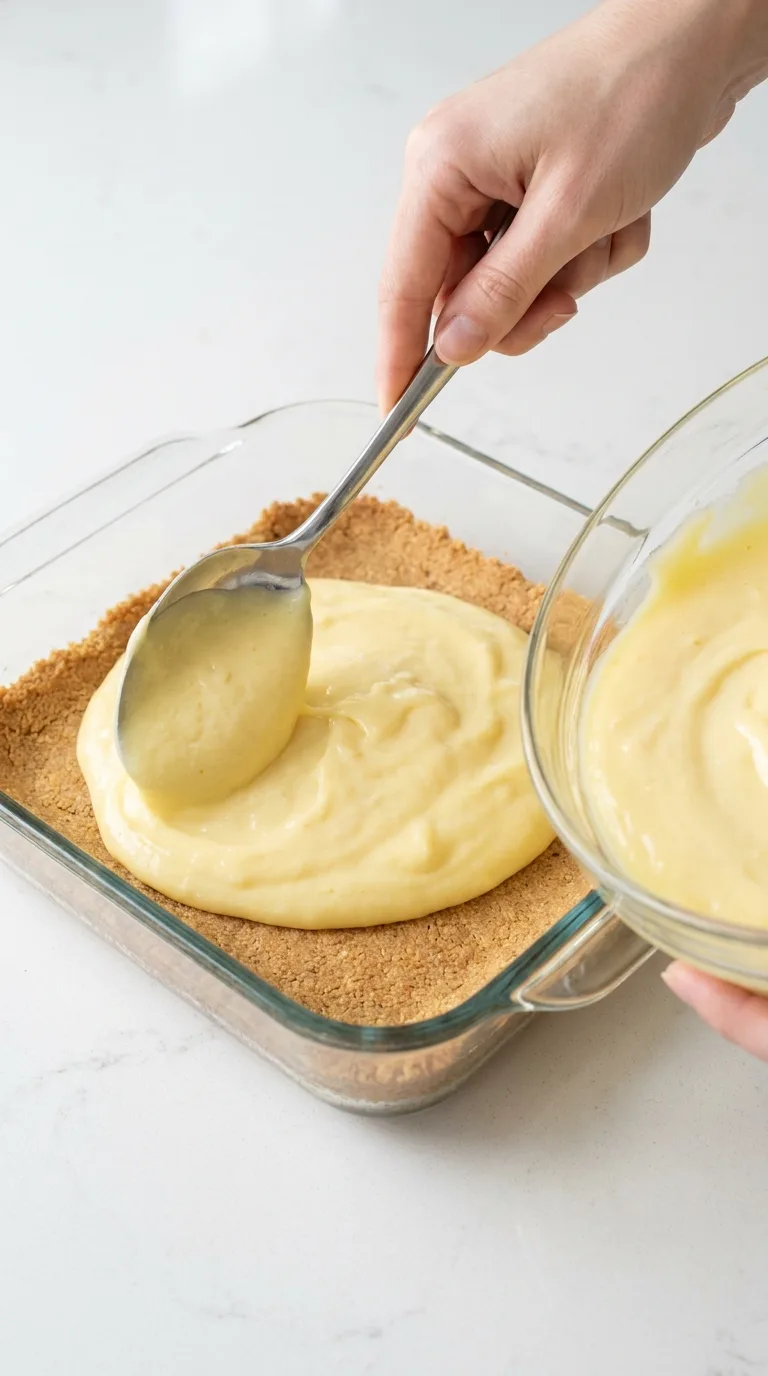
Spoon the lemon filling over the chilled crust. Spread it evenly into the corners with an offset spatula, then smooth the top. Tap the pan gently on the counter once or twice to release large air pockets.
Chill Until Firm
Cover the pan without touching the filling and refrigerate for at least 6 hours, preferably overnight. The center should feel firm and should not ripple when the pan is moved.
Remove and Garnish
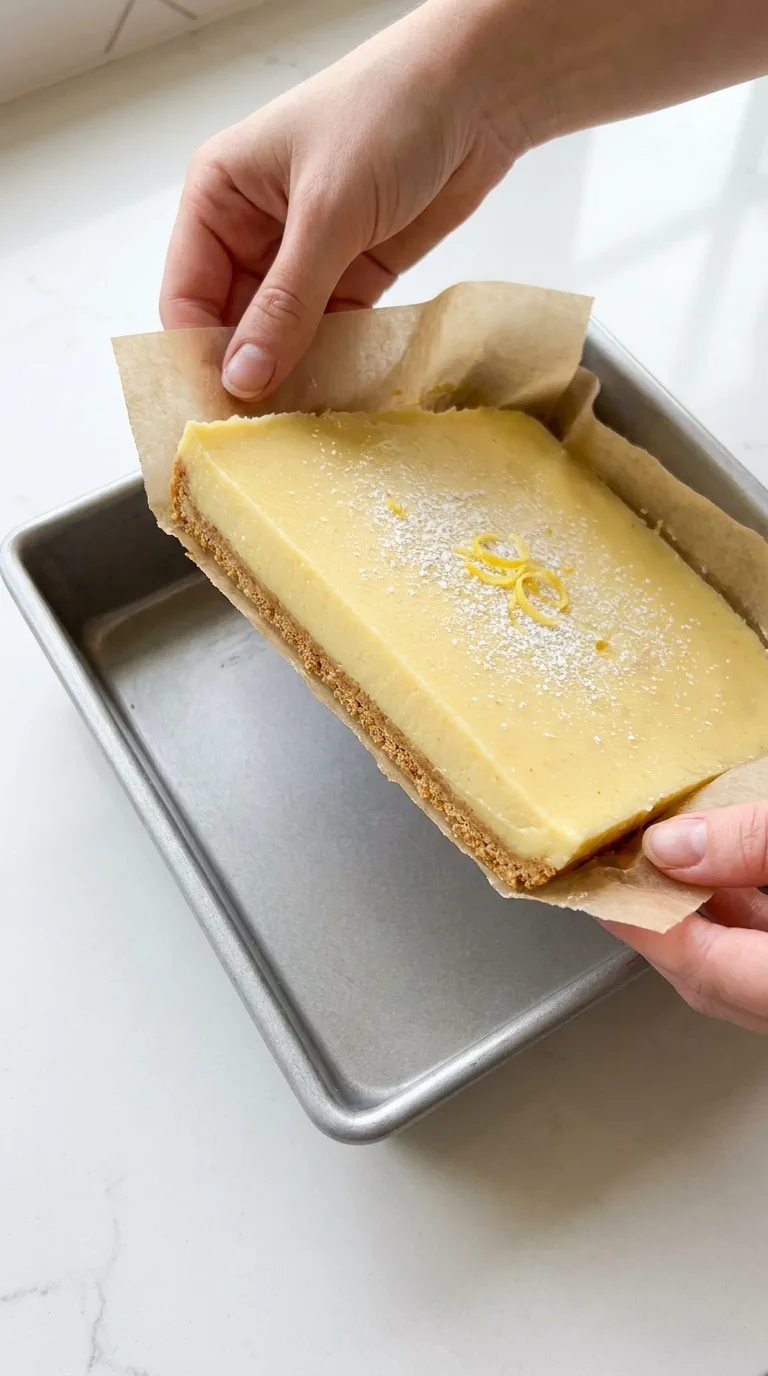
Use the parchment overhang to lift the chilled dessert from the pan. Sprinkle with optional lemon zest and powdered sugar shortly before serving.
Cut Into Bars
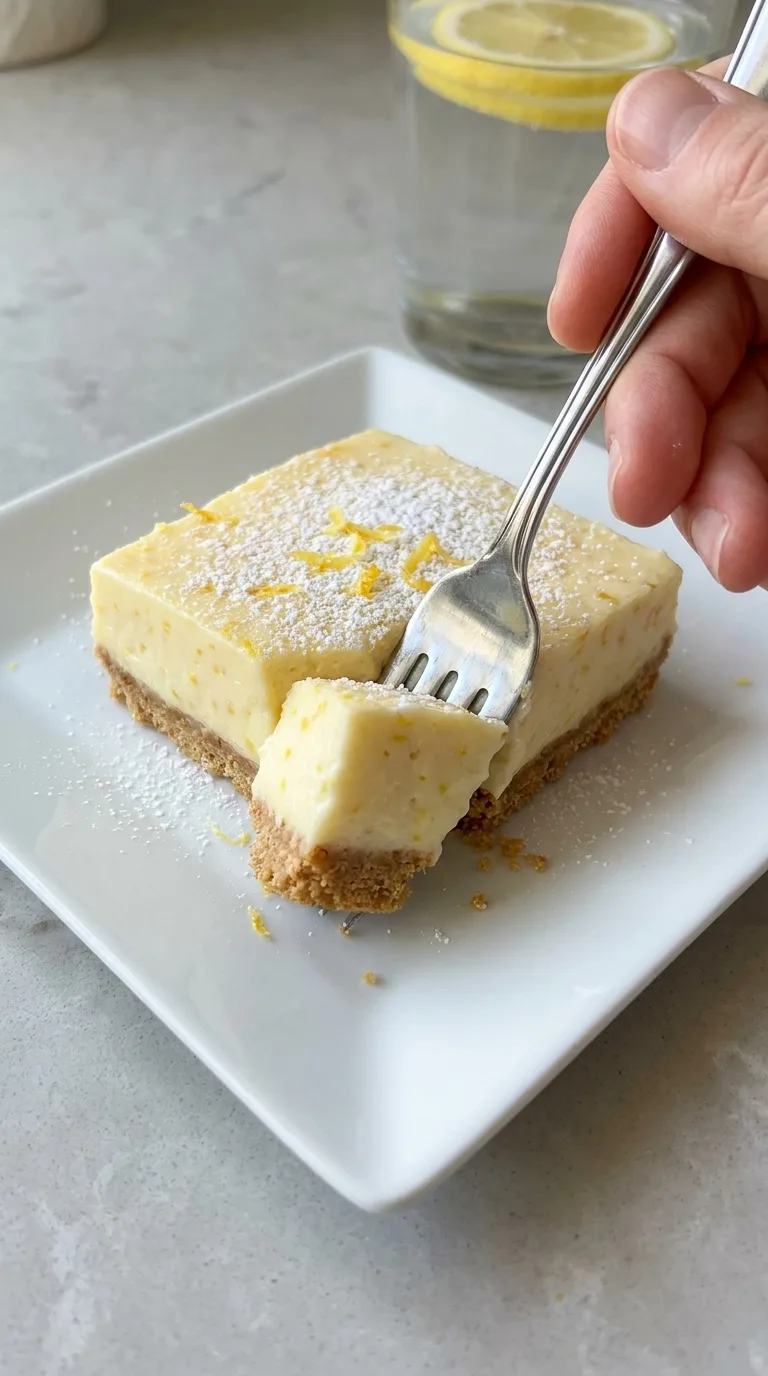
Use a large, sharp knife to cut the dessert into 16 squares. Wipe the blade clean with a warm, damp towel between cuts for smooth sides and distinct layers.
Tips for Success
- Soften the cream cheese fully before mixing. Cold cream cheese can leave small lumps that are difficult to remove after the lemon juice is added.
- Sprinkle the gelatin evenly over the water so it blooms without dry pockets.
- Do not boil the gelatin. Excessive heat can weaken its setting ability.
- Whip the cream only to soft peaks. Stiffly whipped cream is harder to fold smoothly and may create a grainy-looking filling.
- Chill the bars for the full 6 hours before cutting. A shorter chill can leave the center too soft to hold its shape.
- Apply powdered sugar shortly before serving because it gradually dissolves on the moist surface.
Storage, Freezing, and Make-Ahead Instructions
Store No-Bake Lemon Bars in a covered container in the refrigerator for up to 4 days. Keep parchment paper between stacked layers, though storing the bars in a single layer is preferable for the cleanest appearance.
Do not leave the bars at room temperature for more than 2 hours because the filling contains cream cheese and whipped cream.
The dessert can be prepared up to 2 days before serving. Keep it covered in the pan and wait to add the lemon zest and powdered sugar until shortly before cutting.
To freeze, chill the bars completely and cut them into individual portions. Freeze the pieces in a single layer until firm, then wrap them separately and place them in a freezer-safe container for up to 1 month. Thaw overnight in the refrigerator. The filling may release a small amount of moisture after freezing, so freshly refrigerated bars have the smoothest texture.
FAQ
Can I make No-Bake Lemon Bars ahead of time?
Yes. Prepare and refrigerate the bars up to 2 days before serving. Keep them covered and add the optional powdered sugar and lemon zest shortly before cutting.
Why did my lemon filling not set?
The gelatin may not have been measured, bloomed, or dissolved correctly, or the bars may not have chilled long enough. Use the full amount of gelatin and refrigerate the filling for at least 6 hours.
Can I make these lemon bars without gelatin?
The filling may set softly without gelatin because of the cream cheese, condensed milk, and lemon juice, but the bars will be less stable and may not hold clean slices. Serve the gelatin-free version well chilled as a softer dessert.
Can I use a different crust?
Yes. Vanilla wafer, shortbread cookie, or digestive biscuit crumbs can replace the graham cracker crumbs in the same weight. Sweeter cookies may require reducing or omitting the granulated sugar in the crust.
Can I use bottled lemon juice?
Fresh lemon juice is recommended for a brighter, cleaner flavor. Bottled juice can be used in the same quantity, but it may taste sharper or slightly bitter depending on the brand.
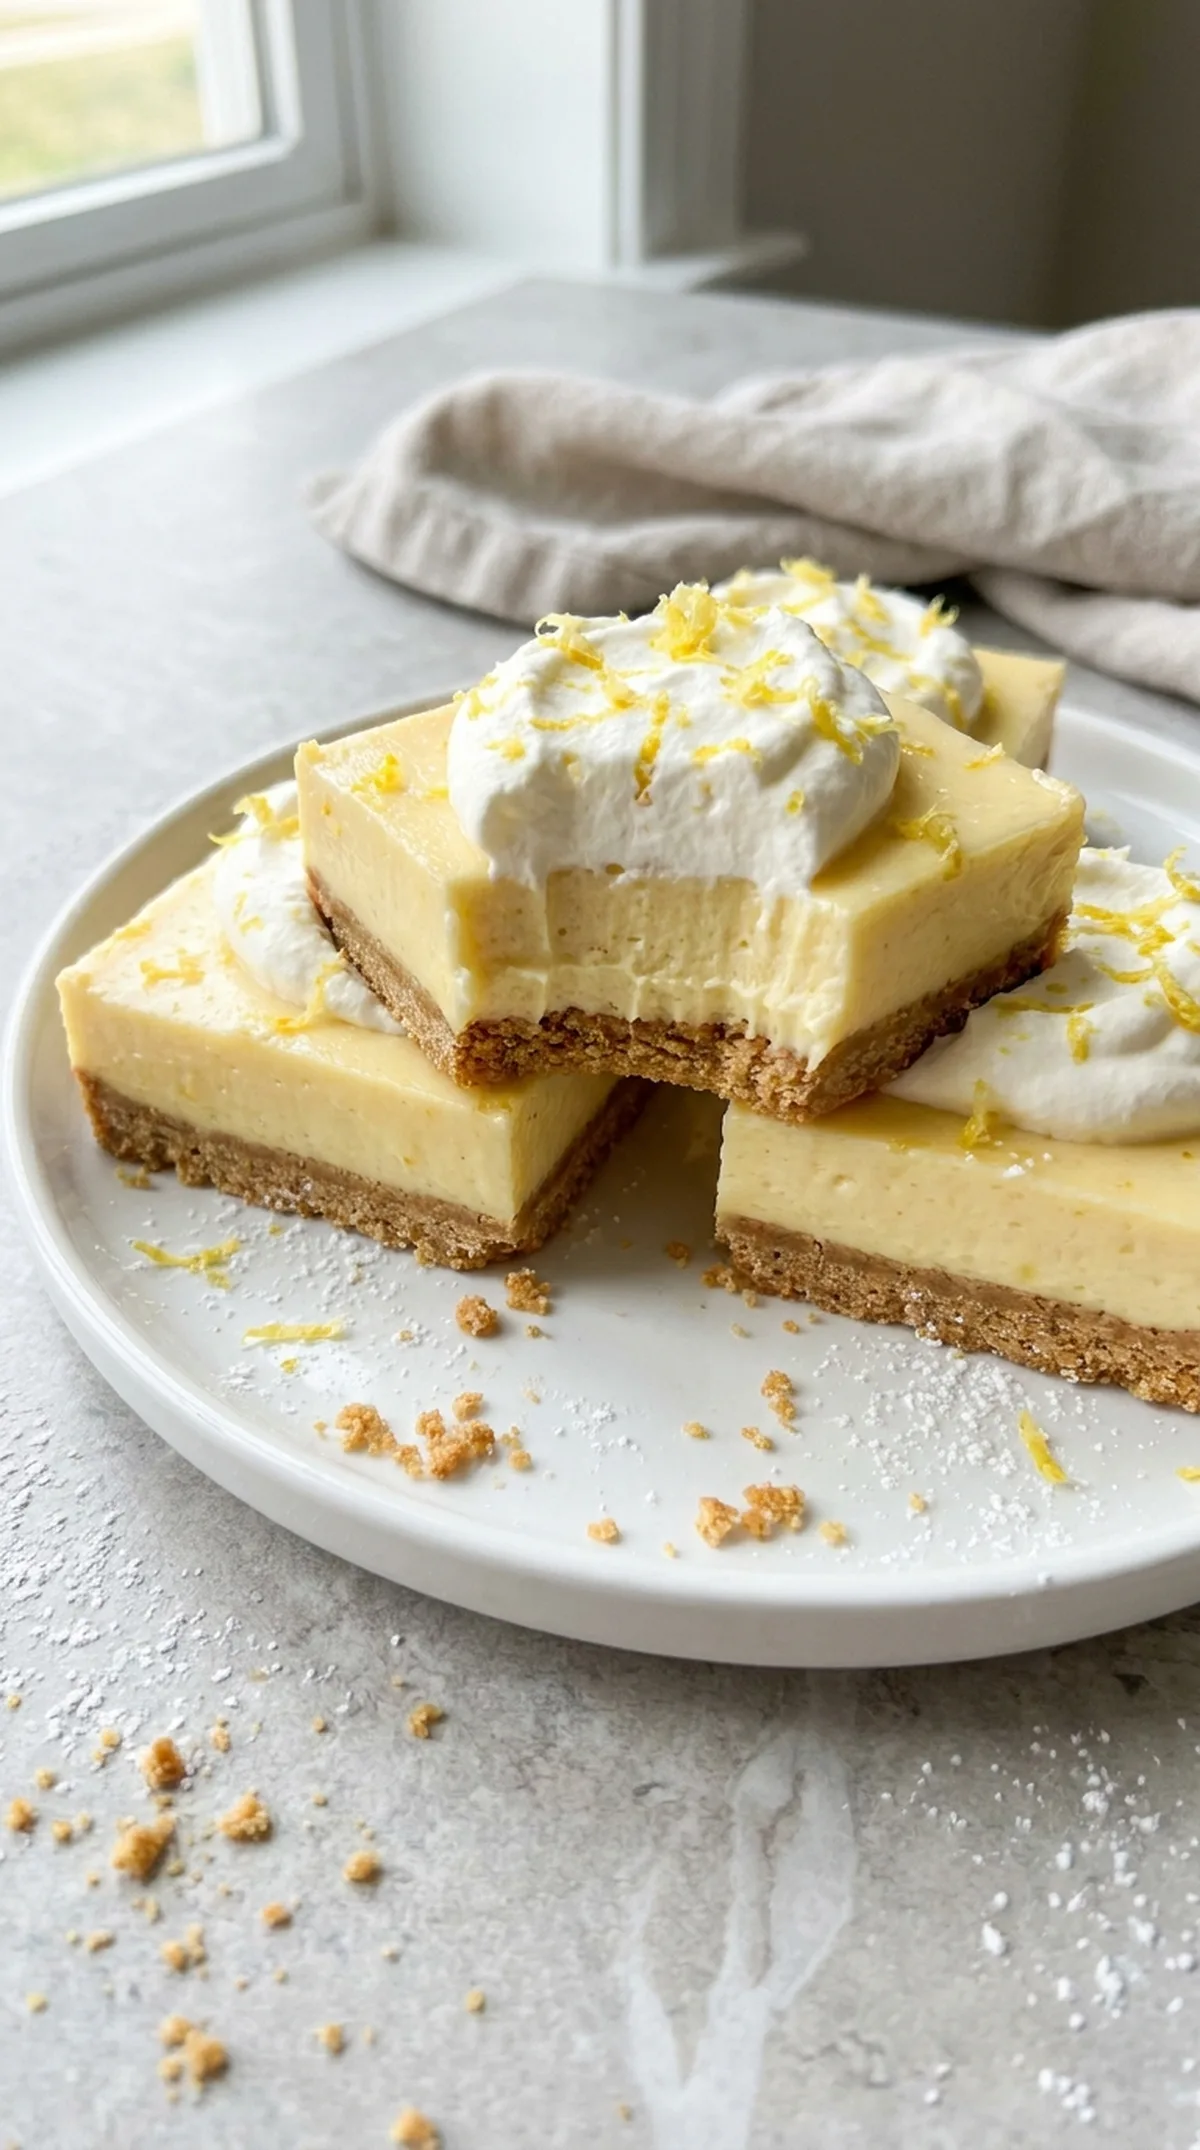
No-Bake Lemon Bars with Graham Cracker Crust
Ingredients
Method
- Line a 9-inch (23 cm) square metal pan with parchment paper, leaving an overhang on two opposite sides. Lightly grease the exposed sides so the filling releases cleanly.
- Combine the graham cracker crumbs, granulated sugar, and salt in a medium bowl. Pour in the melted butter and stir until every crumb is evenly moistened. The mixture should resemble damp sand and hold together when pressed.
- Transfer the crumb mixture to the prepared pan: Press it firmly and evenly across the bottom using the flat base of a measuring cup. Pay particular attention to the corners, where loose crumbs can cause the bars to break.
- Pour the cool water into a small microwave-safe bowl. Sprinkle the gelatin evenly over the surface rather than dropping it in one pile. Let it stand for 5 minutes. The mixture should become thick and wrinkled as the gelatin absorbs the water.
- Place the softened cream cheese in a large mixing bowl. Beat on medium speed for 1 to 2 minutes, until completely smooth. Scrape the bottom and sides of the bowl to remove any firm lumps.
- Gradually beat in the sweetened condensed milk on low speed. Continue mixing until the filling looks smooth, glossy, and uniform.
- Mix in the lemon juice, lemon zest, vanilla, and salt on low speed. The filling will begin to thicken slightly as the lemon juice combines with the condensed milk.
- Microwave the bloomed gelatin for 8 to 12 seconds, just until it becomes clear and liquid. Do not allow it to boil. Stir well and let it cool for about 1 minute; it should remain fluid.
- Whisk approximately 1/4 cup (60 ml) of the lemon filling into the dissolved gelatin. Slowly pour this mixture back into the main bowl while beating on low speed. Mix just until evenly incorporated. This gradual method reduces the risk of gelatin strands or lumps.
- In a clean medium bowl, whip the cold heavy cream on medium-high speed until soft peaks form. The cream should hold a curved peak when the beaters are lifted and still look smooth rather than stiff.
- Fold one-third of the whipped cream into the lemon mixture to lighten it. Gently fold in the remaining whipped cream in two additions. Stop when no white streaks remain. The finished filling should be thick, airy, and spreadable.
- Spoon the lemon filling over the chilled crust: Spread it evenly into the corners with an offset spatula, then smooth the top. Tap the pan gently on the counter once or twice to release large air pockets.
- Cover the pan without touching the filling and refrigerate for at least 6 hours, preferably overnight. The center should feel firm and should not ripple when the pan is moved.
- Use the parchment overhang to lift the chilled dessert from the pan. Sprinkle with optional lemon zest and powdered sugar shortly before serving.
- Use a large, sharp knife to cut the dessert into 16 squares. Wipe the blade clean with a warm, damp towel between cuts for smooth sides and distinct layers.